

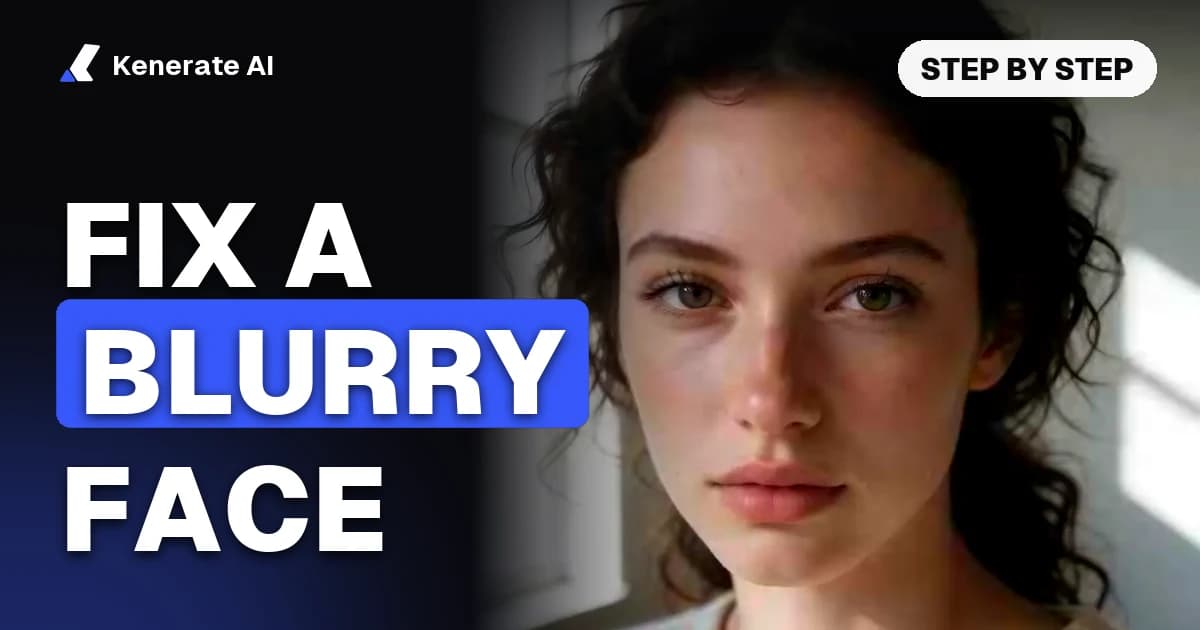
To fix a blurry face in a photo, run the picture through an AI restoration model that rebuilds facial detail (eyes, eyelashes, lips, hair edges) instead of a plain sharpening filter, then check the result at 100% zoom to make sure the person still looks like themselves. On Kenerate AI that means uploading the photo to the upscaler with Phota Enhance selected: it returns a restored 2048 px image in roughly 40 seconds for 39 credits. If the face is only slightly soft, the much cheaper Real-ESRGAN pass is often enough.
This guide, written as of 1 November 2026, walks through which kind of blur AI can actually fix, the exact steps, how to stop the AI from changing someone's face, and what to do with old prints and group photos. Use it on your own photos, or photos you have permission to edit.
Why do faces come out blurry in photos?
A blurry face usually comes from one of five causes, and the cause decides which fix works:
- Missed focus. The camera focused on the background or a shoulder, so the face is soft but the shapes are intact.
- Camera shake or slight subject movement. Faces smear a little in one direction, typical of low-light phone shots.
- Low resolution. The face is tiny in the frame (a group photo, a crop from a wide shot) so there are only a few dozen pixels to work with.
- Compression. Messaging apps and social networks re-compress images, which wipes out fine skin and eye detail and adds blocky artefacts.
- Age and damage. Old prints fade, scratch and lose contrast; scanning them at a low DPI makes faces even softer.
Missed focus, mild shake, compression and low resolution respond well to AI restoration. Heavy motion blur, where the face has become a streak, does not: the information is gone, so any tool can only guess what was there (deblurring overview, Wikipedia).
Can AI really fix a blurry face?
Yes, within limits. Modern face restoration models are trained on huge numbers of faces and learn what eyes, teeth and hair should look like. Two well-known research models show the idea:
- GFPGAN (Tencent ARC, CVPR 2021) uses a pretrained face generator as a "facial prior" to repair degraded faces without knowing exactly how they were degraded (GFPGAN on GitHub).
- CodeFormer (S-Lab, NTU, NeurIPS 2022) adds a fidelity weight between 0 and 1: lower values give cleaner, more "perfect" faces, higher values stay closer to the original input (CodeFormer on GitHub).
That fidelity trade-off is the key thing to understand. Restoration is not recovery. The model draws plausible new detail, so the sharper and more "finished" it makes a face, the higher the chance that it drifts away from the real person. A good result is one that looks natural and recognisable, not one that looks airbrushed.
Which tool should I use for which kind of blur?
Kenerate's upscaler has seven engines; four of them matter for faces. Credits and output sizes below come from Kenerate's model registry as of 1 November 2026.
| Problem | Best Kenerate engine | What it does | Credits per image | Output |
|---|---|---|---|---|
| Slightly soft or small face, sharp-ish photo | Real-ESRGAN | Classic super-resolution, sharper edges, less noise | 0.72 | 2048 px |
| Real blur: missed focus, mild shake, old or damaged photo | Phota Enhance | Restores blurry or damaged photos and rebuilds lost detail | 39 | 2048 px |
| Sharp face but you need a big print | Image Upscaler | Faithful upscale that keeps the original texture | 3 | 2K, 4K or 8K |
| Portrait for print that needs richer skin and hair texture | Clarity Pro (keep creativity low) | Upscale with a creativity dial from −10 to +10 | 9 per output megapixel (36 at the 4 MP default) | Up to 64 MP |
| Blur plus another fix (lighting, red eye, a stray hair) | AI Image Editor with Nano Banana 2.1 or GPT Image 2.5 Sunburst | Prompt-based edit of the whole photo | About 12 (Sunburst, 1 input) to 21 (Nano Banana 2.1) | Model's own size |
A rule of thumb: start with the cheapest engine that matches the problem. A 0.72-credit Real-ESRGAN pass tells you quickly whether the photo just needs more pixels or real restoration.
How do I fix a blurry face in a photo, step by step?
- Start from the best original you have. Use the camera-roll file, not a screenshot or a copy downloaded from a chat app. For prints, scan at 600 DPI or higher rather than photographing the print at an angle. Uploads can be JPG, PNG or WEBP up to 25 MB.
- Open the upscaler and pick the engine. Go to Kenerate's unblur image tool, which opens the upscaler on Phota Enhance. For a face that is only slightly soft, switch to Real-ESRGAN first.
- Run it. Phota Enhance takes roughly 40 seconds and always returns a 2048 px image (PNG, JPEG or WEBP). Real-ESRGAN takes about 25 seconds.
- Compare at 100% zoom. Put the original and the result side by side. Check the eyes (shape, colour, catchlights), teeth, eyebrows, ears, glasses and hairline. Those are the spots where restoration models most often invent something.
- Re-run if something looks off. Generative restoration varies between runs. In Kenerate's own testing, one Phota run re-framed a portrait slightly. Running it again and keeping the better version usually beats trying to fix a bad output.
- Upscale last, only if you need a bigger file. Once the face looks right, run the restored image through Image Upscaler (3 credits) for a 4K or 8K print file. Doing it in this order means the upscaler enlarges real detail instead of blur.
- Download. Results have no watermark and stay in your private history, not a public gallery.
New Kenerate accounts start with 25 free credits: enough for dozens of Real-ESRGAN runs to see whether a light pass fixes the face. Phota Enhance (39 credits) needs a small top-up.
How do I stop AI face restoration from changing the person?
This is the most common complaint about face enhancers, and there are concrete ways to reduce it:
- Use the gentlest engine that works. Real-ESRGAN and Image Upscaler are "faithful" engines: they sharpen and enlarge without redrawing features. Only step up to Phota Enhance when the face is genuinely blurry.
- Keep creativity low on Clarity Pro. Kenerate's engineers tested Clarity Pro on faces: only a creativity of −6 at 4 MP kept the same person. Settings of 0, +2 and +8, and an 8 MP target, changed age, hair and glasses. That is why the tool now starts at −6.
- Don't stack restorers. Running a face through two or three restoration models in a row compounds the guesswork. One restoration pass, then a faithful upscale, is safer.
- Check against another photo of the person. If you have a clearer picture of the same person from around the same time, compare the result with it, not just with the blurry original.
- Keep the original file. Save the restored version as a copy. If family members spot a difference later, you still have the real photo.
What about old family photos with faded or scratched faces?
Old photos usually need restoration and repair at the same time. Phota Enhance is built for that case: its job in Kenerate's registry is exactly "old family photos, archives and low-res pictures you want to print". A few tips specific to prints:
- Scan, don't snap. A flatbed scan at 600 DPI or more captures far more detail than a phone photo of the print, and avoids glare and keystone distortion.
- Clean the glass and the print (dry, lint-free cloth) before scanning. Dust becomes "detail" the model tries to restore.
- Restore before you colorize. Fix the blur first, then add colour if you want it. Kenerate has a separate guide on how to restore old photos that covers scanning, Photoshop and GIMP alternatives, and backups.
- Very small faces get rebuilt, not restored. If a face in a 1950s group photo is only a handful of pixels wide, the model has almost nothing to go on. Treat the result as an interpretation and say so if you share it.
For the full tool and engine comparison for prints, see Kenerate's AI photo restoration page.
Can I fix one blurry face in a group photo?
Yes, with a simple crop-and-replace approach:
- Crop a generous square around the blurry face (include hair and shoulders, so the model has context).
- Run that crop through Phota Enhance or Real-ESRGAN.
- Place the restored crop back over the original in any photo editor and blend the edges.
Alternatively, upload the whole group photo to the AI image editor and describe only the change: for example, "Sharpen the face of the man on the left. Keep his features, expression, glasses and every other person exactly the same." Prompt edits are best when you also want a second fix, like evening out harsh flash lighting, but they redraw the whole frame, so check every face afterwards, not just the one you asked about.
Is sharpening the same as fixing a blurry face?
No. A sharpening filter (unsharp mask, the "clarity" slider in phone apps) increases contrast along existing edges. It makes a slightly soft face look crisper, but it cannot add an eyelash or an iris pattern that was never captured, and pushed too far it creates halos and crunchy skin. AI restoration predicts the missing detail instead.
| Sharpening filter | AI upscaling (faithful) | AI face restoration | |
|---|---|---|---|
| Adds new detail | No | A little | Yes |
| Risk of changing the face | None | Low | Moderate, check results |
| Works on heavy blur | No | No | Partly |
| Typical use | Final polish | Enlarging a sharp photo | Rescuing a soft or old photo |
If you only need a light polish, Kenerate's sharpen image tool is the quicker route. For general cleanup of noise and dull colour across the whole picture, try the AI image enhancer.
What can't AI fix?
Be honest about the limits before you spend credits:
- Deliberately blurred or pixelated faces. Blurring to hide someone removes the information. An AI can only invent a stranger's face in its place. Don't use face restoration to "unmask" anyone.
- Faces turned into streaks by heavy motion blur. The structure is gone.
- Exact identity for evidence or ID use. A restored face is a plausible reconstruction, not proof of what someone looked like. Don't use it for documents, ID photos or anything legal.
- Other people's photos without permission. Stick to your own pictures and family photos you have the right to edit.
Quick checklist
- Use the original file or a 600 DPI scan.
- Slightly soft: Real-ESRGAN (0.72 credits). Really blurry or old: Phota Enhance (39 credits).
- Compare eyes, teeth, glasses and hairline at 100%.
- Re-run once if something looks off; don't stack restorers.
- Upscale last with Image Upscaler if you need a print file.
- Keep the original.
Sources
- GFP-GAN: Towards Real-World Blind Face Restoration with Generative Facial Prior (TencentARC/GFPGAN, GitHub)
- Towards Robust Blind Face Restoration with Codebook Lookup Transformer (sczhou/CodeFormer, GitHub)
- Deblurring, Wikipedia
- Kenerate AI model registry (
upscale-models.ts,edit-models.ts), checked 1 November 2026