











Skip to content
Tutorial · GIMP 2.10 & GIMP 3

How to remove a background in GIMP

Four ways to cut out a subject in GIMP — for plain backgrounds, hair, white backgrounds and products — with the exact menus, shortcuts and fixes for the usual problems.

  • Exact menu paths
  • Works in GIMP 2.10 & 3
  • Fixes for white fill & halos
  • Faster AI option
Woman with big curly backlit hair on a city street — original photo
Woman with big curly backlit hair on a city street — background removed
BEFOREAFTER

Kenerate Cutout HD · Curly hair

Try this photo
  • Kenerate Cutout
  • Cutout HD · hair & glass
  • Object Pick · keep what you name
  • Magic Eraser
  • AI Edit · Qwen Image 2.0
  • Edit Text in Image · GPT Image 2
  • White, black & colour backdrops

Quick answer

Updated

To remove a background in GIMP, add an alpha channel (Layer → Transparency → Add Alpha Channel), select the background with Fuzzy Select — or select the subject with Foreground Select and press Ctrl+I to invert — press Delete, then export as PNG (File → Export As). For white backgrounds, Colors → Color to Alpha does it in one step.

Works in
GIMP 2.10 and GIMP 3
Best for hair
Foreground Select (5–15 min)
White backgrounds
Colors → Color to Alpha
Save as
PNG — JPG can't keep transparency

Real results

See it on real photos

Every slider is a real Kenerate result. Drag to compare, then run the same photo yourself.

  1. Woman with big curly backlit hair on a city street — before
    Woman with big curly backlit hair on a city street — after
    BeforeAfter

    01Hair

    Every curl, not a helmet

    Backlit curly hair separated strand by strand from a city street.

    Kenerate Cutout HD

    Cut this photo out
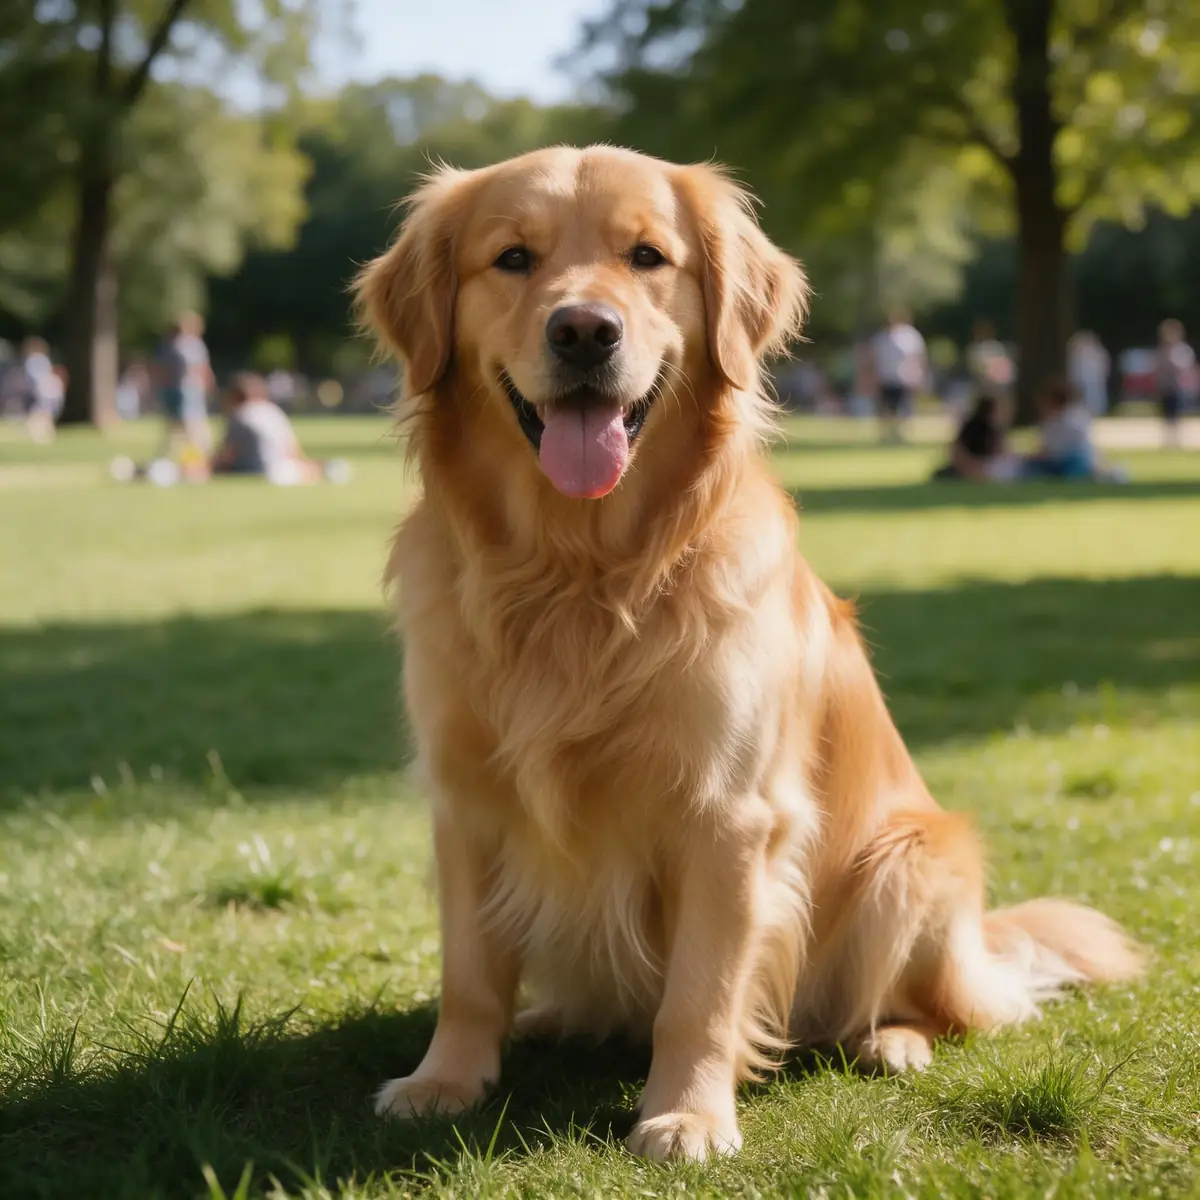
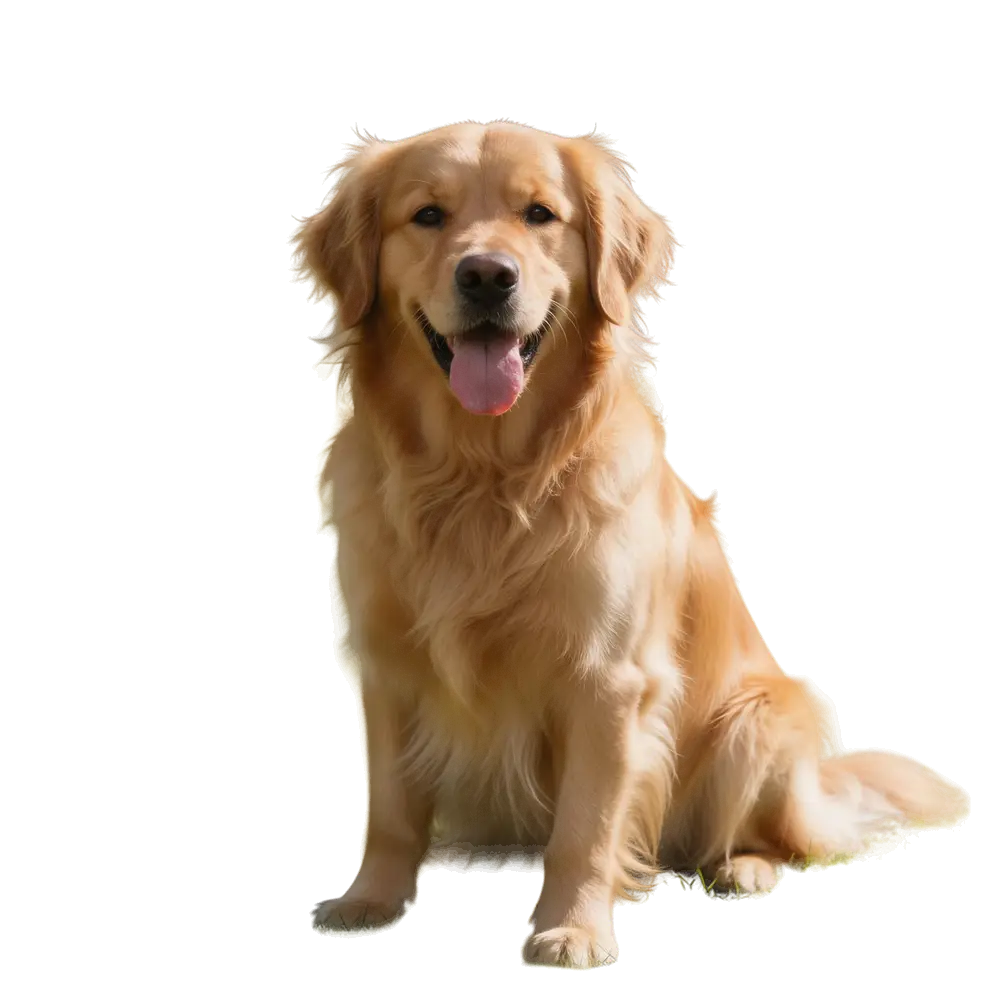
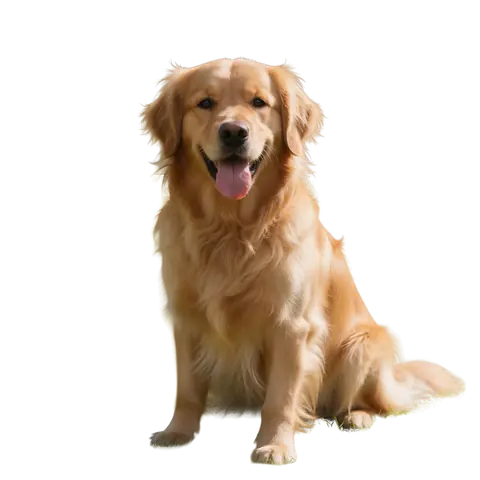
  2. Golden retriever sitting on grass in a park — before
    Golden retriever sitting on grass in a park — after
    BeforeAfter

    02Fur

    Pet fur without a green fringe

    Long feathery fur cut out from grass without the halo.

    Kenerate Cutout HD

    Cut this photo out
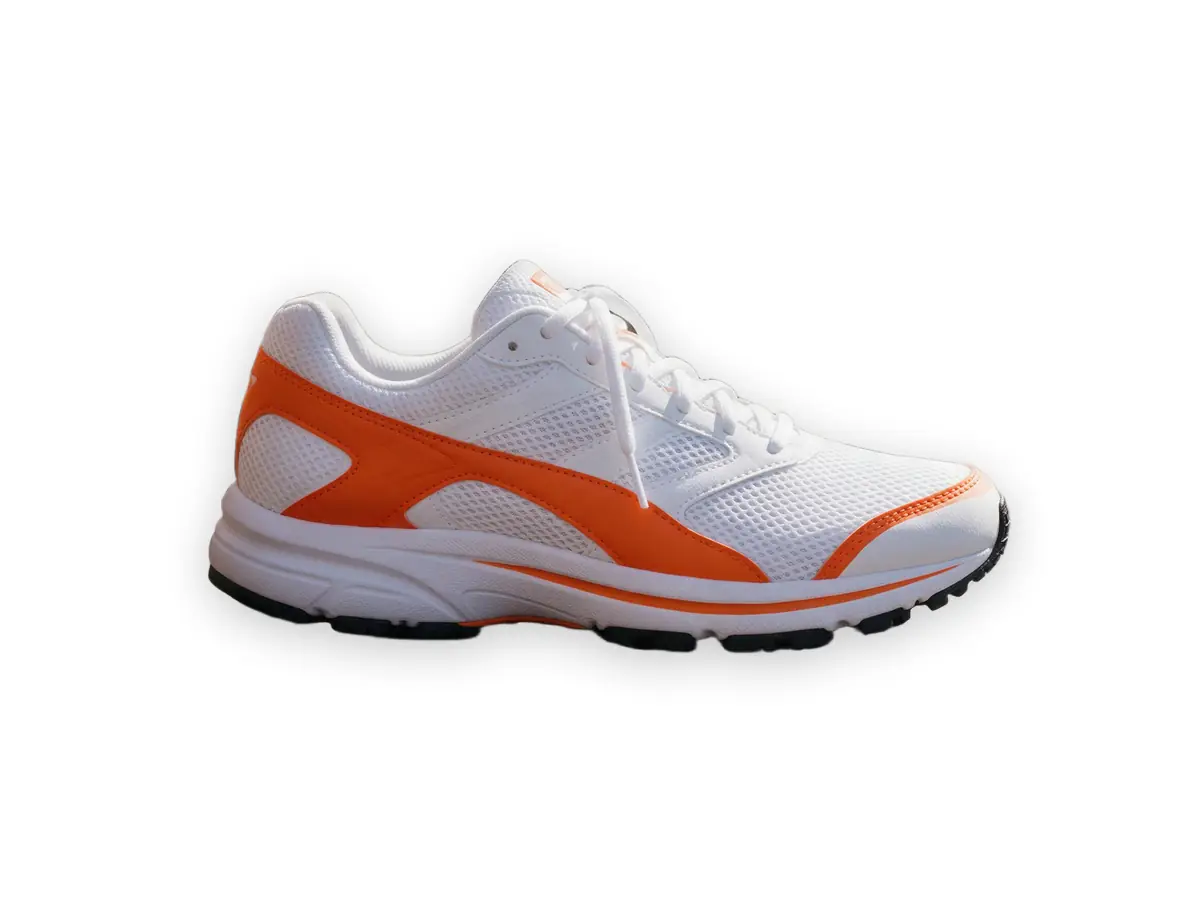
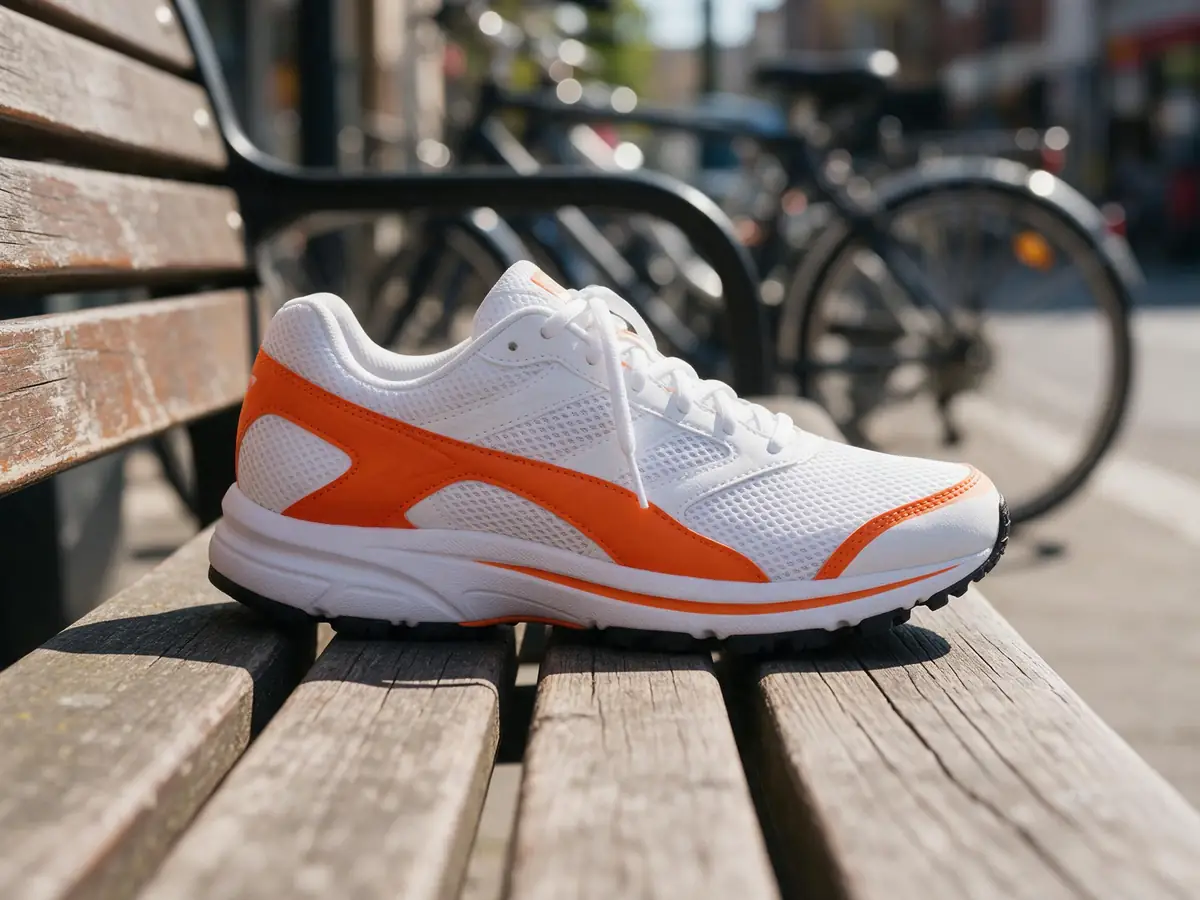
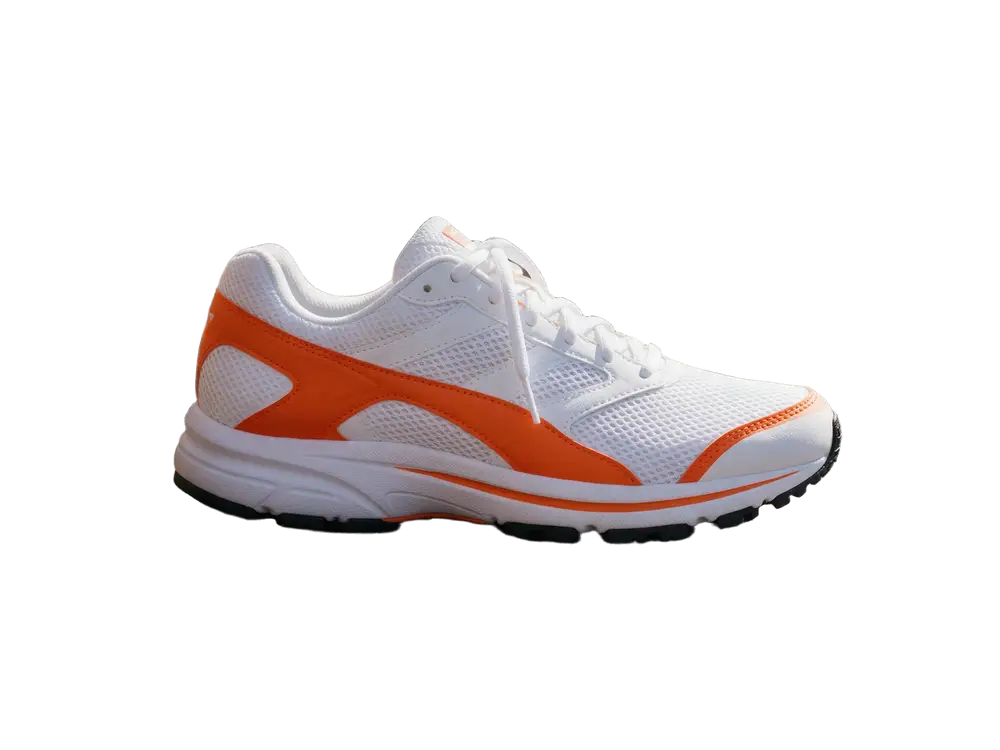
  3. White and orange running sneaker on a wooden bench — before
    White and orange running sneaker on a wooden bench — after
    BeforeAfter

    03Products

    A listing photo in one click

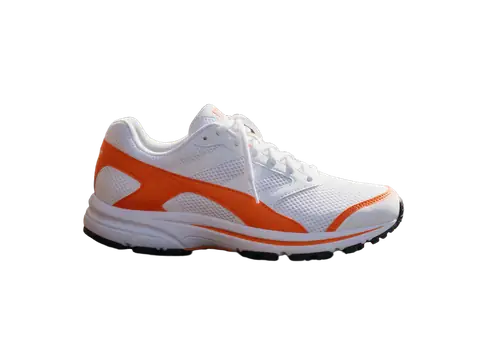
    A sneaker lifted off a wooden bench, ready for a white or coloured backdrop.

    Kenerate Cutout

    Cut this photo out
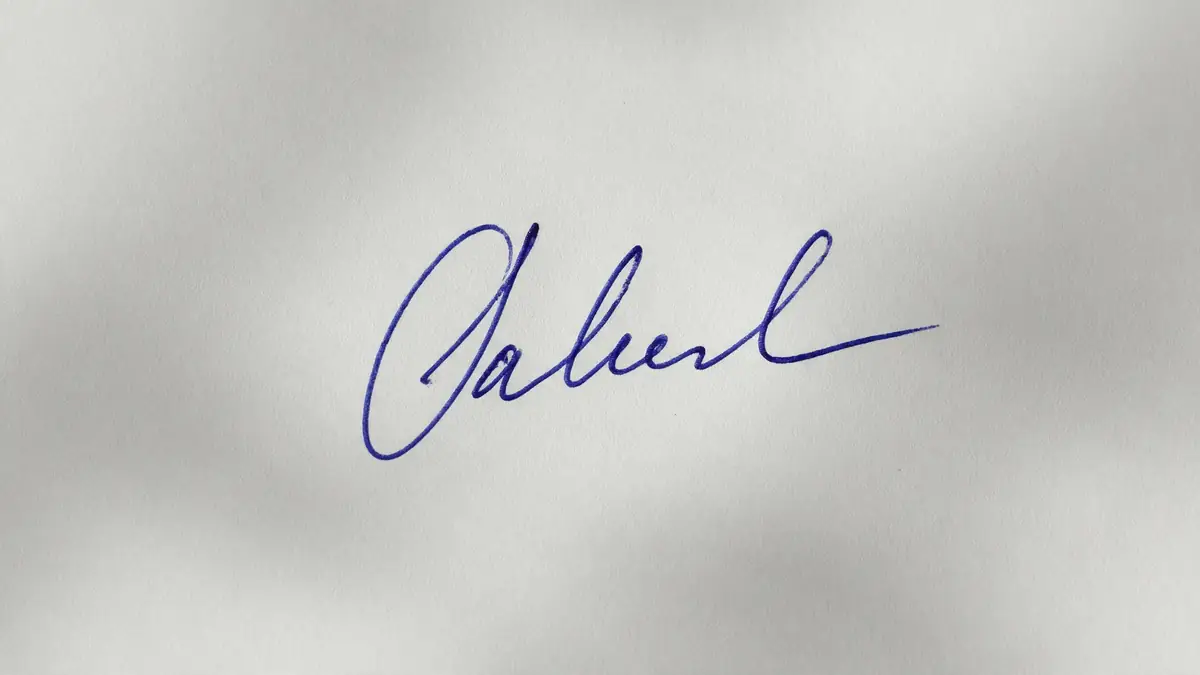
  4. Handwritten blue ink signature on paper — before
    Handwritten blue ink signature on paper — after
    BeforeAfter

    04Signature

    Ink only, no paper

    A handwritten signature turned into a transparent PNG for documents.

    Kenerate Cutout HD

    Cut this photo out

Pick your method

Which GIMP method should you use?

Match the tool to the photo. Most people with portraits need Foreground Select.

  • Fuzzy Select

    Best for
    Plain, even backgrounds
    Time
    1–3 min
    Hair & fur
    Poor
  • Foreground Select

    Best for
    People, pets, hair
    Time
    5–15 min
    Hair & fur
    Good with care
  • Color to Alpha

    Best for
    White backgrounds, logos, signatures
    Time
    Under 1 min
    Hair & fur
    n/a
  • Paths

    Best for
    Products with hard edges
    Time
    5–20 min
    Hair & fur
    Poor
  • Kenerate AI (no GIMP)This site

    Best for
    Any photo
    Time
    About 5 s
    Hair & fur
    Very good (Cutout HD)

Method 1 · plain backgrounds

Remove a solid background with Fuzzy Select

Quickest in GIMP when the background is one even colour.

  1. Step 1: Open the image

    Open your photo in GIMP.

    FileOpen…

  2. Step 2: Add an alpha channel

    Without it, deleted pixels turn white instead of transparent. If the menu item is greyed out, the layer already has one.

    LayerTransparencyAdd Alpha Channel

  3. Step 3: Pick Fuzzy Select

    Also called the magic wand; shortcut U. In the tool options, turn on Antialiasing and set Threshold to about 15–40.

    ToolsSelection ToolsFuzzy Select

    Tip: Low threshold = tighter selection. Raise it if the background has gradients.

  4. Step 4: Click the background

    Click the background. Hold Shift and click to add more areas, such as gaps between arms.
  5. Step 5: Delete it

    Press Delete. The background turns into a grey-and-white checkerboard, which means transparent. Then clear the selection.

    SelectNone

  6. Step 6: Export as PNG

    Name the file .png and click Export. JPG cannot store transparency.

    FileExport As…

Method 2 · hair and fur

Remove a background around hair with Foreground Select

GIMP's best tool for people and pets. Slower, but it keeps soft edges.

  1. Step 1: Add an alpha channel

    Without it, deleted pixels turn white instead of transparent. If the menu item is greyed out, the layer already has one.

    LayerTransparencyAdd Alpha Channel

  2. Step 2: Pick Foreground Select

    It lives in the Free Select group of the toolbox.

    ToolsSelection ToolsForeground Select

  3. Step 3: Draw a rough outline

    Click or drag loosely around the subject, including all the hair, and press Enter. The outside turns dark blue.
  4. Step 4: Paint over the subject

    With “Draw foreground” selected, paint across the subject — you don't need to reach the edges. Use a thicker stroke for large areas and a thinner one near hair.

    Tip: Turn on Preview to see the mask. Paint with “Draw background” to remove areas it wrongly kept.

  5. Step 5: Make the selection

    Press Enter (or click Select) to turn the mask into a selection.
  6. Step 6: Invert and delete

    Invert the selection with Ctrl+I and press Delete.

    SelectInvert

  7. Step 7: Export as PNG

    Name the file .png and click Export. JPG cannot store transparency.

    FileExport As…

Woman with big curly backlit hair on a city street — original photo
Woman with big curly backlit hair on a city street — background removed
BEFOREAFTER

Same photo, about 5 seconds with AI

Kenerate Cutout HD kept the backlit curls without painting a mask.

Try it on your photo

Ten minutes of painting masks — or about five seconds with Cutout HD. Start with 25 free credits.

Method 3 · white backgrounds

Remove a white background with Color to Alpha

The one-step option for logos, icons, line art and signatures.

  1. Step 1: Open Color to Alpha

    It adds an alpha channel for you.

    ColorsColor to Alpha…

  2. Step 2: Pick the colour to remove

    Keep the default white, or pick the exact background colour with the eyedropper, then click OK.

    Tip: Great for logos, line art and signatures. It also makes light parts of the subject slightly see-through, so avoid it on white clothing.

  3. Step 3: Export as PNG

    Name the file .png and click Export. JPG cannot store transparency.

    FileExport As…

Handwritten blue ink signature on paper — original photo
Handwritten blue ink signature on paper — background removed
BEFOREAFTER

Signature cut out with Kenerate — the ink stays, the paper and its shadow go. Signature guide

Method 4 · products

Cut out a product with the Paths tool

Precise curves for bottles, shoes and gadgets, at the cost of time.

  1. Step 1: Add an alpha channel

    Without it, deleted pixels turn white instead of transparent. If the menu item is greyed out, the layer already has one.

    LayerTransparencyAdd Alpha Channel

  2. Step 2: Pick the Paths tool

    Shortcut B. Click point by point around the product; drag to curve a segment. Close the path on the first point.

    ToolsPaths

  3. Step 3: Turn the path into a selection

    Then invert it so the background is selected.

    SelectFrom Path

  4. Step 4: Invert and delete

    Press Ctrl+I, then Delete.

    SelectInvert

  5. Step 5: Export as PNG

    Name the file .png and click Export. JPG cannot store transparency.

    FileExport As…

Troubleshooting

Why isn't my GIMP background transparent?

The background turns white, not transparent

The layer has no alpha channel. Add one (Layer → Transparency → Add Alpha Channel) and delete again.

A white or coloured halo around the subject

Shrink the selection by 1–2 px before you delete (Select → Shrink), or clean the edge afterwards with Colors → Color to Alpha on the halo colour.

The exported file has a white background

It was saved as JPG. Export as .png (or .webp) to keep transparency.

Foreground Select is slow or freezes

Very large photos slow it down. Scale the image first (Image → Scale Image), or use an AI background remover for big batches.

Fuzzy Select grabs part of the subject

Lower the Threshold, or hold Ctrl and click to subtract the area from the selection.

Tool comparison

GIMP vs Photoshop vs AI background removal

GIMP is free but manual. Photoshop has a one-click option inside a paid plan. An AI tool does the whole job in the browser.

  • GIMPfree desktop app

    Plan
    Free
    One-click removal
    No
    Hair & fur
    Foreground Select, by hand
    Typical time
    5–15 min
    Full layer editing
    Yes
  • Photoshoppaid plan

    Plan
    Adobe subscription
    One-click removal
    Remove Background quick action
    Hair & fur
    Select and Mask
    Typical time
    1–5 min
    Full layer editing
    Yes
  • Kenerate AIbrowser

    Plan
    25 free credits, no subscription
    One-click removal
    Yes
    Hair & fur
    Cutout HD
    Typical time
    About 5 s
    Full layer editing
    Edit Studio

Look closer

How close does AI get to a careful GIMP mask?

Foreground Select can match this with patience. Zoom into the Cutout HD result and judge the edge yourself.

  • Backlit strands separated one by one
  • No manual painting or refining
  • Same transparent PNG you would export from GIMP

Move your pointer over the image to zoom into the edge.

Woman with big curly backlit hair on a city street — cut out with Kenerate Cutout HD. The checkerboard is transparent.

Or skip the masking

What the AI way looks like

Photos that take the longest in GIMP — hair, fur, glass and fine chains — cut out by Kenerate in seconds.

Try it free
  • Woman with big curly backlit hair on a city street — background removed with Kenerate Cutout HDCutout HD

    Curly hair

  • Golden retriever sitting on grass in a park — background removed with Kenerate Cutout HDCutout HD

    Dog fur

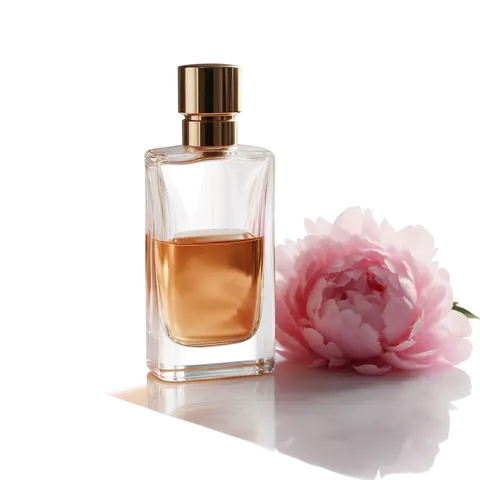
  • Glass perfume bottle with peonies on a marble table — background removed with Kenerate Cutout HDCutout HD

    Glass bottle

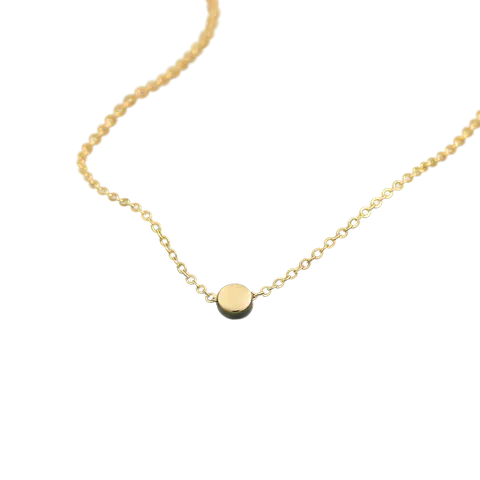
  • Thin gold chain necklace on green velvet — background removed with Kenerate Cutout HDCutout HD

    Gold chain

Use cases

Who uses which method

GIMP is the right tool for some jobs. For others, AI is simply faster.

  • Design student

    Learning image editing

    Uses Foreground Select to understand masks, then checks the result against an AI cut-out to see where the edge could be cleaner.

    GIMP to learn · AI to compare

  • Blogger

    Recipes & home

    Cuts out a mug or a plate for a featured image every week. Fuzzy Select struggles with the busy counter; one AI cut-out takes seconds.

    Kenerate Cutout

  • Brand designer

    Logos & signatures

    Uses Colors → Color to Alpha for clean vector-like scans, and AI when the only source is a phone photo with shadows.

    Color to Alpha or Cutout HD

Example workflows built on real Kenerate outputs — not customer reviews.

In depth

The tools behind GIMP's background removal

Where Foreground Select came from, what Color to Alpha does, and why alpha comes first — with sources.

Add an alpha channel first

A single background layer in GIMP has no transparency, so deleting pixels fills them with the background colour. Layer → Transparency → Add Alpha Channel gives the layer somewhere to store transparency [1].

Foreground Select: research inside GIMP

Foreground Select is based on SIOX (Simple Interactive Object Extraction) from Freie Universität Berlin and first appeared in GIMP 2.3.3 [2]. In GIMP 2.10 its default engine is “Matting Levin” [3] — named after Levin, Lischinski and Weiss's closed-form matting method, which estimates soft transparency at edges [4].

Color to Alpha for flat graphics

Colors → Color to Alpha makes a chosen colour transparent, turning partly-matching pixels partly transparent [5] — ideal for logos and line art on white, wrong for photos where the same colour appears inside the subject.

GIMP 3

GIMP 3.0, released in March 2025 after 2.10 in 2018, keeps the same tools and menu paths [6].
Start free

Start free, top up only when you need to

25 free credits on sign-up. The same credits work in every Kenerate tool.

  • 25 free credits on sign-up

    Test on your own images before you buy anything.

  • Credits never expire

    One-time packs — use them this week or next year.

  • No subscription, no watermark

    Nothing to cancel. Free results download clean.

  • One balance, every tool

    The same credits work across images, video, voice and 3D.

Tried it? Tell us how it went

We only publish real, verified reviews — never invented quotes. Send a line about your result (and whether we may quote you), and it will appear here.

Send a review

FAQ

GIMP background removal questions

8 questions

Still stuck?

A real person answers — usually within a day.

01

How do I remove a background in GIMP?

Add an alpha channel (Layer → Transparency → Add Alpha Channel), select the background with Fuzzy Select or select the subject with Foreground Select and invert, press Delete, then export as PNG with File → Export As.

02

Why does GIMP fill the background with white instead of making it transparent?

The layer has no alpha channel. Choose Layer → Transparency → Add Alpha Channel, then delete again.

03

Which GIMP tool is best for hair?

Foreground Select. Outline the subject, paint over it, check the preview and refine before you press Enter. Fine flyaways still take patience — an AI tool like Kenerate's Cutout HD is faster for hair and fur.

04

How do I remove a white background in GIMP?

Use Colors → Color to Alpha and pick white. It turns white into transparency and softens the edges, which works well for logos and signatures.

05

Why is my GIMP export not transparent?

You probably exported as JPG, which has no transparency. Use File → Export As and save as .png (or .webp).

06

How do I get rid of the white edge (halo) around the cut-out?

Before deleting, shrink the selection by 1–2 px (Select → Shrink), or run Colors → Color to Alpha on the edge colour afterwards.

07

Does this work in GIMP 3?

Yes. The menus used here — Layer → Transparency, Select → Invert, Colors → Color to Alpha and File → Export As — are in both GIMP 2.10 and GIMP 3.

08

Is there a faster way than GIMP?

Yes. Upload the photo to Kenerate's free background remover and download a transparent PNG a few seconds later. New accounts get 25 free credits on sign-up.

Clean edges. Every time.

Hair, fur, glass and white-on-white — cut out in seconds, with no watermark.

Cut-out modes
4
Cut-out modes
Backdrops: clear, white, black
3
Backdrops: clear, white, black
Free credits to start
25
Free credits to start
Watermarks, ever
0
Watermarks, ever

Explore the toolkit

More background and photo-fix tools

Every Kenerate tool, guide and comparison for removing and replacing backgrounds.

Written by the Kenerate AI team

Written by the team behind Kenerate's background remover, using GIMP's own menus and documentation. Last updated 26 September 2026. Corrections: hello@kenerateai.com.

Sources

Ready when you are

Done with masks?

Upload a photo and get a transparent PNG in seconds. 25 free credits on sign-up.

  • 25 free credits
  • No watermark
  • Credits never expire