


How-to · new ratio · extend the background
Expand Image with AI — change the ratio, extend the background
Need a wider, taller or roomier version of a picture? Pick the new shape, slide your photo where it should sit, and AI extends the background around it — no cropping, no stretching.


- Change the ratio, no crop
- Extend the background
- Place the photo left, centre or right
- No watermark
Updated by the Kenerate AI team
On this page
Quick answer
Updated
How do you expand an image with AI?
To expand an image with AI, upload it to Kenerate Expand Image, pick one of 10 ratios from 1:1 to 21:9 — or grow chosen edges by up to 100% — and place the photo. The AI extends the background into the empty space; going from 4:3 to 16:9, for example, a quarter of the result is new.
Key facts
- Two modes
- Ratio (10 shapes) or Grow edges (0–100% per side)
- Placement
- Left / centre / right or top / centre / bottom, or drag
- Edge steps
- 5%, or presets +10 / +25 / +50%
- Describe the new area
- Optional, up to 400 characters
- Canvas
- Capped at 2048 px on the long side
- Photo
- JPG, PNG or WebP, up to 25 MB
Recipes
Six ways to expand an image, with the settings
Common jobs and the exact Expand Image settings for each. The model paints whatever lies past the edges you grow.
Copy space beside a product
Ratio 16:9, photo set to Left. The background grows on the right, leaving room for a headline or a button.
Landscape photo to a vertical story
Ratio 9:16, photo Centre. Sky is added above and ground below; describe it if the top should hold something specific.
Square photo to a widescreen frame
Ratio 16:9, Centre. Both sides grow; about 44% of the result is new.
Website header or banner
Ratio 21:9. From a 16:9 photo roughly a quarter of the banner is new, so the scene stays believable.
A little breathing room
Grow edges, preset +10%. Each side grows by a tenth of the photo — good for a subject touching the frame.
Fix a cut-off top
Grow edges with only Top raised, for example 25%. The tower, hairline or treetop gets its missing part back.
How to
How to expand an image with AI
Five steps in the browser, about a minute end to end.
- Time needed
- Steps
- 4 steps
- You need
- A web browser · An image to expand
Step 1
Upload the image
Add a JPG, PNG or WebP up to 25 MB, or paste a public image link. Running it needs an account with a verified email.
Step 2
Choose Ratio or Grow edges
Ratio: pick one of 10 shapes (16:9 is selected to start); a ratio your image already has is blocked. Grow edges: set each side from 0 to 100% in 5% steps, or tap +10, +25 or +50%.
Step 3
Place the photo
In Ratio mode, set the photo Left, Centre or Right (Top, Centre or Bottom for tall frames), or drag it. The side you leave empty is where the background is extended.
Step 4
Describe the new area (optional)
Up to 400 characters, such as 'continue the wooden table and the white wall'. Leave it blank and the model continues what naturally lies beyond the edges.

Open Expand Image and upload the photo you want to make wider, taller or bigger.


Watch the tour · 1:17
Add a photo, pick a model, new ratio & position or grow edges, describe the new area, results & chat
Chapters
Compared
How much of the expanded image is new?
Expand Image builds the smallest frame of your chosen ratio that holds the whole photo, so the painted share is fixed by the two shapes. Less new area usually means a more convincing result.
| Edges that grow | New area in the result | |
|---|---|---|
| 4:3 → 16:9 | Left and right | 25% |
| 16:9 → 21:9 | Left and right | About 24% |
| 1:1 → 4:5 | Top and bottom | 20% |
| 1:1 → 16:9 or 9:16 | Both sides, or top and bottom | About 44% |
| 3:4 → 16:9 | Left and right | About 58% |
| 3:2 → 9:16 | Top and bottom | About 63% |
| 16:9 → 9:16 | Top and bottom | About 68% |
| Grow edges +10% / +25% / +50% all round | All four | About 31% / 56% / 75% |
Worked out with the frame maths in Expand Image (src/lib/expand-image.ts), 6 October 2026. Placement changes which side the new area is on, not how much there is.
Sources: Kenerate Expand Image · Kenerate Edit Studio (Crop & Expand)
Example uses
How creators use expand image AI
Illustrative examples of typical workflows, not customer reviews.
Café owner
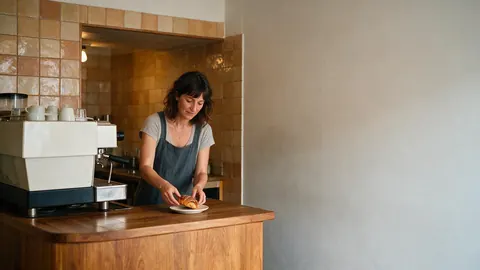
A café owner could expand a 4:3 counter photo to 16:9 with the photo set to Left, turning the extra wall into space for the website's opening hours and headline.
Travel blogger
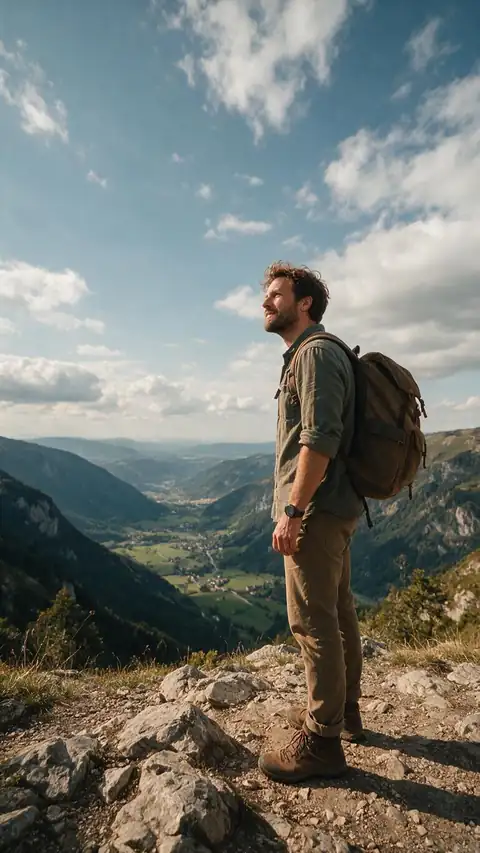
A travel blogger could turn a horizontal viewpoint photo into a 9:16 story by growing the sky and foreground, expanding in two passes when more than half the frame would be new.

Event planner
An event planner could add +10% breathing room on every side of a group photo before printing it as a banner, so no one's shoulder is lost to the trim.
FAQ
Expand image AI questions
7 questions
How do I expand an image with AI?
Upload it to Kenerate's Expand Image, pick Ratio and one of 10 shapes (or Grow edges and a percentage per side), place the photo, and press Expand. Nano Banana 2 Fast is the default model. You get 1 or 2 variations with the original outlined, ready to download without a watermark or to send to Edit or Upscale.
Link to this answerHow do I expand the background of a photo?
Choose a wider or taller ratio, then set the photo to the side opposite where you want more background: Left adds background on the right, Top adds it below. Optionally describe it in up to 400 characters, such as 'more of the same grey studio backdrop'. Plain backgrounds like walls, skies and studio sweeps extend most convincingly.
Link to this answerHow do I change the aspect ratio of an image without cropping it?
Expand it instead of cropping. In Expand Image, pick the target ratio — 1:1, 4:5, 5:4, 3:4, 4:3, 2:3, 3:2, 9:16, 16:9 or 21:9 — and the tool builds the smallest frame of that shape that holds the whole picture. The model then paints the empty strips, so nothing is cut off and nothing is stretched.
Link to this answerCan I expand only one side of an image?
Yes. Switch to Grow edges and raise just one side, from 0 to 100% of the photo's width or height in 5% steps; the other sides stay at 0. You can also drag a side of the frame. In Ratio mode, placing the photo Left, Right, Top or Bottom puts all the new area on the opposite side.
Link to this answerHow much can I expand an image before it looks fake?
There is no fixed limit, but the larger the painted share, the more the model invents. Going from 4:3 to 16:9 adds 25% new area and usually looks natural; a 16:9 photo turned into 9:16 is about 68% new. For big changes, expand in two passes and check the seam with the outline after each one.
Link to this answerDoes expanding an image change the original part?
The model is instructed to keep the original photo's content, position and scale unchanged and to paint only the empty area, with no borders or seams. Because the whole picture is returned by the model, very fine detail can differ slightly; the result screen's outline shows where your original sits, so you can compare the two directly.
Link to this answerIs there a watermark on expanded images?
No. Expanded images download without a watermark on all five models. New accounts get starter credits to try the tool, no subscription is required, and a failed run is refunded automatically. Running an expand needs an account with a verified email.
Link to this answerIn depth
Expanding images with AI, explained
Crop, stretch or expand; how to extend a background cleanly; and when to expand in two passes.
On this page
How do you change an image's aspect ratio without cropping?
There are three ways to fit a picture into a new shape. Cropping cuts part of it away. Stretching distorts everything — faces get wide, circles turn oval. Expanding keeps the whole picture at its own proportions and adds new content around it, which is what Expand Image does: it puts your photo on a bigger canvas of the ratio you chose and has the model paint the empty space with the same perspective, light, colour and grain.
The added content is invented to match, not recovered from anywhere, so treat it as a plausible continuation rather than what was really there.
How to expand an image's background
Background extension is the most common reason to expand: a product shot that needs room for text, a portrait that needs to become a banner, a room photo that cuts off the wall. Place the photo on the side you want to keep tight — Left leaves the new background on the right — and describe the background if it should change as it goes, such as 'the same white wall, then a window with daylight'.
Plain backgrounds extend best: studio sweeps, walls, skies, water, grass, tables. Busy, patterned or symmetrical backgrounds are harder because the pattern has to line up across the seam.
- Easy: studio backdrops, plain walls, sky, sea, foliage, tabletops
- Harder: tiles, brickwork, bookshelves, crowds
- Hardest: lettering cut by the edge, symmetrical buildings
Ratio mode or Grow edges?
Use Ratio when the destination has a fixed shape — a 16:9 thumbnail, a 9:16 story, a 21:9 header. The tool works out which edges grow and by how much; you only choose where the photo sits. Use Grow edges when you want a specific amount of extra room on specific sides, such as 25% on top only. Each side can grow from 0 to 100% of the photo's own width or height.
Big change? Expand in two passes
When more than about half of the result would be new — a 16:9 landscape turned into a 9:16 story, or +50% on every side — the model has more to invent and the scene can drift. Expanding in two steps often looks more natural: 16:9 to 1:1 first, then that result to 9:16. Check each pass with the outline of the original before you continue.
Resolution after an expand
The working canvas is capped at 2048 px on the long side, and each model answers at its own size at the nearest ratio it supports — about 4 MP on the default Nano Banana 2 Fast, 1536 px on the long side for the GPT models. If you need a print or a 4K wallpaper, send the expanded image to Upscale from the result screen.
Give your image the shape it needs
Starter credits for new accounts. No subscription required. No watermark.
Tried it? Tell us how it went