

Flat JPG → PNG layers → layered PSD
JPG to PSD Layers — split a flat JPG into layers for Photoshop
Saving a JPG as PSD still leaves one flat layer. Image Layer separates the background, subjects, text and effects into transparent PNGs that you stack in Photoshop, Photopea or GIMP and save as a layered PSD.


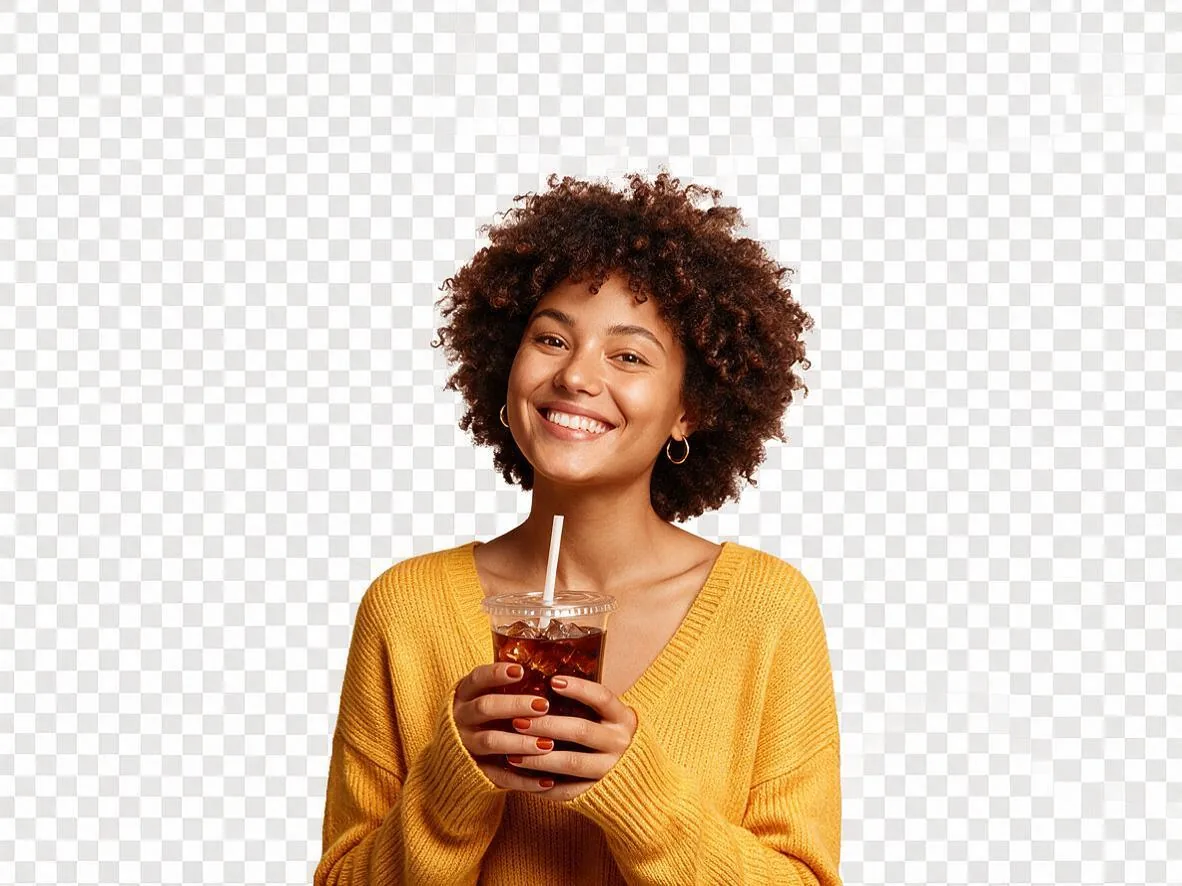
- 2–8 layers, or automatic
- Numbered PNGs in a ZIP
- Stack them in any PSD editor
- No .psd export — said plainly
Updated by the Kenerate AI team
On this page
Quick answer
Updated
Can you convert a JPG to a PSD with layers?
A JPG holds 1 flat layer, so saving it as PSD changes the file type, not the structure. Kenerate Image Layer adds the missing step with AI: it splits the JPG into 2–8 transparent PNG layers (or an automatic count on Layer Pro). Stack them in Photoshop and save a layered PSD; the tool doesn't export .psd itself.
Key facts
- You get
- Transparent PNG layers, not a .psd file
- Layers
- 2–8 on Kenerate Layer; automatic (often 6–12) on Layer Pro
- Download
- Each PNG, or a ZIP of numbered files: 01-background … front
- Size
- About 0.4 MP per layer, or 1K / 1.5K / 2K on Layer Pro
- Order
- Back to front: Background, Layer 2 … Front
- Input
- JPG, PNG or WebP, up to 25 MB
Into your editor
From the PNG layers to a PSD
The ZIP's file names are numbered back to front, so the stack is easy to rebuild in whichever editor you use.
Photoshop
File › Scripts › Load Files into Stack, pick the PNGs, then check Background sits at the bottom and Front on top. Save As › Photoshop (.psd).
Photopea (browser)
Open the background PNG, add the others with File › Open & Place, order them, then File › Save as PSD.
GIMP
File › Open as Layers, select every PNG, reorder in the Layers panel, then File › Export As with a .psd name.
Figma or Canva
No PSD needed: drop the PNGs on the canvas in order. Each keeps its transparency.
Arrange in Kenerate
Skip the desktop app: move layers, scale them 25–300%, hide what you don't need and download the new composition as a PNG.
Edit one layer first
Send any layer to Edit Studio to change it with a prompt, then download it and swap it into your stack.
How to
How to turn a JPG into a layered PSD
Five steps: four in the browser, the last in your PSD editor.
- Time needed
- Steps
- 4 steps
- You need
- A web browser · A JPG to split, and Photoshop, Photopea or GIMP to save the PSD
Step 1
Upload the JPG
Add a JPG (or PNG or WebP) up to 25 MB to Image Layer. Sign in with a verified email to run a split.
Step 2
Choose the engine and layer count
Kenerate Layer: pick 2–8 layers (4 to start). Kenerate Layer Pro: it decides the count and outputs at 1K, 1.5K or 2K — use 2K if the PSD is for print.
Step 3
Describe the picture (optional) and split
Up to 800 characters about what's in the image, including anything partly hidden. Then press 'Split into N layers'.
Step 4
Check and download the ZIP
Look through the layers in Composite, Exploded or Grid view, then download the ZIP: numbered PNGs from 01-background to the front layer.

Open Image Layer and upload any picture — a photo, poster or ad.


Watch the tour · 1:41
Engines, layer count, stack viewer, exploded 3D, arrange a new composition, PNG & ZIP, gallery & chat
Chapters
Models
Which engine for a JPG you'll edit in Photoshop?
Two engines in the same tool. For PSD work the main difference is pixel size. Open a card to start with that engine picked.
Kenerate
Kenerate Layer
- Output
- About 0.4 MP per layer (≈ 640 × 640)
You choose 2–8 layers; good for web graphics, mock-ups and quick re-layouts
Open Kenerate Layer
Kenerate
Kenerate Layer Pro
- Output
- 1K, 1.5K or 2K (≈ 2048 px)
Automatic layer count (often 6–12), cleanest edges on hair and glass; pick 2K for print PSDs
Open Kenerate Layer Pro
Layers come back as PNG files and a ZIP; Image Layer has no .psd export. Kenerate Layer returns about 0.4 MP whatever the JPG's size, so a large photo's layers will be smaller than the original. For full-size Photoshop work use Layer Pro at 2K, or upscale a layer afterwards.
Compared
Three ways to get a JPG into PSD
Only one of them changes how many layers you end up with without hours of masking.
| Save As PSD | Mask by hand | Image Layer + Photoshop | |
|---|---|---|---|
| Layers you get | 1 flat layer | As many as you cut | 2–8, or automatic on Layer Pro |
| Effort | Seconds | Minutes to hours per picture | One split, then Load Files into Stack |
| Edges | — | As good as your selection | AI-cut; Layer Pro is cleanest on hair and glass |
| Text in the picture | Pixels | Pixels | Pixels, on its own layer when it splits cleanly |
| Best for | When software only accepts .psd | Pixel-perfect product cut-outs | Posters, ads and scenes you want to rearrange |
Kenerate Image Layer checked against its code on 6 October 2026. Photoshop, Photopea and GIMP steps are general app features, not part of Kenerate.
Sources: Kenerate Image Layer
Example uses
How creators use JPG to psd layers
Illustrative examples of typical workflows, not customer reviews.

Social media manager
A social media manager could split a client's flattened poster JPG into layers, stack them in Photoshop, and move the subject to make square and story versions without the original design file.
Print shop worker
A print shop worker could rebuild a layered file from a customer's JPG with Kenerate Layer Pro at 2K, so the background colour can be changed before a large-format print.
Bakery owner
A bakery owner could split last year's flyer into layers, swap the photo layer for a new pastry, and download the new composition from Arrange as a PNG.
FAQ
JPG to PSD questions
7 questions
Can I convert a JPG to a PSD with layers?
Not with a plain file conversion: a JPG has one flat layer, so the PSD will too. Separate the JPG first. Kenerate's Image Layer splits it into 2–8 transparent PNG layers with AI, or an automatic count on Layer Pro, and you load those PNGs into Photoshop, Photopea or GIMP as a stack and save a layered PSD.
Link to this answerDoes Kenerate export a PSD file?
No. Image Layer gives you transparent PNG layers, one at a time or as a ZIP of numbered files from 01-background to the front layer. Turning them into a .psd takes one step in your editor, such as File › Scripts › Load Files into Stack in Photoshop, followed by Save As Photoshop.
Link to this answerHow do I get the layers into Photoshop?
Unzip the download, then in Photoshop choose File › Scripts › Load Files into Stack, add the PNGs and press OK. Each file becomes a layer named after it. Make sure Background is at the bottom of the Layers panel and the Front layer at the top, drag to reorder if not, then save as .psd.
Link to this answerWill the text in my JPG be editable in the PSD?
Not as live type. A JPG stores text as pixels, so the best AI separation can do is put the lettering on its own transparent layer, which you can move, recolour or hide. To change the words, hide that layer and retype the text with Photoshop's Type tool on top.
Link to this answerWhat resolution are the layers?
Kenerate Layer returns each layer at about 0.4 MP, around 640 × 640 pixels, whatever the size of your JPG. Kenerate Layer Pro outputs at 1K, 1.5K or 2K and cuts the cleanest edges on hair, glass and soft shadows, so pick it at 2K for print work, or upscale a layer afterwards.
Link to this answerIs JPEG to PSD any different from JPG to PSD?
No. JPG and JPEG are the same format with two file extensions. Image Layer also accepts PNG and WebP, up to 25 MB, and the layers always come back as transparent PNGs whatever you upload.
Link to this answerCan I try it without Photoshop?
Yes. Photopea runs in the browser and saves PSD files, and GIMP is free desktop software that exports .psd. If you only need to rearrange the picture, Image Layer's Arrange view lets you move and scale layers from 25% to 300%, hide some, and download the new composition as a PNG without any other app.
Link to this answerIn depth
JPG to PSD, explained
Why a converted JPG has no layers, what AI separation gives you, and what it can't.
On this page
Why doesn't converting a JPG to PSD give you layers?
A JPG stores one grid of pixels. Whatever layers the designer once had were merged when it was exported, so any converter — Photoshop's Save As, an online file converter — can only wrap that single image in a PSD. You get a .psd file with one Background layer and nothing to move.
To get layers back, something has to decide which pixels belong to which element. That is what AI layer separation does: Image Layer groups the pixels into the background, subjects, text and effects, and returns each group as its own transparent PNG, stacked back to front.
What a layered PSD made this way contains
After you stack the PNGs and save, the PSD holds ordinary pixel layers with transparency. That is enough to move a subject, hide a background, recolour one element or swap a product. A few things don't come back, because they were never in the JPG:
- Live, editable type — text arrives as pixels on a layer; retype it if the words must change
- Adjustment layers, masks, smart objects and layer styles
- The original designer's layer names (yours will be Background, Layer 2 … Front)
How many layers should a JPG be split into?
Count the things you'll want to move separately. A product on a backdrop needs 2–3; a poster with a person, a headline and graphic shapes needs 4–6; a busy collage can use all 8. Too few and different elements share a layer; too many and one object can be split in two. Kenerate Layer Pro picks the count itself when you'd rather not decide.
Resolution: plan before you split
Kenerate Layer returns every layer at about 0.4 MP — roughly 640 × 640 — whatever the size of the JPG, which is fine for web graphics and mock-ups but small for print. Layer Pro outputs at 1K, 1.5K or 2K. The layers are cut to stack on one shared canvas, which can be smaller than your JPG, so build the PSD from the layers themselves rather than placing them over the original.
Only split what you're allowed to edit
Separating a picture into layers makes it easy to reuse parts of it. Split your own designs and photos, client work you're licensed to edit, or images you have the rights to. The optional description is moderation-checked like every text field in the app.
Give your JPG its layers back
Starter credits for new accounts. No subscription required. No watermark.
Tried it? Tell us how it went