


Skip to content
Photoshop guide · updated September 2026

How to sharpen an image in Photoshop — and when to use AI

Smart Sharpen, Unsharp Mask and High Pass, step by step with the exact menus and starting values. Plus what to do when the photo is too blurry for any sharpening filter.

  • Exact menu paths
  • Starting values
  • Real side-by-side
  • AI option for blur
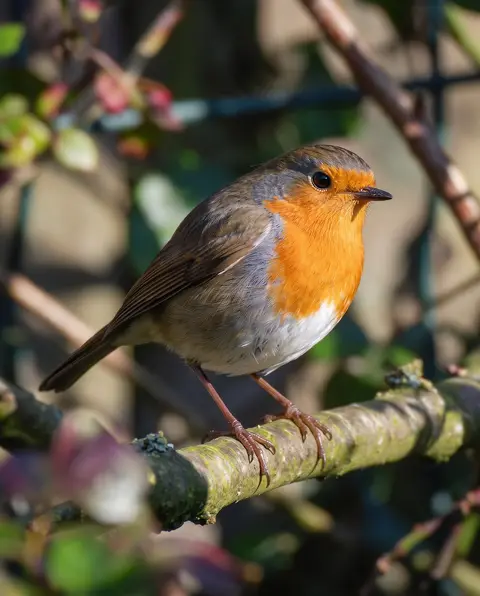
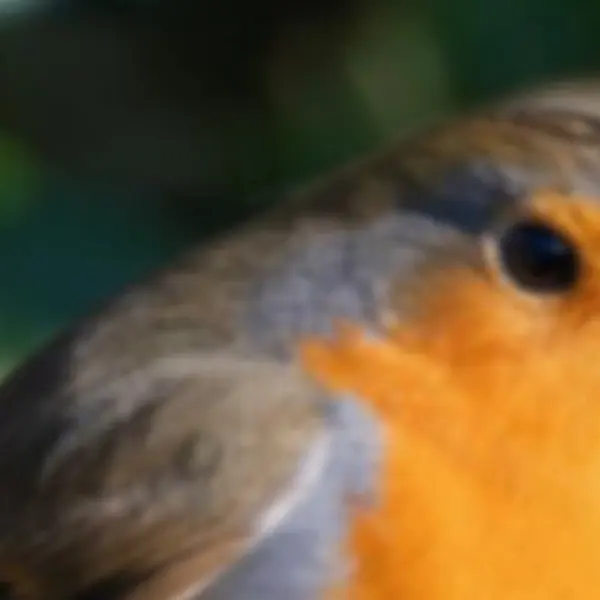
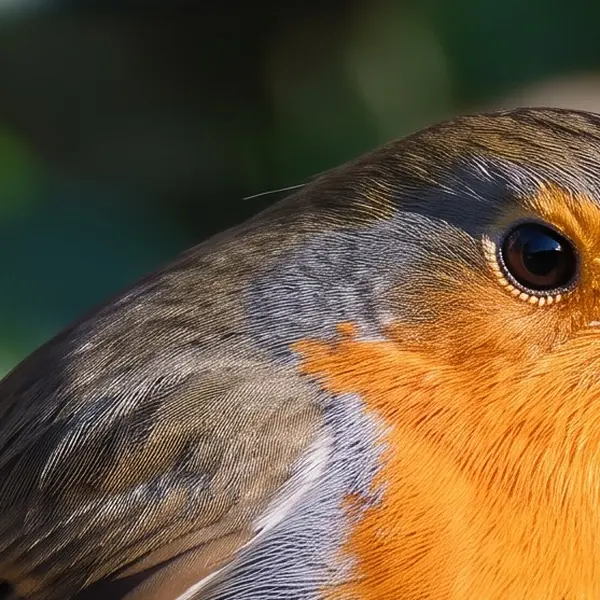
European robin perched on a mossy branch — original 900 px, soft focus
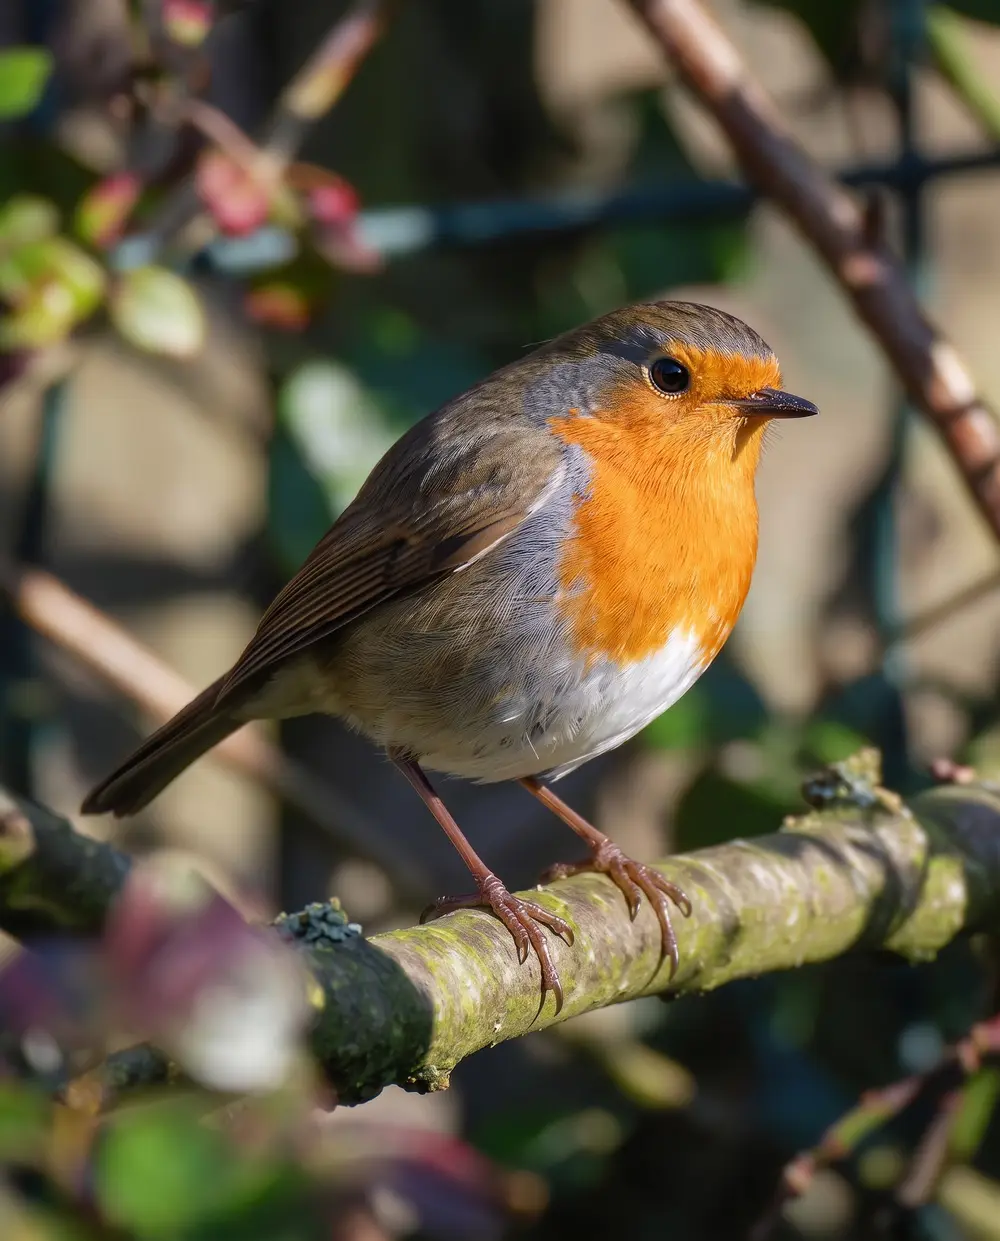
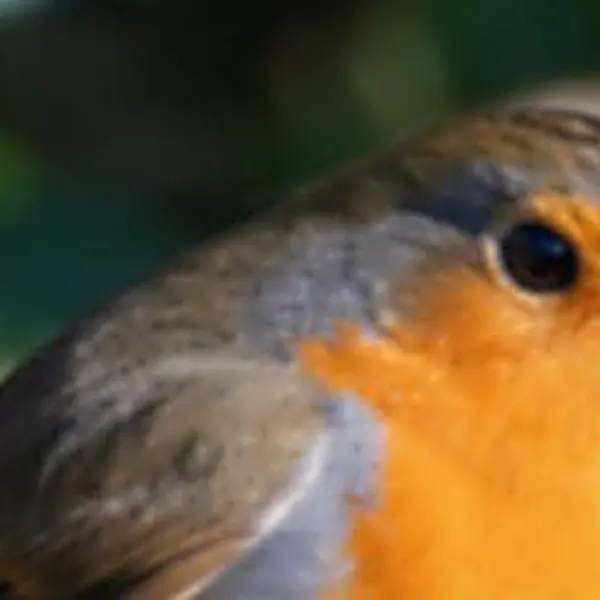
European robin perched on a mossy branch — after Phota Enhance
BEFORE · 900 px, soft focusAFTER · 2304 px, sharp

Phota Enhance900 px, soft focus → 2304 px, sharp

Try this photo
  • Real-ESRGAN
  • Image Upscaler 2K · 4K · 8K
  • Kenerate Upscale · 128 MP
  • Ultimate Upscaler
  • Clarity Pro
  • Phota Enhance
  • Recraft Creative

Quick answer

Updated

To sharpen an image in Photoshop, choose Filter → Sharpen → Smart Sharpen, set Amount (about 100–150%) and Radius (0.5–1.5 px), pick Lens Blur under Remove and raise Reduce Noise if grain appears. Unsharp Mask (Filter → Sharpen → Unsharp Mask) is the quicker classic. Sharpening only adds edge contrast — for a truly blurry photo an AI enhancer such as Kenerate's Phota Enhance rebuilds detail instead.

Best filter
Smart Sharpen
Start with
Amount 100–150% · Radius 0.5–1.5 px
Quick classic
Unsharp Mask
Blurry photo?
Use an AI enhancer

Real results

See what it does to real photos

Every slider is a real Kenerate output from the bad input on the left. Drag to compare, then try the same photo.

  1. European robin perched on a mossy branch — before
    European robin perched on a mossy branch — after
    BeforeAfter

    01Sharpen

    Soft feathers, sharp again

    AI rebuilds what the blur merged — no halos, no crunchy grain.

    Phota Enhance · 900 px, soft focus → 2304 px, sharp

    Try it now
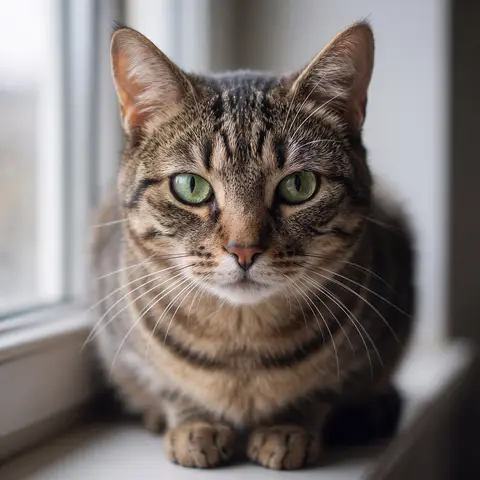
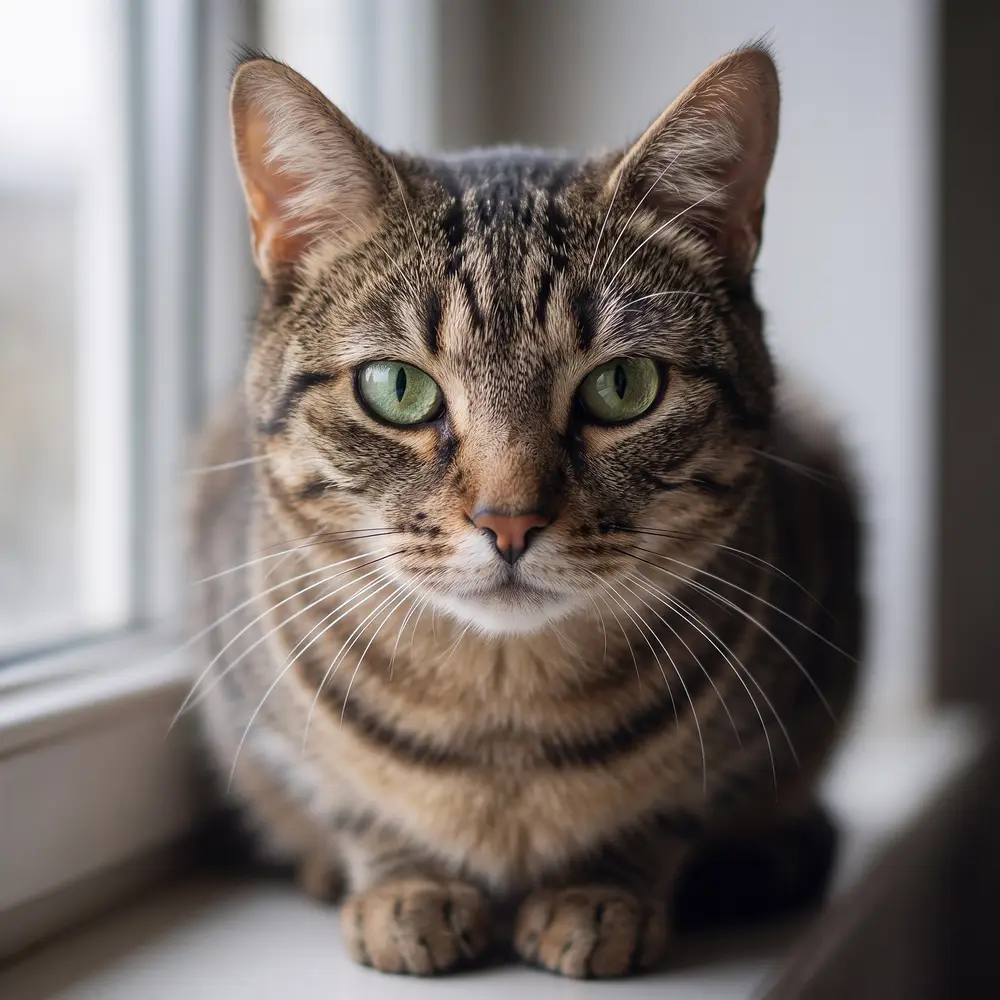
  2. Tabby cat with green eyes on a windowsill — before
    Tabby cat with green eyes on a windowsill — after
    BeforeAfter

    02Blurry photos

    Out of focus? Fur and whiskers return

    Phota Enhance rebuilds the detail a missed focus smeared — eyes, whiskers, every stripe.

    Phota Enhance · 720 px, out of focus → 2048 px, sharp

    Try it now
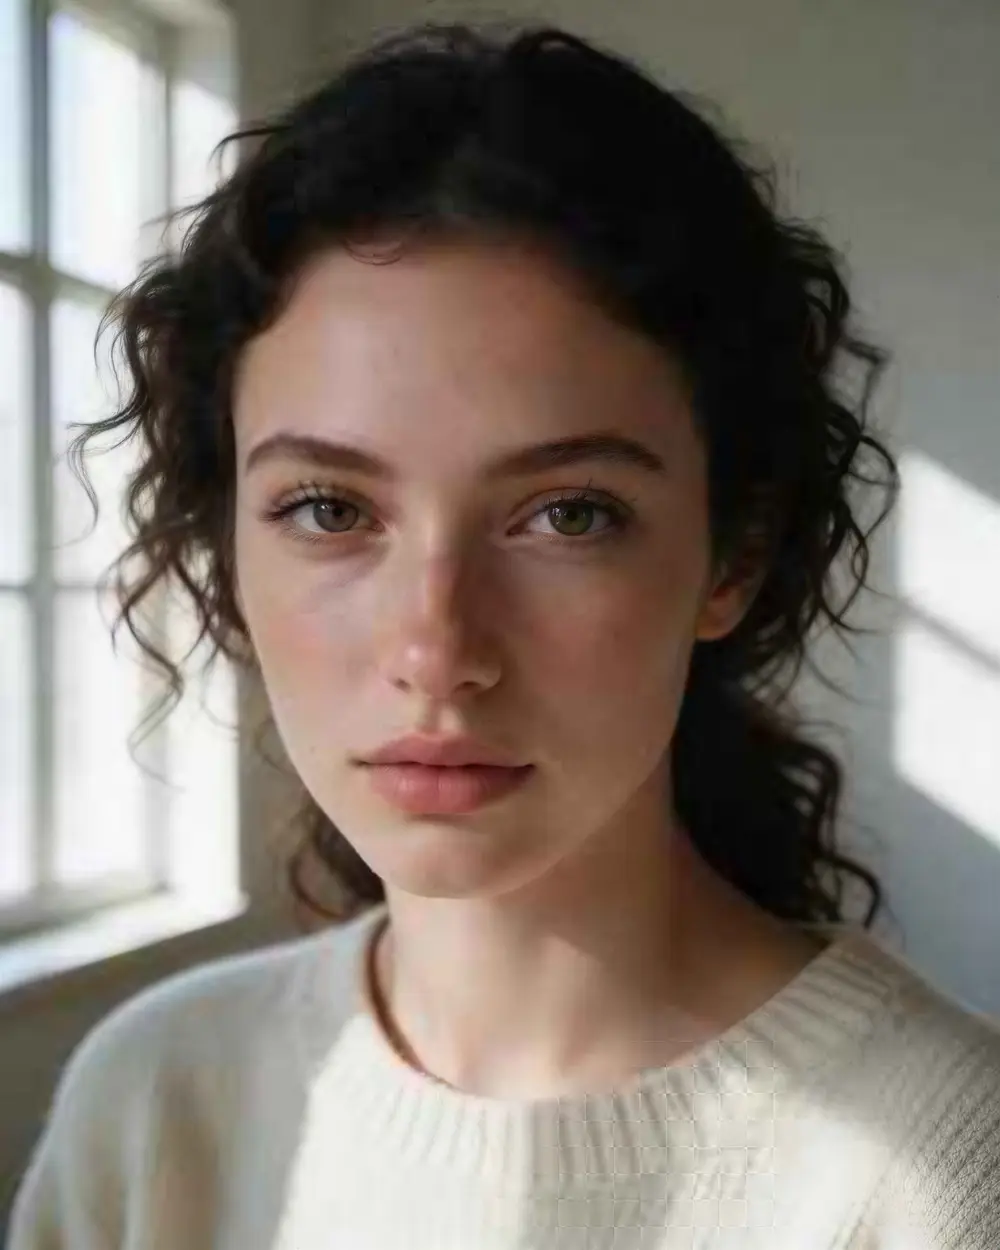
  3. Close-up portrait of a young woman with freckles and dark curly hair — before
    Close-up portrait of a young woman with freckles and dark curly hair — after
    BeforeAfter

    03Low resolution

    A 300-pixel portrait, now 4K

    Skin, lashes and curls come back sharp — and it's still the same person. A faithful upscale, not a new face.

    Image Upscaler · 300 px JPEG → 4K · 3664 × 4579

    Try it now

Method 1 · best

How to sharpen with Smart Sharpen

The most flexible sharpening filter in Photoshop.

  1. Step 1: Make a smart object

    Right-click the layer and choose Convert to Smart Object (or Filter → Convert for Smart Filters) so you can change the sharpening later.

    FilterConvert for Smart Filters

  2. Step 2: Open Smart Sharpen

    Choose Filter → Sharpen → Smart Sharpen and zoom the preview to 100%.

    FilterSharpenSmart Sharpen

  3. Step 3: Set Amount and Radius

    Start around Amount 100–150% and Radius 0.5–1.5 px. A small radius sharpens fine detail; a larger one sharpens broader edges.
  4. Step 4: Pick what to remove and reduce noise

    Set Remove to Lens Blur for finer sharpening with fewer halos (Gaussian Blur behaves like Unsharp Mask), and raise Reduce Noise until grain stops getting worse.

    Tip: Lens Blur finds edges and fine detail and makes fewer halos than Gaussian Blur.

  5. Step 5: Click OK and check at 100%

    Toggle the smart filter on and off to compare. Lower Amount if you see bright halos along edges.

Method 2 · quick

How to sharpen with Unsharp Mask

The fast, traditional filter — three sliders.

  1. Step 1: Open Unsharp Mask

    Choose Filter → Sharpen → Unsharp Mask.

    FilterSharpenUnsharp Mask

  2. Step 2: Set Amount, Radius and Threshold

    For web images try Amount 80–120%, Radius 0.5–1 px, Threshold 0–3 levels. Raise Threshold to protect smooth skin and sky from grain.
  3. Step 3: Apply and compare

    Click OK and compare at 100%. Undo and lower Amount if edges glow.

Method 3 · editable

How to sharpen with High Pass

A layer-based method you can paint out with a mask.

  1. Step 1: Duplicate the layer

    Press Ctrl+J (Cmd+J on Mac) to copy the layer.
  2. Step 2: Run High Pass

    Choose Filter → Other → High Pass and set a Radius of about 1–3 px, until edges just show in the grey preview.

    FilterOtherHigh Pass

  3. Step 3: Blend it in

    Set the copy's blend mode to Overlay (stronger) or Soft Light (gentler) and adjust its opacity.

Side by side

Sharpening filter vs AI: what's the difference?

The same crop of a soft robin photo three ways. Unsharp Mask adds contrast to the edges it finds; the AI rebuilds feathers that the blur had merged.

  • Robin feathers — Original (soft)

    Original (soft)

    The soft 900 px photo, enlarged

  • Robin feathers — Unsharp Mask

    Unsharp Mask

    Amount 160%, Radius 2 px, Threshold 2

  • Robin feathers — AI (Phota Enhance)

    AI (Phota Enhance)

    Detail rebuilt in about 40 seconds

Unsharp Mask applied with the standard algorithm at the settings shown; the AI result is a real Kenerate Phota Enhance output from the same soft photo.

Choosing

Which sharpening method should I use?

All three Photoshop methods, and when to switch to AI.

  • Smart Sharpen

    Best for
    Most photos
    Noise control
    Reduce Noise slider
    Fixes missed focus
    No
    Skill needed
    Medium
  • Unsharp Mask

    Best for
    Quick web output
    Noise control
    Threshold
    Fixes missed focus
    No
    Skill needed
    Low
  • High Pass

    Best for
    Selective sharpening
    Noise control
    Mask it out
    Fixes missed focus
    No
    Skill needed
    Medium
  • AI enhancerKenerate

    Best for
    Blurry or soft photos
    Noise control
    Removes noise
    Fixes missed focus
    Rebuilds detail
    Skill needed
    None

Photo too blurry for a sharpening filter? Try Phota Enhance — it rebuilds detail in about 40 seconds.

Better results

Sharpening tips that avoid halos and noise

  • Sharpen last. Do colour, retouching and resizing first; sharpen for the final size.
  • Judge at 100%. Zoomed-out previews hide halos and grain.
  • Use a smart object so you can reopen the filter and change it.
  • Mask the smooth areas. Skin, sky and backgrounds rarely need sharpening.
  • Print needs more than screen. Ink spreads, so print sharpening can be stronger.
  • Blur from missed focus is different. Filters can't invent lost detail — AI restoration can rebuild it.

Related

More ways to fix a soft photo

In depth

How sharpening works under the hood

Unsharp masking, Smart Sharpen's options, and why sharpening can't replace focus — with sources.

Unsharp masking in one paragraph

Unsharp masking subtracts a blurred copy of the image from the original to isolate edges, then adds that edge detail back at higher contrast [1]. Radius sets how wide the edges are; Amount sets how strong; Threshold skips small differences such as grain.

What Smart Sharpen adds

Smart Sharpen lets you choose which blur to counter — Gaussian, Lens or Motion — and reduce noise while sharpening; Adobe notes Lens Blur detects edges and detail for finer sharpening with fewer halos [2].

Noise is the limit

Every sharpening method also sharpens noise, and noise is unavoidable in low light: photon counts vary pixel to pixel and high ISO makes it visible [3]. That's why Adobe built Denoise as a separate AI step, and why heavy blur is better handled by restoration models that rebuild detail rather than boost edges [4].

Start free

Start free, top up only when you need to

25 free credits on sign-up. The same credits work in every Kenerate tool.

  • 25 free credits on sign-up

    Test on your own images before you buy anything.

  • Credits never expire

    One-time packs — use them this week or next year.

  • No subscription, no watermark

    Nothing to cancel. Free results download clean.

  • One balance, every tool

    The same credits work across images, video, voice and 3D.

Tried it? Tell us how it went

We only publish real, verified reviews — never invented quotes. Send a line about your result (and whether we may quote you), and it will appear here.

Send a review

FAQ

Sharpening questions

7 questions

Still stuck?

A real person answers — usually within a day.

01

How do I sharpen an image in Photoshop?

Choose Filter → Sharpen → Smart Sharpen, set Amount (start around 100–150%) and Radius (0.5–1.5 px), choose Lens Blur in Remove, raise Reduce Noise if grain appears, and click OK. Apply it to a smart object so you can change it later.

02

What is the difference between Smart Sharpen and Unsharp Mask?

Unsharp Mask is the fast, traditional method with Amount, Radius and Threshold. Smart Sharpen adds noise reduction, a choice of blur to remove (Gaussian, Lens or Motion) and separate control of shadows and highlights.

03

Can Photoshop fix a blurry image?

Sharpening makes a slightly soft image look crisper by adding contrast along edges. It cannot recover detail lost to missed focus or heavy blur — an AI restoration model such as Phota Enhance does much better on those.

04

What are good Unsharp Mask settings?

For web images: Amount 80–120%, Radius 0.5–1 px, Threshold 0–3. For print, a slightly larger Radius. Always judge at 100% zoom.

05

How do I sharpen without adding noise?

Use Smart Sharpen's Reduce Noise slider, raise Threshold in Unsharp Mask, or sharpen only edges with a mask. Or use an AI enhancer that removes noise and sharpens in one pass.

06

Should I sharpen before or after resizing?

After. Resize to the final size first, then sharpen for that size and output — sharpening a large image and then shrinking it wastes the effect.

07

Is there a faster way than Photoshop?

Yes — upload the photo to an AI enhancer. On Kenerate, Phota Enhance sharpens soft and blurry photos in about 40 seconds, and Real-ESRGAN sharpens while it enlarges.

Every pixel, rebuilt. Up to 128 MP.

Seven engines in one browser tool — faithful, creative and restoration — up to 8K or 128 MP.

AI engines
7
AI engines
Largest output
128 MP
Largest output
Free credits to start
25
Free credits to start
Straight upscale to
8K
Straight upscale to

Explore the toolkit

More upscale, enhance and restore tools

Every Kenerate page for making images bigger, sharper, cleaner and older photos new again.

Written by the Kenerate AI team

Written by the Kenerate team. Menu paths from Adobe's help pages; the AI example is a real Kenerate output. Last updated 26 September 2026. Corrections: hello@kenerateai.com.

Sources

Ready when you are

Too blurry for Photoshop?

Phota Enhance rebuilds detail in about 40 seconds — no subscription, no watermark.

  • 25 free credits
  • No watermark
  • Credits never expire