


Skip to content
Complete guide · updated September 2026

How to restore old photos, step by step

From the shoebox to a restored print: how to handle and scan old photos like an archivist, repair scratches, tears and fading with AI or by hand in Photoshop and GIMP, and keep them safe for the next generation.

  • Archive-grade scanning
  • AI or manual repair
  • Photoshop & GIMP paths
  • 3-2-1 backups
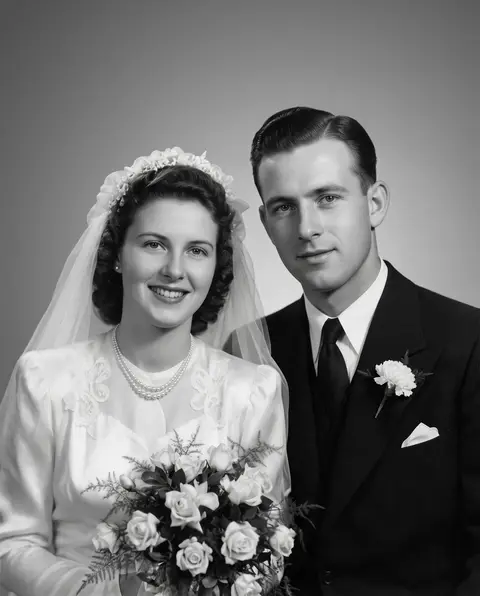
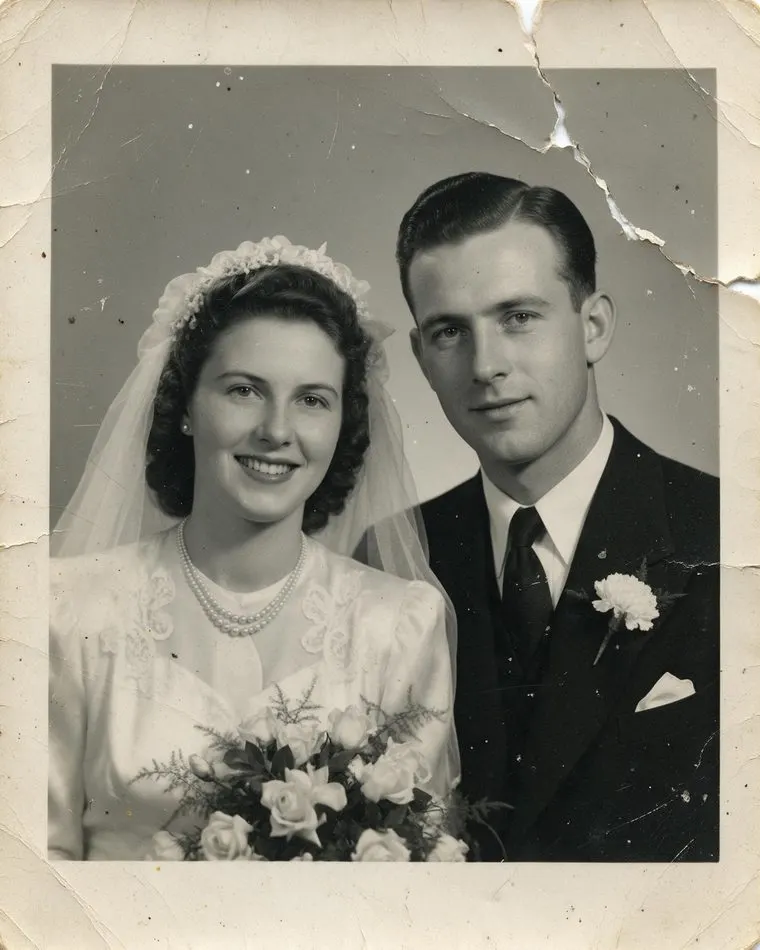
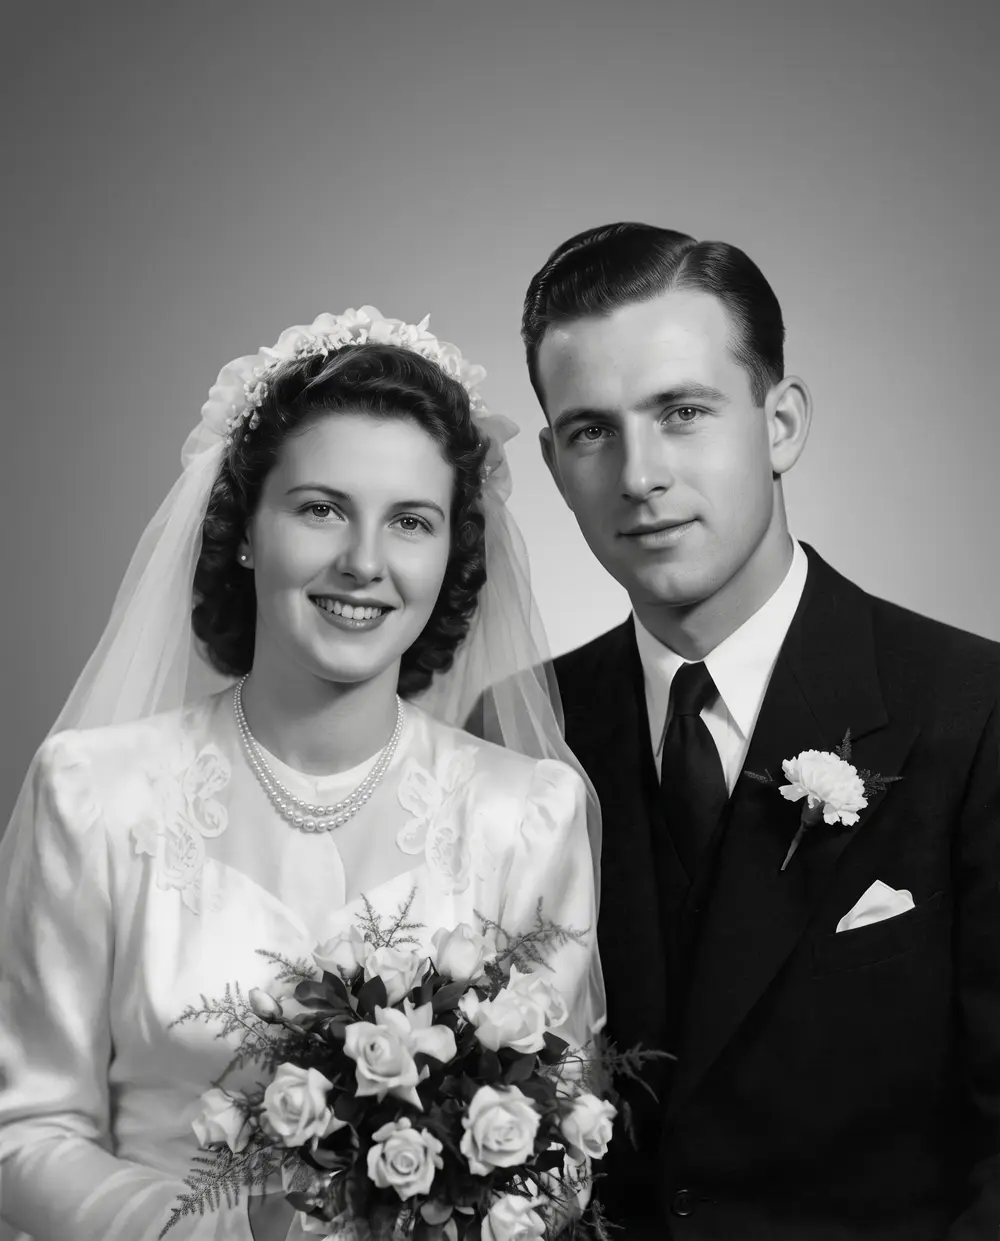
Torn, scratched 1940s black-and-white wedding portrait of a bride and groom — original Scanned print, torn
Torn, scratched 1940s black-and-white wedding portrait of a bride and groom — after Phota Enhance
BEFORE · Scanned print, tornAFTER · Restored · 2304 px

Phota EnhanceScanned print, torn → Restored · 2304 px

Try this photo
  • Real-ESRGAN
  • Image Upscaler 2K · 4K · 8K
  • Kenerate Upscale · 128 MP
  • Ultimate Upscaler
  • Clarity Pro
  • Phota Enhance
  • Recraft Creative

Quick answer

Updated

To restore old photos: handle prints with gloves by the edges, scan at 300 ppi (400–600 ppi to enlarge) and keep the untouched scan, then repair — in one click with an AI restorer like Kenerate's Phota Enhance (about 40 seconds), or by hand in Photoshop (Neural Filters → Photo Restoration, Dust & Scratches, healing tools) or GIMP (Despeckle, Heal). Fix faded colour with Levels or Auto Color, then back up 3 copies on 2 media with 1 off-site.

Scan at
300 ppi (400–600 to enlarge)
AI restore
Phota Enhance · about 40 s
Free manual
GIMP Heal + Despeckle
Backups
3 copies · 2 media · 1 off-site

Real results

See what it does to real photos

Every slider is a real Kenerate output from the bad input on the left. Drag to compare, then try the same photo.

  1. Torn, scratched 1940s black-and-white wedding portrait of a bride and groom — before
    Torn, scratched 1940s black-and-white wedding portrait of a bride and groom — after
    BeforeAfter

    01Tears & scratches

    A torn wedding portrait, whole again

    The tear, scratches and dust repaired — still in black-and-white, still them.

    Phota Enhance · Scanned print, torn → Restored · 2304 px

    Try it now
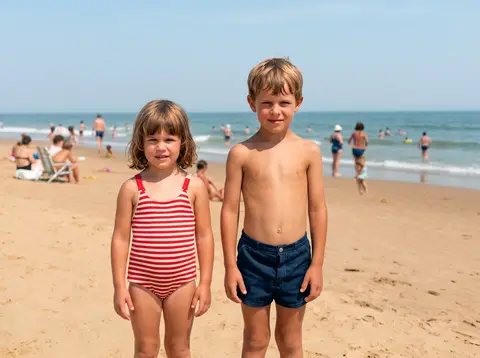
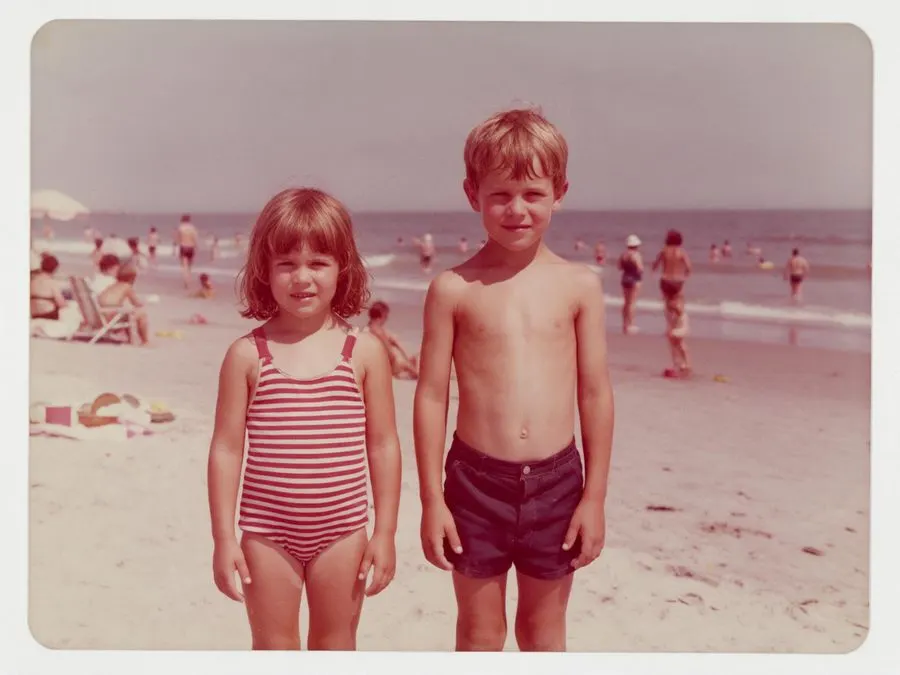
  2. Faded 1970s colour snapshot of two children on a beach with a red-magenta cast — before
    Faded 1970s colour snapshot of two children on a beach with a red-magenta cast — after
    BeforeAfter

    02Faded colour

    The 1970s colours, back

    The red-magenta cast of a faded print corrected: blue sky, real skin tones.

    Phota Enhance · Scanned print, faded → Colour restored · 2400 px

    Try it now
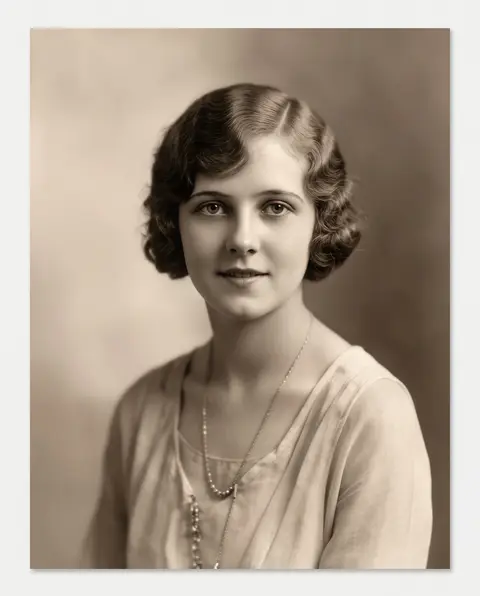
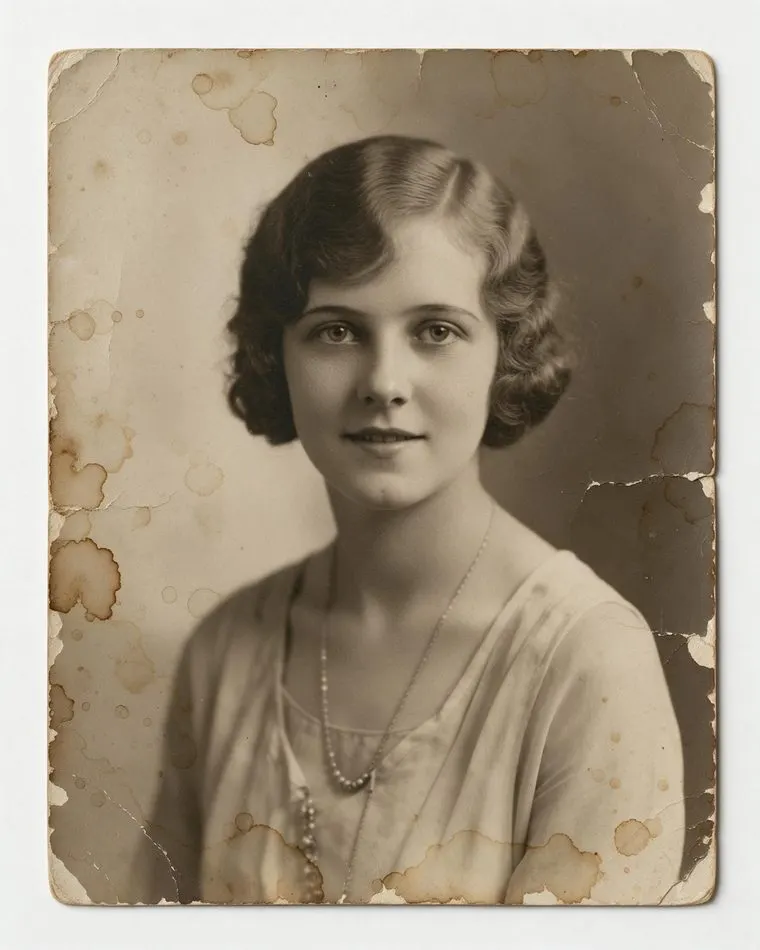
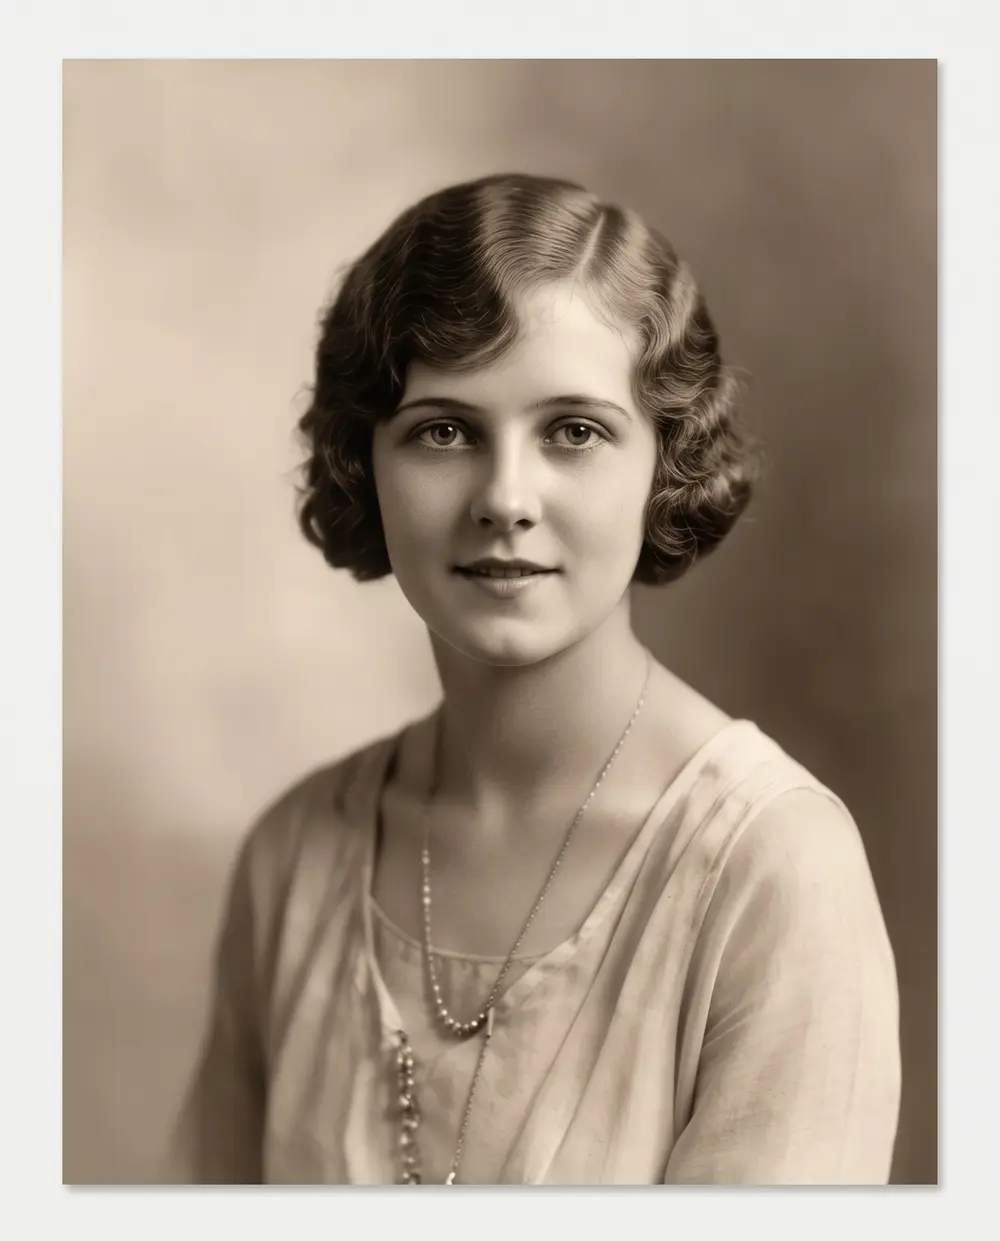
  3. Water-stained, cracked 1920s sepia portrait of a young woman — before
    Water-stained, cracked 1920s sepia portrait of a young woman — after
    BeforeAfter

    03Water damage

    Water stains, lifted

    Brown stains and cracked emulsion cleaned from a 1920s portrait.

    Phota Enhance · Scanned print, stained → Restored · 2304 px

    Try it now
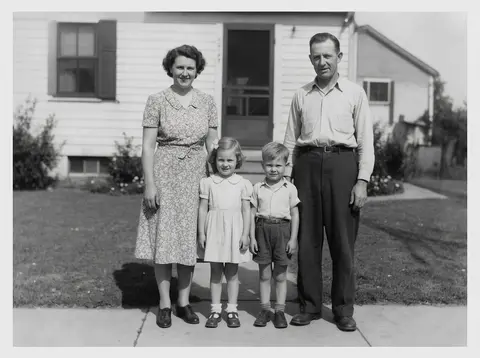
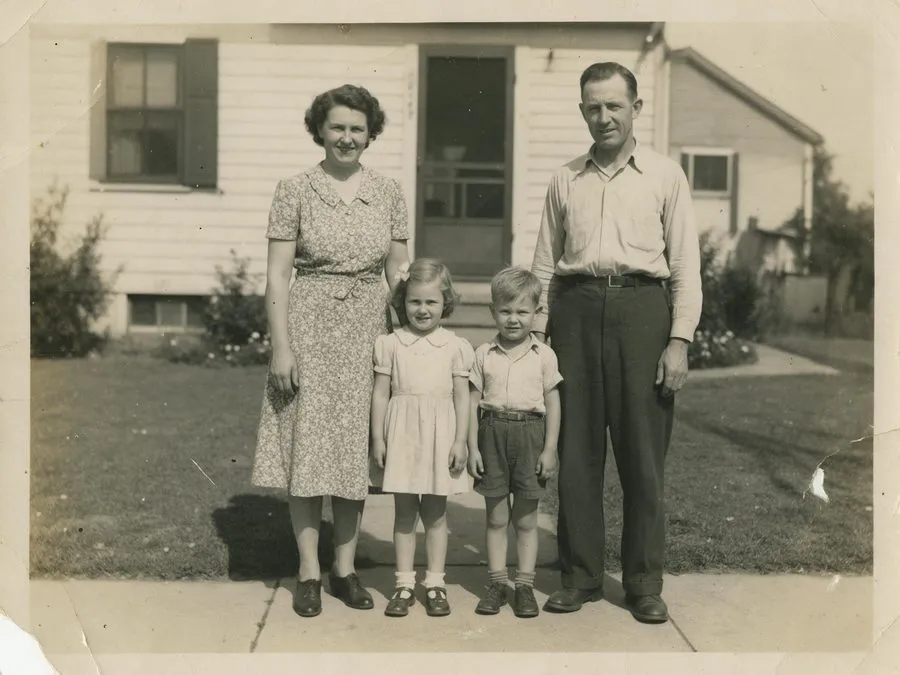
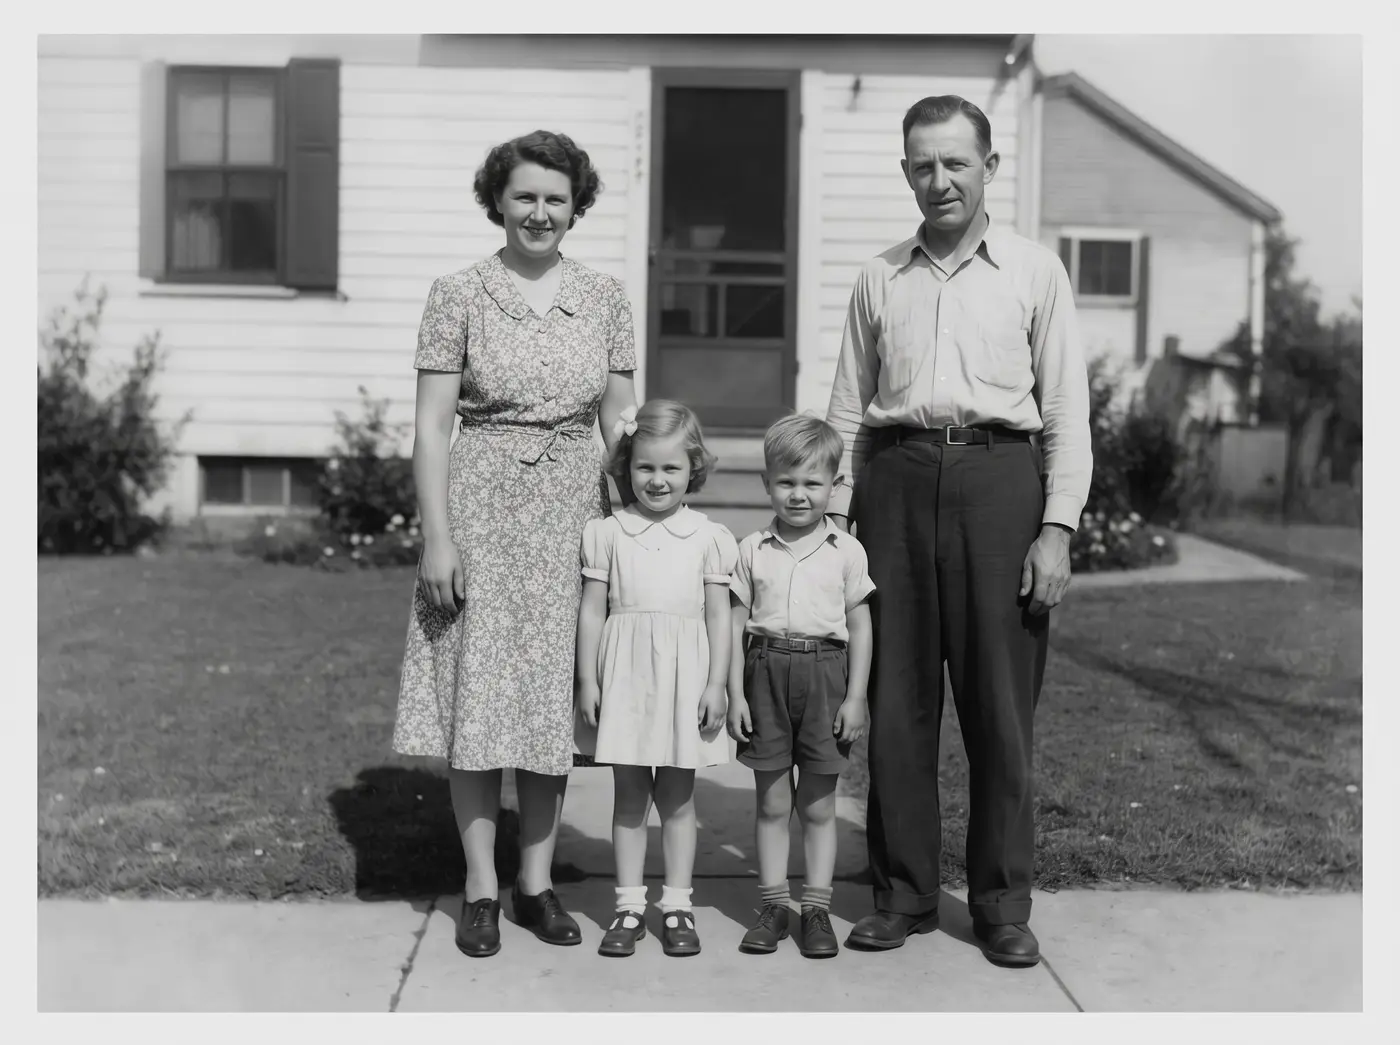
  4. Faded 1950s black-and-white family photo in front of a house, with scratches and a torn corner — before
    Faded 1950s black-and-white family photo in front of a house, with scratches and a torn corner — after
    BeforeAfter

    04Photo restoration

    A 1950s family print, repaired

    Creases, scratches and a torn corner fixed, fading lifted — the photo stays black-and-white.

    Phota Enhance · Scanned print → Restored · 2400 px

    Try it now

The whole process

The 5 steps to restore an old photo

  1. Step 1: Handle and clean the print

    Wear gloves, hold prints by the edges and remove loose dust with an air bulb — never wipe the surface.
  2. Step 2: Scan it

    300 ppi for 4×6 and 5×7 prints, 400–600 ppi if you'll enlarge; save a TIFF or PNG master and keep the original print.
  3. Step 3: Repair the damage

    One-click with AI (Kenerate Phota Enhance), or by hand in Photoshop or GIMP with healing and clone tools.
  4. Step 4: Fix faded colour and contrast

    Correct the red cast of faded colour prints and restore contrast with Levels, Curves or Auto Color — or let the AI do it.
  5. Step 5: Print, share and preserve

    Print the restored copy, and keep 3 copies of the files on 2 kinds of media with 1 off-site.

Step 1

Handle and clean the original

Most damage to old prints happens while handling them. Advice from the US National Archives and NEDCC.

  1. Step 1: Wear gloves

    The US National Archives says to handle photographs with gloves because fingerprints can cause permanent stains.
  2. Step 2: Hold by the edges

    Support fragile prints from underneath; don't flex curled or cracked prints flat.
  3. Step 3: Dust gently

    Remove loose dust with an air bulb blower, not a cloth or canned air.
  4. Step 4: Remove harmful attachments carefully

    Rubber bands, paper clips and pressure-sensitive tape damage photos over time — NEDCC advises avoiding them.

Step 2

Scan old photos the right way

A good scan is the foundation of every restoration.

  1. Step 1: Choose the resolution

    The Library of Congress suggests 300 ppi for 4×6 and 5×7 prints and 400–600 dpi if you plan to enlarge to 8×10 or bigger.
  2. Step 2: Check the fit

    Make sure the print sits fully on the glass — the National Archives warns a scanner lid can crush an oversized original.
  3. Step 3: Save a master

    Save the untouched scan as TIFF or PNG. Archival FADGI guidelines keep dust removal and colour correction off the master file.
  4. Step 4: Keep the original

    The National Archives advises keeping originals after digitising, because digital files have their own preservation risks.

No scanner?

Lay the print flat by a window in soft daylight, hold the phone parallel to it and turn the flash off to avoid glare. Then run the photo through the restorer.

Step 3 · the fast way

Repair the damage with AI

Real Phota Enhance restorations. Each took about 40 seconds, with no watermark.

At 100%

Before and after, zoomed in

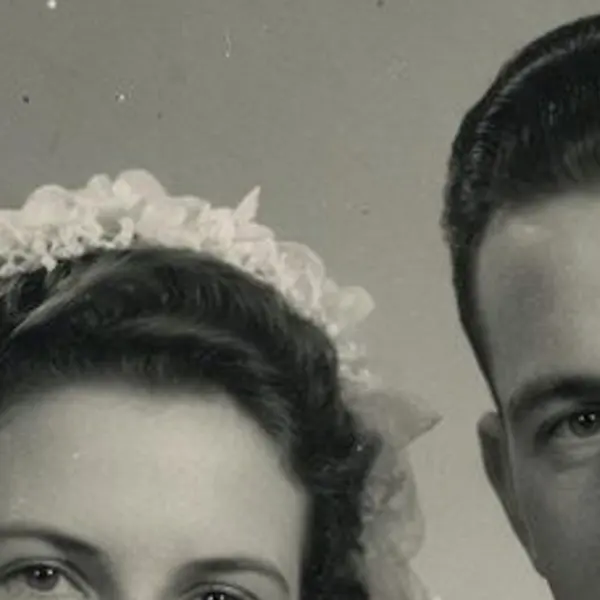
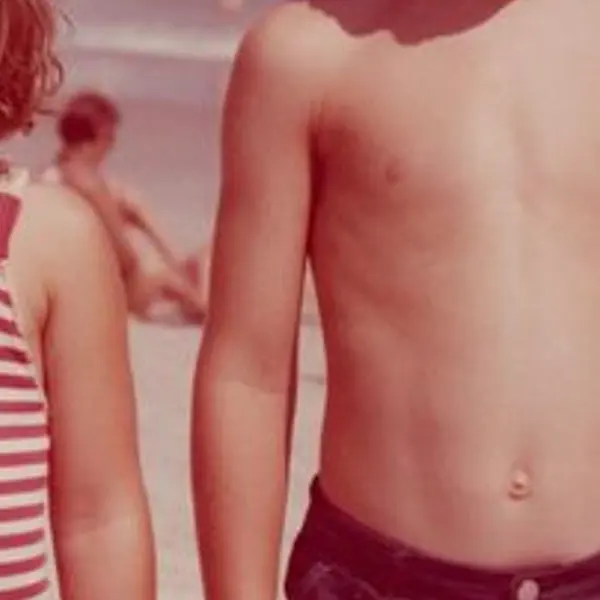
The same area of each scan before and after Phota Enhance.

  • Torn, scratched 1940s black-and-white wedding portrait of a bride and groom — the Scanned print, torn original stretched to the same size (bicubic)
    Stretched
    Torn, scratched 1940s black-and-white wedding portrait of a bride and groom — the same crop after Phota Enhance
    Phota Enhance

    Torn 1940s wedding photo · Scanned print, torn → Restored · 2304 px

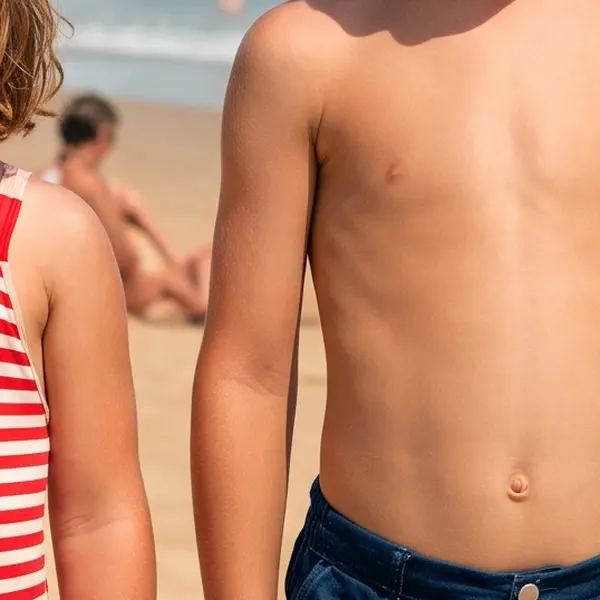
  • Faded 1970s colour snapshot of two children on a beach with a red-magenta cast — the Scanned print, faded original stretched to the same size (bicubic)
    Stretched
    Faded 1970s colour snapshot of two children on a beach with a red-magenta cast — the same crop after Phota Enhance
    Phota Enhance

    Faded 1970s colour print · Scanned print, faded → Colour restored · 2400 px

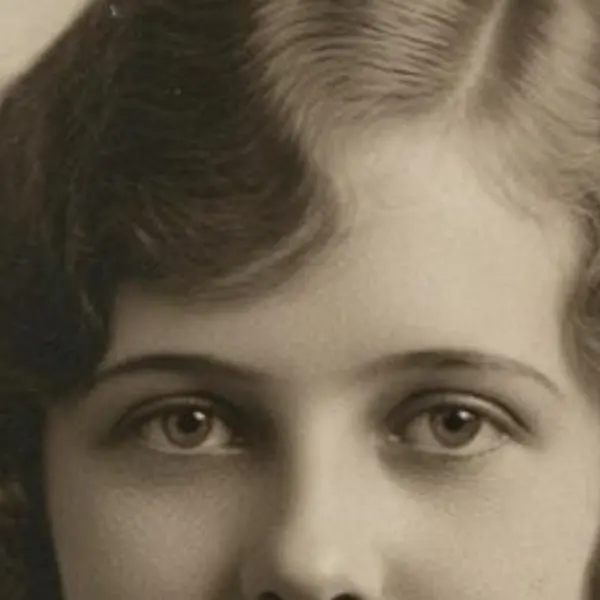
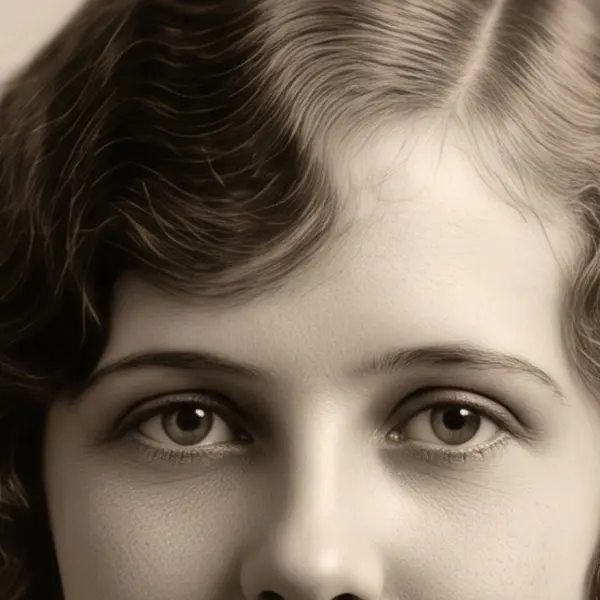
  • Water-stained, cracked 1920s sepia portrait of a young woman — the Scanned print, stained original stretched to the same size (bicubic)
    Stretched
    Water-stained, cracked 1920s sepia portrait of a young woman — the same crop after Phota Enhance
    Phota Enhance

    Water-damaged portrait · Scanned print, stained → Restored · 2304 px

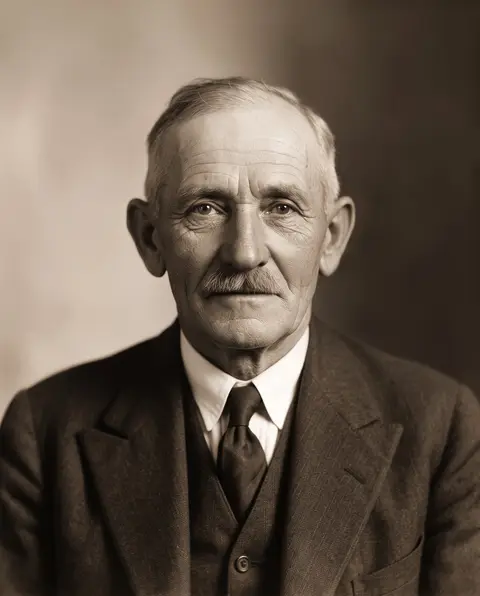
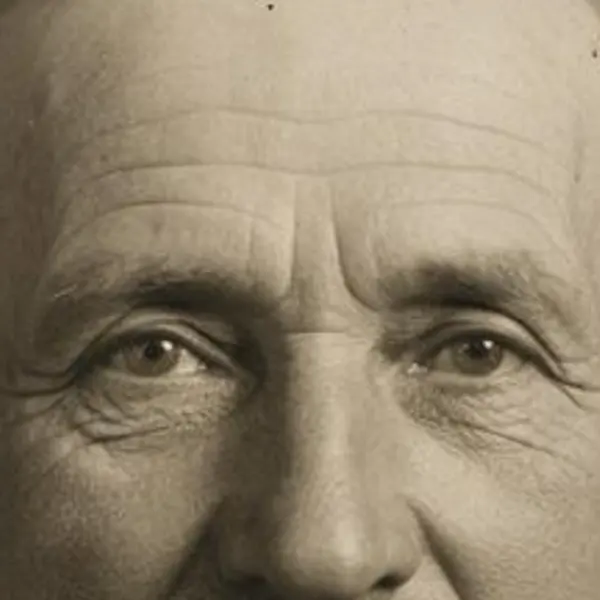
  • Damaged sepia studio portrait of an elderly man with a mustache — the Scanned print original stretched to the same size (bicubic)
    Stretched
    Damaged sepia studio portrait of an elderly man with a mustache — the same crop after Phota Enhance
    Phota Enhance

    1930s portrait · Scanned print → Restored · 2304 px

Left: the original enlarged with ordinary bicubic resizing. Right: the same area of the real Kenerate output. Both crops are shown at the same size.

Have a scan ready? Restore it in about 40 seconds — no subscription.

Step 3 · by hand

How to restore an old photo in Photoshop

The professional route — slower, with full control.

  1. Step 1: Duplicate the layer

    Work on a copy so the original scan stays untouched.
  2. Step 2: Try Photo Restoration

    Filter → Neural Filters → Photo Restoration, then adjust the image enhancement, enhance face and scratch reduction sliders; output to a new layer.

    FilterNeural FiltersPhoto Restoration

  3. Step 3: Remove dust and specks

    Filter → Noise → Dust & Scratches: use the smallest Radius that removes the specks, and raise Threshold as high as it will go while still removing them.

    FilterNoiseDust & Scratches

  4. Step 4: Heal scratches and tears

    Spot Healing Brush for small marks; Healing Brush (Alt/Option-click to sample) for bigger ones; the Patch tool for areas; Clone Stamp for hard edges and missing corners.
  5. Step 5: Fix colour and contrast

    Add a Levels or Curves adjustment layer; Alt/Option-click Auto for Auto Color Correction Options on faded colour prints.
Torn, scratched 1940s black-and-white wedding portrait of a bride and groom — original Scanned print, torn
Torn, scratched 1940s black-and-white wedding portrait of a bride and groom — after Phota Enhance
BEFORE · Scanned print, tornAFTER · Restored · 2304 px

The same kind of job done by AI in one pass.

Step 3 · free

How to restore an old photo in GIMP

Free on Windows, Mac and Linux.

  1. Step 1: Remove specks

    Filters → Enhance → Despeckle — made for dust and scratches on scanned images.

    FiltersEnhanceDespeckle

  2. Step 2: Heal and clone

    Tools → Paint Tools → Heal (H) or Clone (C); Ctrl-click to pick the source, then paint over the damage.

    ToolsPaint ToolsHeal

  3. Step 3: Fix colour

    Colors → Auto → White Balance for colour casts; Colors → Levels → Auto Input Levels for contrast.

    ColorsAutoWhite Balance

Step 3 · choosing

AI vs Photoshop vs GIMP for restoring photos

Three ways to do the repair step.

  • AI restorerKenerate Phota Enhance

    Time per photo
    About 40 seconds
    Skill needed
    None
    Faces
    Rebuilt by AI — check them
    Faded colour
    Corrected automatically
  • Photoshopfilters + healing

    Time per photo
    30 min to hours
    Skill needed
    Medium to high
    Faces
    By hand
    Faded colour
    Levels / Curves / Auto Color
  • GIMPfree, manual

    Time per photo
    Hours
    Skill needed
    High
    Faces
    By hand
    Faded colour
    White Balance / Levels

Step 5

Print, share and preserve

Restoring is wasted if the files are lost. The archivists' rules.

  1. Step 1: Follow the 3-2-1 rule

    The National Archives: three copies, on two different media, with one copy off-site.
  2. Step 2: Check and refresh

    The Library of Congress: check your photos at least once a year and create new media copies every five years.
  3. Step 3: Store the originals well

    NEDCC recommends about 65–70°F and 30–50% relative humidity with small daily changes; decay roughly doubles with every 10°F rise.

In depth

Why old photos deteriorate — and how repairs work

The science of fading, what the tools do, and archival rules — with sources.

Why prints fade, stain and crack

The Northeast Document Conservation Center explains that in colour prints the cyan dye usually fades first, leaving a reddish tinge; many early colour photos lost about 30% of their dyes within 10–15 years [1]. High humidity drives fading, discoloration and silver mirroring, and chemical decay roughly doubles with every 10°F rise in temperature [2].

What the repair tools actually do

Photoshop's Healing Brush paints with a sample to repair imperfections and the Patch tool repairs a selected area from a sample [3]; Dust & Scratches removes specks by changing dissimilar pixels within a radius [4]. GIMP's Heal tool does the same kind of repair, taking surrounding pixels into account [5]. AI restorers go further by rebuilding faces from a learned face prior, as research models like GFPGAN do [6] — faster, but a guess where damage is heavy.

The archivists' rules for your files

The US National Archives recommends keeping originals after scanning and following the 3-2-1 rule — three copies, two media, one off-site [7]. The Library of Congress adds: check your photos at least once a year and copy them to new media every five years [8]. Keep the untouched scan as your master; restore a copy.


Related

Tools and guides

Start free

Start free, top up only when you need to

25 free credits on sign-up. The same credits work in every Kenerate tool.

  • 25 free credits on sign-up

    Test on your own images before you buy anything.

  • Credits never expire

    One-time packs — use them this week or next year.

  • No subscription, no watermark

    Nothing to cancel. Free results download clean.

  • One balance, every tool

    The same credits work across images, video, voice and 3D.

Tried it? Tell us how it went

We only publish real, verified reviews — never invented quotes. Send a line about your result (and whether we may quote you), and it will appear here.

Send a review

FAQ

Restoring old photos — FAQ

7 questions

Still stuck?

A real person answers — usually within a day.

01

How do I restore old photos?

Scan the print at 300–600 ppi and keep the untouched scan. Then repair the damage — in one click with an AI restorer such as Kenerate's Phota Enhance, or by hand in Photoshop (Photo Restoration filter, Dust & Scratches, healing tools) or GIMP (Despeckle, Heal, Clone). Fix faded colour and contrast, print the restored copy, and keep backups using the 3-2-1 rule.

02

How do I restore old photos for free?

GIMP is free: Despeckle for dust, Heal and Clone for scratches, and Auto White Balance and Levels for faded colour. It takes practice and time. AI tools do it in under a minute; Kenerate gives 25 free credits on sign-up to test Phota Enhance, with no subscription.

03

Why do old colour photos turn red or pink?

The cyan dye in colour prints usually fades first, leaving a reddish tinge. NEDCC notes many early colour prints lost about 30% of their dyes within 10–15 years.

04

What resolution should I scan old photos at?

300 ppi for normal 4×6 and 5×7 prints, 400–600 ppi if you'll print them larger (Library of Congress). Save a TIFF or PNG master.

05

Should I keep the original photo after scanning?

Yes. The US National Archives advises keeping originals, because digital files have their own risks. Store them cool, dry and away from light.

06

Can AI restore a badly damaged photo?

It can remove scratches, stains, creases and fading, and sharpen faces. Where large parts are missing it has to invent them, so check faces and details against the original.

07

How do I restore old photos on my phone?

Photograph the print flat in soft daylight without flash, then open kenerateai.com in your phone's browser and run Phota Enhance on it.

Every pixel, rebuilt. Up to 128 MP.

Seven engines in one browser tool — faithful, creative and restoration — up to 8K or 128 MP.

AI engines
7
AI engines
Largest output
128 MP
Largest output
Free credits to start
25
Free credits to start
Straight upscale to
8K
Straight upscale to

Explore the toolkit

More upscale, enhance and restore tools

Every Kenerate page for making images bigger, sharper, cleaner and older photos new again.

Written by the Kenerate AI team

Written by the Kenerate team from US National Archives, Library of Congress, NEDCC, Adobe and GIMP documentation. Every restoration shown is a real Kenerate output. Last updated 26 September 2026. Corrections: hello@kenerateai.com.

Sources

Ready when you are

Restore your first old photo

Phota Enhance — about 40 seconds, no subscription, no watermark.

  • 25 free credits
  • No watermark
  • Credits never expire