
Skip to content
Guide · updated September 2026

How to increase the resolution of an image

Five ways to make a picture higher resolution — with AI, Photoshop, GIMP, a Mac or Windows — with the exact menus, plus why changing DPI does nothing and which method actually adds detail.

  • Exact menu paths
  • AI vs resampling
  • Windows, Mac, phone
  • Print sizes
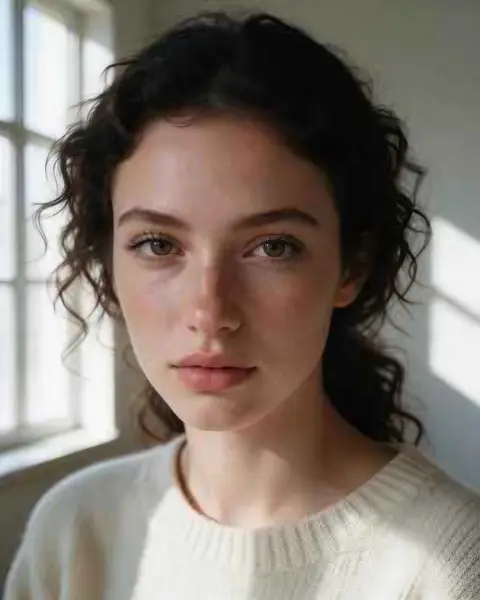
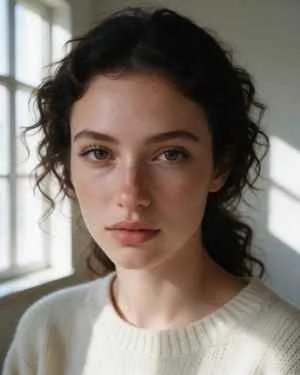
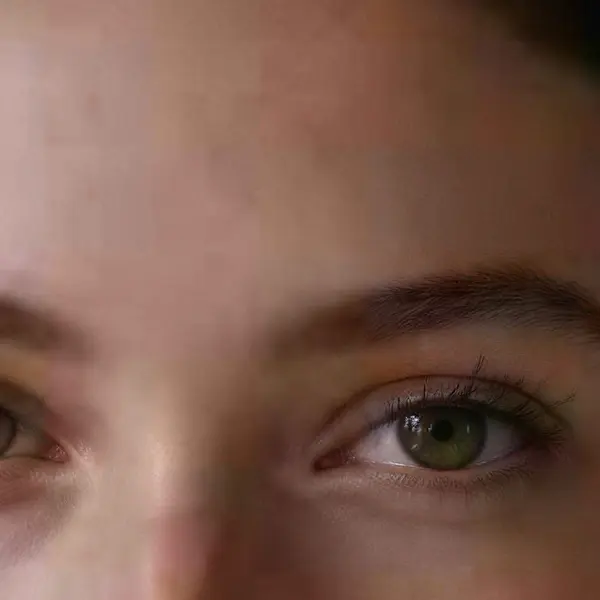
Close-up portrait of a young woman with freckles and dark curly hair — original 300 px JPEG
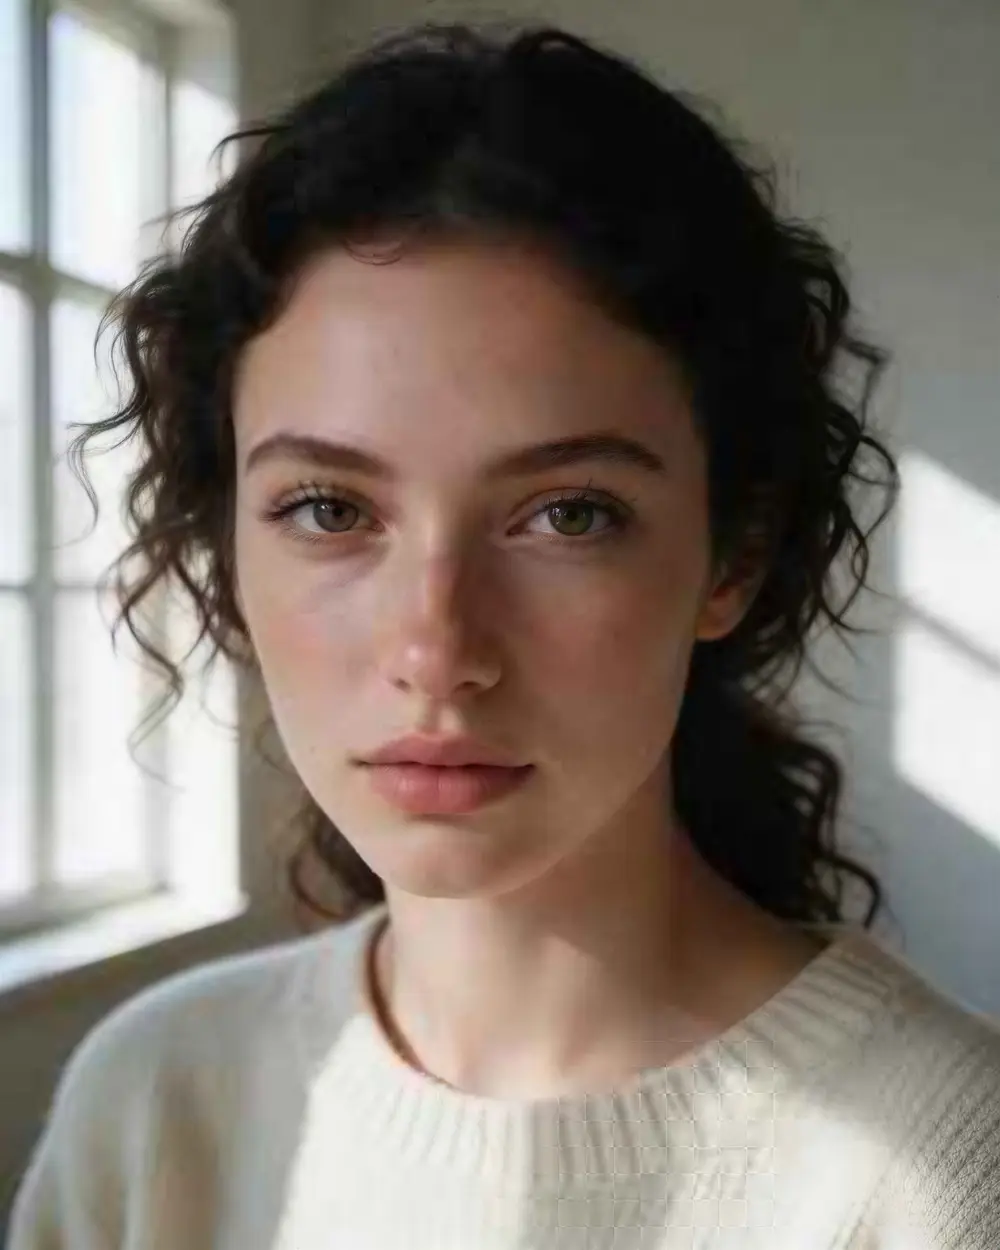
Close-up portrait of a young woman with freckles and dark curly hair — after Image Upscaler
BEFORE · 300 px JPEGAFTER · 4K · 3664 × 4579

Image Upscaler300 px JPEG → 4K · 3664 × 4579

Try this photo
  • Real-ESRGAN
  • Image Upscaler 2K · 4K · 8K
  • Kenerate Upscale · 128 MP
  • Ultimate Upscaler
  • Clarity Pro
  • Phota Enhance
  • Recraft Creative

Quick answer

Updated

To increase the resolution of an image, add pixels with an AI upscaler: upload it to kenerateai.com, choose 4K or an exact size, and download — AI rebuilds detail as it enlarges (25 free credits on sign-up). You can also resample in Photoshop (Image → Image Size), GIMP (Image → Scale Image) or Mac Preview (Tools → Adjust Size), but that only interpolates and looks softer. Changing DPI adds no pixels.

Best way
AI upscaler (adds detail)
Photoshop
Image → Image Size → Resample
Mac
Preview → Tools → Adjust Size
DPI change
Adds no pixels

Real results

See what it does to real photos

Every slider is a real Kenerate output from the bad input on the left. Drag to compare, then try the same photo.

  1. Close-up portrait of a young woman with freckles and dark curly hair — before
    Close-up portrait of a young woman with freckles and dark curly hair — after
    BeforeAfter

    01Low resolution

    A 300-pixel portrait, now 4K

    Skin, lashes and curls come back sharp — and it's still the same person. A faithful upscale, not a new face.

    Image Upscaler · 300 px JPEG → 4K · 3664 × 4579

    Try it now
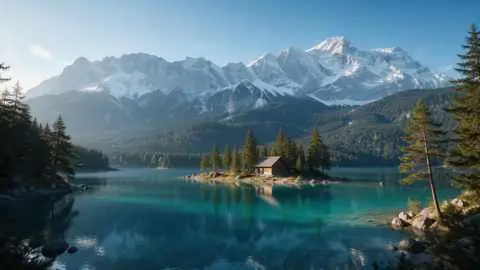
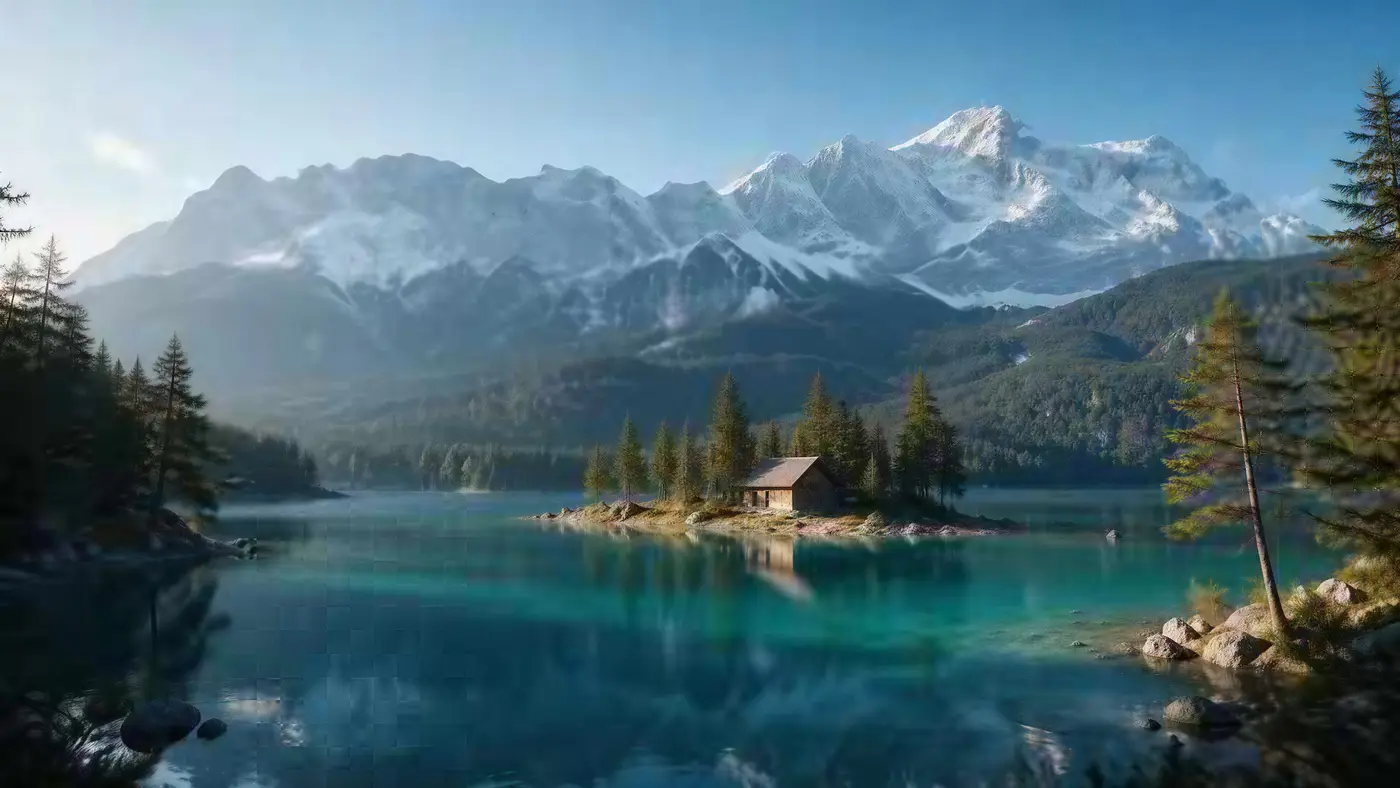
  2. Turquoise alpine lake below snowy mountains with a wooden cabin — before
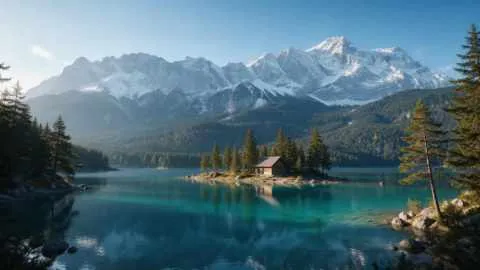
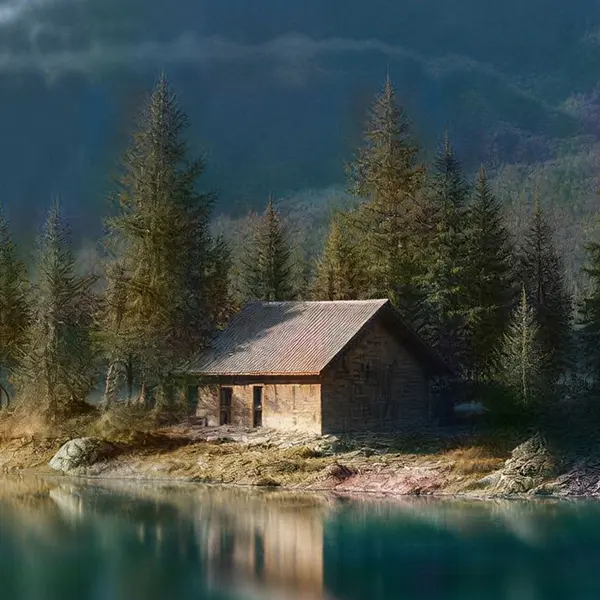
    Turquoise alpine lake below snowy mountains with a wooden cabin — after
    BeforeAfter

    02Upscale to 4K

    A tiny landscape, wallpaper-sized

    480 px in, 5461 × 3072 out. Trees, snow and the cabin sharpen instead of smearing.

    Image Upscaler · 480 px JPEG → 4K · 5461 × 3072

    Try it now
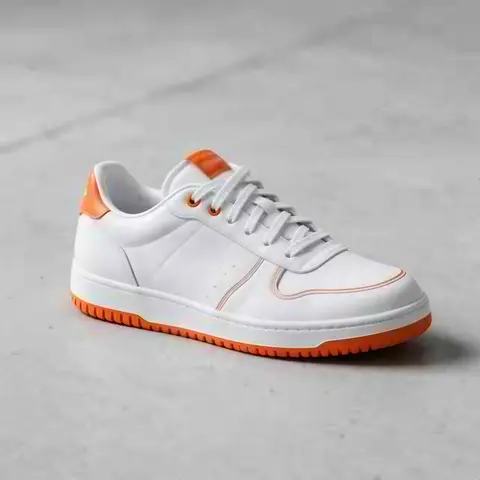
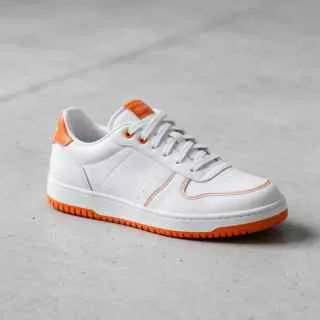
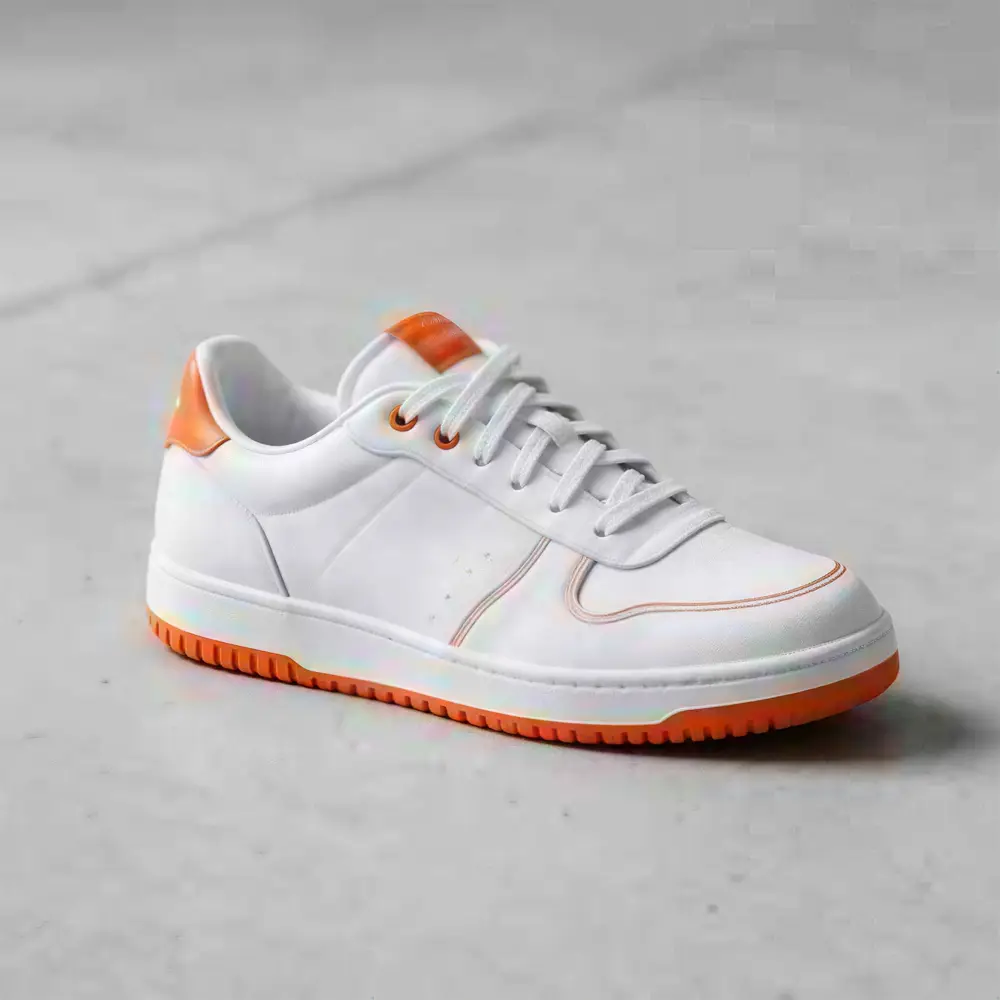
  3. White leather sneaker with orange details on a concrete floor — before
    White leather sneaker with orange details on a concrete floor — after
    BeforeAfter

    03Product photos

    Supplier thumbnails, listing-ready

    Stitching, leather grain and the orange trim rebuilt from a 320 px image.

    Real-ESRGAN · 320 px JPEG → 2048 px

    Try it now

Method 1 · sharpest

How to increase image resolution with AI

The only method that adds detail, not just pixels. Works on any device.

  1. Step 1: Open an AI upscaler

    Go to kenerateai.com/app/tool/image-upscale (works on desktop and phone).
  2. Step 2: Upload the image

    JPG, PNG or WEBP up to 25 MB.
  3. Step 3: Pick the size

    Real-ESRGAN, or Image Upscaler → 2K/4K/8K, or Kenerate Upscale → 4–128 megapixels.

    EngineImage Upscaler4K

  4. Step 4: Download

    The higher-resolution image downloads with no watermark.
Close-up portrait of a young woman with freckles and dark curly hair — original 300 px JPEG
Close-up portrait of a young woman with freckles and dark curly hair — after Image Upscaler
BEFORE · 300 px JPEGAFTER · 4K · 3664 × 4579

300 px → 3664 × 4579 with Image Upscaler.

Method 2

How to increase resolution in Photoshop

Resampling in Image Size, or AI Super Resolution in Camera Raw (2× only).

  1. Step 1: Open Image Size

    In Photoshop choose Image → Image Size.

    ImageImage Size

  2. Step 2: Turn on Resample and enter the new size

    Tick Resample, then type the new width or height in pixels (keep the link on to keep the proportions).
  3. Step 3: Choose an enlargement method

    Pick Preserve Details (enlargement) — it adds a Noise reduction slider — or Bicubic Smoother (enlargement). Click OK.
  4. Step 4: Or use Super Resolution

    Open the photo in Camera Raw, right-click it and choose Enhance → Super Resolution to double the width and height with AI.

    Camera RawEnhanceSuper Resolution

Method 3 · free

How to increase resolution in GIMP

Free on Windows, Mac and Linux. Interpolation only — no new detail.

  1. Step 1: Open Scale Image

    In GIMP choose Image → Scale Image…

    ImageScale Image…

  2. Step 2: Enter the new size

    Type the new width and height in pixels, keeping the chain linked.
  3. Step 3: Choose the interpolation

    Pick NoHalo or LoHalo for enlarging (Cubic is also good). Click Scale.

Method 4 · Mac

How to increase resolution on a Mac with Preview

Built into macOS.

  1. Step 1: Open the image in Preview

    Double-click the image or open it with Preview.
  2. Step 2: Open Adjust Size

    Choose Tools → Adjust Size.

    ToolsAdjust Size

  3. Step 3: Keep Resample image ticked

    Enter a bigger width or height. With Resample image ticked Preview adds pixels; with it unticked only the print size (DPI) changes.

Method 5 · Windows

How to increase resolution on Windows

Photos has AI Super resolution on Copilot+ PCs; Paint works everywhere.

  1. Step 1: Copilot+ PC: use Super resolution

    Open the image in Photos, choose Edit → Super resolution and pick 2×, 4× or 8×.

    PhotosEditSuper resolution

  2. Step 2: Any Windows PC: use Paint

    Open the image in Paint, choose Resize (Ctrl+W), select Pixels and enter a larger size. This only interpolates, so the result is softer than an AI upscale.

    PaintResizePixels

Want the sharp version without an editor? Upscale in the browser — 25 free credits on sign-up.

At 100%

Resampling vs AI upscaling, zoomed in

Left: a normal bicubic resample (what Paint, Preview and GIMP do). Right: an AI upscale to the same size.

  • Close-up portrait of a young woman with freckles and dark curly hair — the 300 px JPEG original stretched to the same size (bicubic)
    Stretched
    Close-up portrait of a young woman with freckles and dark curly hair — the same crop after Image Upscaler
    Image Upscaler

    Tiny portrait · 300 px JPEG → 4K · 3664 × 4579

  • Turquoise alpine lake below snowy mountains with a wooden cabin — the 480 px JPEG original stretched to the same size (bicubic)
    Stretched
    Turquoise alpine lake below snowy mountains with a wooden cabin — the same crop after Image Upscaler
    Image Upscaler

    Landscape to 4K · 480 px JPEG → 4K · 5461 × 3072

Left: the original enlarged with ordinary bicubic resizing. Right: the same area of the real Kenerate output. Both crops are shown at the same size.

Choosing

Which way of increasing resolution is best?

The five methods side by side.

  • AI upscalerKenerate

    Adds real detail
    Yes
    Max size
    8K or 128 MP
    Works on phone
    Yes
    What you need
    Browser, 25 free credits to start
  • Photoshop

    Adds real detail
    Super Resolution (2×)
    Max size
    Any (resample)
    Works on phone
    No
    What you need
    Adobe plan
  • GIMP

    Adds real detail
    No
    Max size
    Any
    Works on phone
    No
    What you need
    Free
  • Mac Preview

    Adds real detail
    No
    Max size
    Any
    Works on phone
    No
    What you need
    Free
  • Windows

    Adds real detail
    Super resolution on Copilot+ PCs
    Max size
    8× (Photos)
    Works on phone
    No
    What you need
    Free

Common mistake

Why changing DPI doesn't increase resolution

DPI (PPI) only tells a printer how densely to place the pixels you already have. Changing 72 to 300 DPI without resampling leaves the pixel count unchanged — the print just gets smaller. In Photoshop that is Image Size with Resample unticked; in Preview, Adjust Size with Resample image unticked.

To print sharp, you need about 300 pixels per inch of print: 1200 × 1800 px for 4×6 in, 2400 × 3000 px for 8×10 in, 2480 × 3508 px for A4.

Related

Tools for higher resolution

In depth

What each method does to your pixels

Why resampling looks soft, what the interpolation options mean, and where AI differs — with sources.

Resampling = averaging

Photoshop's Image Size, GIMP's Scale Image, Preview and Paint all resample: every new pixel is a weighted average of the originals [1]. Bicubic (Keys, 1981) uses the 16 nearest pixels [2]; Lanczos (Duchon, 1979) is a windowed-sinc filter that is sharper but can ring around edges [3]. None of them can create detail that wasn't captured.

GIMP's NoHalo and LoHalo

GIMP 3 offers None (nearest neighbour), Linear, Cubic, NoHalo and LoHalo [4]. NoHalo and LoHalo are designed to avoid the halos that sharper filters create, which makes them the safest manual choice for enlarging photos.

AI Super Resolution

Adobe's Super Resolution in Camera Raw uses a trained model to double the width and height of a photo [5] — a small, fixed step. Online AI upscalers apply the same idea with larger models: Real-ESRGAN, for example, was trained on blurred, noisy and JPEG-compressed images so it can add plausible edges and texture as it enlarges [6].

Why no method recovers everything

A sampled image can only hold detail up to half its sampling rate [7]. Beyond that, AI chooses a plausible version — which is why faces and text in an upscaled image should be checked before you rely on them.
Start free

Start free, top up only when you need to

25 free credits on sign-up. The same credits work in every Kenerate tool.

  • 25 free credits on sign-up

    Test on your own images before you buy anything.

  • Credits never expire

    One-time packs — use them this week or next year.

  • No subscription, no watermark

    Nothing to cancel. Free results download clean.

  • One balance, every tool

    The same credits work across images, video, voice and 3D.

Tried it? Tell us how it went

We only publish real, verified reviews — never invented quotes. Send a line about your result (and whether we may quote you), and it will appear here.

Send a review

FAQ

Image resolution questions

7 questions

Still stuck?

A real person answers — usually within a day.

01

How do I increase the resolution of an image?

Use an AI upscaler: upload the image to kenerateai.com, pick a size such as 4K and download — it adds real pixels and rebuilds detail. In an editor you can resample instead (Photoshop Image → Image Size, GIMP Image → Scale Image, Mac Preview Tools → Adjust Size), but that only interpolates and looks softer.

02

How do I increase the resolution of an image without losing quality?

Enlarge it with AI super-resolution rather than a normal resize. Normal resampling spreads the existing pixels; AI adds plausible detail as it enlarges, so edges stay sharp.

03

Does changing DPI increase resolution?

No. Changing DPI (or unticking Resample in Photoshop or Preview) keeps the same pixels and only changes the print size. You need to add pixels to increase resolution.

04

How do I increase image resolution on Windows?

On a Copilot+ PC, open the image in Photos and choose Edit → Super resolution (2×, 4× or 8×). On any other PC, Paint's Resize adds pixels by interpolation, or use an online AI upscaler in the browser.

05

How do I increase the resolution of an image on a Mac?

In Preview choose Tools → Adjust Size and enter a bigger size with Resample image ticked. For sharper results use an AI upscaler in Safari or Chrome.

06

Can I increase image resolution on iPhone?

Apple's Photos app has no built-in way to add resolution. Open kenerateai.com in Safari, upload the photo to the upscaler and save the result to Photos.

07

What is the best way to increase resolution for printing?

Work out the pixels you need at 300 PPI (e.g. 2400 × 3000 px for 8×10 in), then upscale to at least that size with AI — Kenerate Upscale lets you pick an exact megapixel size.

Every pixel, rebuilt. Up to 128 MP.

Seven engines in one browser tool — faithful, creative and restoration — up to 8K or 128 MP.

AI engines
7
AI engines
Largest output
128 MP
Largest output
Free credits to start
25
Free credits to start
Straight upscale to
8K
Straight upscale to

Explore the toolkit

More upscale, enhance and restore tools

Every Kenerate page for making images bigger, sharper, cleaner and older photos new again.

Written by the Kenerate AI team

Written by the Kenerate team. Menu paths from Adobe, GIMP, Apple and Microsoft documentation; examples are real Kenerate outputs. Last updated 26 September 2026. Corrections: hello@kenerateai.com.

Sources

Ready when you are

Skip the editor

Upscale in your browser to 8K or 128 MP — 25 free credits on sign-up, no watermark.

  • 25 free credits
  • No watermark
  • Credits never expire