








Skip to content
Guide · updated September 2026

How to denoise photos — grain out, detail in

Five ways to remove noise from a photo — AI, Lightroom Denoise, manual sliders, Photoshop and GIMP — with the exact menus, which files each works on, and how to avoid noise next time.

  • Works on JPEGs
  • Exact menu paths
  • Raw and phone photos
  • Prevention tips
Singer on a small club stage under purple and blue lights — original 720 px, heavy noise
Singer on a small club stage under purple and blue lights — after Phota Enhance
BEFORE · 720 px, heavy noiseAFTER · Clean · 2304 px

Phota Enhance720 px, heavy noise → Clean · 2304 px

Try this photo
  • Real-ESRGAN
  • Image Upscaler 2K · 4K · 8K
  • Kenerate Upscale · 128 MP
  • Ultimate Upscaler
  • Clarity Pro
  • Phota Enhance
  • Recraft Creative

Quick answer

Updated

To denoise a photo, the fastest way is an AI enhancer: upload it to Kenerate, run Phota Enhance — it works on JPEGs and phone photos. For raw files use Lightroom / Camera Raw Denoise (not available for JPEG, TIFF or HEIC) or the Luminance and Color sliders in the Detail panel; in Photoshop use Filter → Noise → Reduce Noise; in GIMP, Filters → Enhance → Noise Reduction.

Any file, fastest
AI enhancer (Phota Enhance)
Raw files
Lightroom / Camera Raw Denoise
Photoshop
Filter → Noise → Reduce Noise
Free
GIMP Noise Reduction

Real results

See what it does to real photos

Every slider is a real Kenerate output from the bad input on the left. Drag to compare, then try the same photo.

  1. Singer on a small club stage under purple and blue lights — before
    Singer on a small club stage under purple and blue lights — after
    BeforeAfter

    01Low light

    Concert grain, cleaned

    Heavy noise removed from a club shot while the stage lights keep their colour.

    Phota Enhance · 720 px, heavy noise → Clean · 2304 px

    Try it now
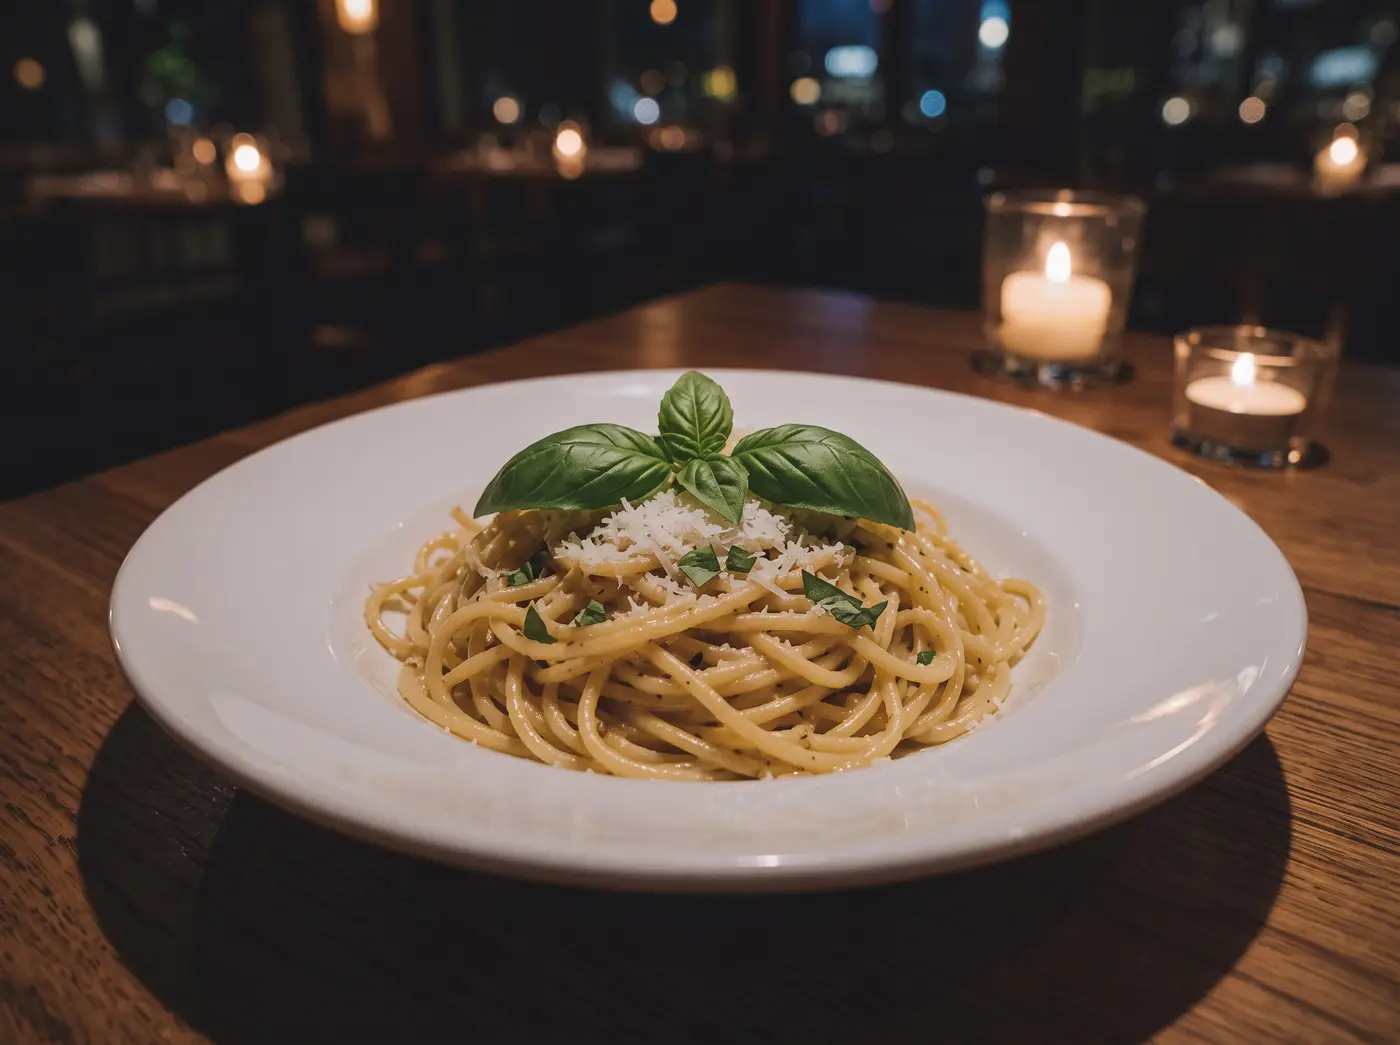
  2. Plate of pasta with basil in a dim candle-lit restaurant — before
    Plate of pasta with basil in a dim candle-lit restaurant — after
    BeforeAfter

    02Grainy photos

    Night-time noise, gone

    A dim restaurant shot cleaned of grain without the plastic look of a blur filter.

    Phota Enhance · 640 px, noisy → Clean · 2400 px

    Try it now

Method 1 · any file

How to denoise a photo with AI

The only method here that works on JPEGs and phone photos and rebuilds detail at the same time.

  1. Step 1: Open the enhancer

    Go to kenerateai.com/app/tool/image-upscale — this guide opens it on Phota Enhance.
  2. Step 2: Upload the grainy photo

    Any JPG, PNG or WEBP up to 25 MB — phone shots included, no raw file needed.
  3. Step 3: Run Phota Enhance

    About 40 seconds; noise is removed while texture and faces are rebuilt, up to 4K.

    EnginePhota Enhance

  4. Step 4: Compare and download

    Check shadows and skin at 100%, then download with no watermark.
Singer on a small club stage under purple and blue lights — original 720 px, heavy noise
Singer on a small club stage under purple and blue lights — after Phota Enhance
BEFORE · 720 px, heavy noiseAFTER · Clean · 2304 px

A grainy club photo after Phota Enhance.

At 100%

Grain vs detail, zoomed in

The same crop before and after AI denoising.

  • Singer on a small club stage under purple and blue lights — the 720 px, heavy noise original stretched to the same size (bicubic)
    Stretched
    Singer on a small club stage under purple and blue lights — the same crop after Phota Enhance
    Phota Enhance

    Grainy concert shot · 720 px, heavy noise → Clean · 2304 px

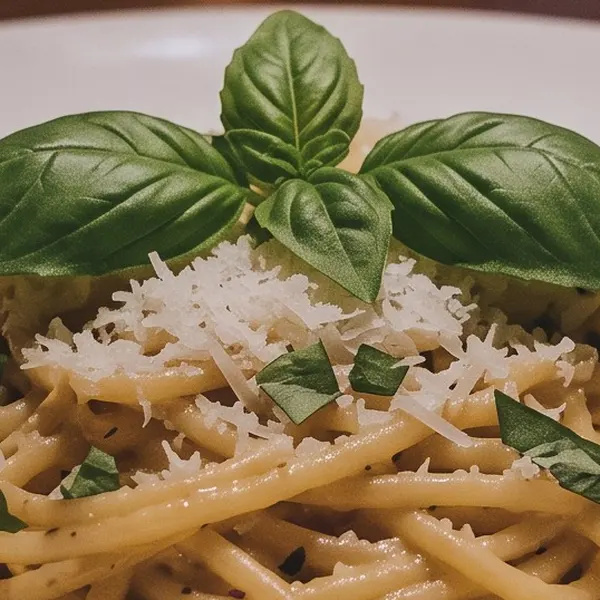
  • Plate of pasta with basil in a dim candle-lit restaurant — the 640 px, noisy original stretched to the same size (bicubic)
    Stretched
    Plate of pasta with basil in a dim candle-lit restaurant — the same crop after Phota Enhance
    Phota Enhance

    Grainy night shot · 640 px, noisy → Clean · 2400 px

Left: the original enlarged with ordinary bicubic resizing. Right: the same area of the real Kenerate output. Both crops are shown at the same size.

Method 2 · raw files

How to use Denoise in Lightroom and Camera Raw

Adobe's AI Denoise (April 2023) — raw files only.

  1. Step 1: Open a raw photo

    Denoise works on raw files (Bayer and X-Trans), Linear DNG and Apple ProRAW — not on JPEG, TIFF or HEIC.
  2. Step 2: Run Denoise

    In the Detail panel choose Denoise (or Photo → Enhance in Camera Raw and Lightroom), set the amount and apply.

    DetailDenoise

  3. Step 3: Continue editing

    Depending on the version, the result is saved as a new DNG (with “Enhance-NR” in the name) or applied in place. Adobe recommends running Denoise before AI masks or Remove.

Method 3 · any Lightroom file

Manual noise reduction sliders

Works on JPEGs too, but trades some detail.

  1. Step 1: Open the Detail panel

    Lightroom Classic: Develop → Detail → Noise Reduction. Camera Raw: Detail panel.

    DevelopDetailNoise Reduction

  2. Step 2: Reduce luminance noise

    Raise Luminance until the grain smooths out, then use Luminance Detail and Contrast to win back texture.
  3. Step 3: Reduce colour noise

    Raise Color to remove coloured speckles; Color Detail keeps small colour edges crisp.

JPEG or phone photo? AI Denoise in Lightroom won't take it — Phota Enhance will.

Method 4

How to reduce noise in Photoshop

  1. Step 1: Open Reduce Noise

    Filter → Noise → Reduce Noise.

    FilterNoiseReduce Noise

  2. Step 2: Set the sliders

    Strength for luminance noise, Preserve Details to keep edges, Reduce Color Noise for colour speckles, Sharpen Details to recover crispness, and Remove JPEG Artifacts for compressed files.
  3. Step 3: Use Advanced for one channel

    Adobe notes luminance noise is often worst in the blue channel — the Advanced tab lets you treat channels separately.

Method 5 · free

How to denoise in GIMP

  1. Step 1: Noise Reduction

    Filters → Enhance → Noise Reduction — one Strength slider that trades noise for blur.

    FiltersEnhanceNoise Reduction

  2. Step 2: Selective Gaussian Blur

    Filters → Blur → Selective Gaussian Blur — blurs only where neighbouring pixels differ less than Max. delta, so edges survive.

    FiltersBlurSelective Gaussian Blur

  3. Step 3: Despeckle

    Filters → Enhance → Despeckle — best for isolated specks and dust on scans.

Choosing

Which denoise method should I use?

The five methods side by side.

  • AI (Phota Enhance)

    JPEG / phone photos
    Yes
    Keeps detail
    Rebuilds it
    Effort
    One click
    What you need
    Browser, 25 free credits to start
  • Lightroom Denoise

    JPEG / phone photos
    No
    Keeps detail
    Very well
    Effort
    One click
    What you need
    Adobe plan
  • Manual sliders

    JPEG / phone photos
    Yes
    Keeps detail
    Trade-off
    Effort
    Slider tuning
    What you need
    Adobe plan
  • Photoshop Reduce Noise

    JPEG / phone photos
    Yes
    Keeps detail
    Trade-off
    Effort
    Slider tuning
    What you need
    Adobe plan
  • GIMP

    JPEG / phone photos
    Yes
    Keeps detail
    Trade-off
    Effort
    Slider tuning
    What you need
    Free

Look closer

Zoom into a denoised photo

A grainy concert shot after Phota Enhance. Move over it to check the singer and the stage lights.

  • Grain gone from the dark crowd
  • Stage-light colours kept
  • Face and hands sharper, not smeared

Move your pointer over the image to zoom in.

Singer on a small club stage under purple and blue lights — 720 px, heavy noise in, Clean · 2304 px out with Phota Enhance.

Next time

How to avoid noise when you shoot

  1. Step 1: Keep ISO as low as the light allows

    Canon explains that raising ISO amplifies the sensor signal, and noise is generated in the process.
  2. Step 2: Use long-exposure noise reduction

    Canon, Nikon and Sony cameras offer Long Exposure NR for exposures of 1 second or longer; it can roughly double the capture time.
  3. Step 3: Let the phone help

    iPhone Night mode (iPhone 11 and later) and Pixel Night Sight turn on automatically in low light — hold still for the capture.

In depth

What photo noise is — and why AI handles it better

Where grain comes from, the two kinds of noise, and how denoisers differ — with sources.

Where noise comes from

Adobe's Denoise team explains that light itself is noisy — the number of photons reaching each pixel varies — and the sensor's readout adds more, mostly in the shadows [1]. Adobe's Photoshop guide lists the usual triggers: high ISO, underexposure and long shutter speeds in dark areas [2]. Canon adds that raising ISO amplifies the sensor signal, generating noise in the process [3].

Two kinds of noise

Luminance noise is grayscale grain that makes an image look grainy or patchy; colour noise shows up as coloured artefacts [2]. That's why every tool — Lightroom, Photoshop, GIMP — has separate luminance and colour controls, and why colour noise is usually removed more aggressively.

Why AI denoising keeps more detail

Classic filters smooth pixels, so they trade noise for detail — GIMP's Noise Reduction has a single strength slider for exactly that balance [4]. Adobe's AI Denoise, launched in April 2023, was trained to separate noise from detail on raw sensor data [1]; general AI restorers like Phota Enhance do the same kind of job on finished JPEGs by rebuilding texture rather than just blurring it.


Related

More fixes

Start free

Start free, top up only when you need to

25 free credits on sign-up. The same credits work in every Kenerate tool.

  • 25 free credits on sign-up

    Test on your own images before you buy anything.

  • Credits never expire

    One-time packs — use them this week or next year.

  • No subscription, no watermark

    Nothing to cancel. Free results download clean.

  • One balance, every tool

    The same credits work across images, video, voice and 3D.

Tried it? Tell us how it went

We only publish real, verified reviews — never invented quotes. Send a line about your result (and whether we may quote you), and it will appear here.

Send a review

FAQ

Denoising photos — FAQ

6 questions

Still stuck?

A real person answers — usually within a day.

01

How do I denoise a photo?

The quickest way is an AI enhancer: upload the photo to Kenerate and run Phota Enhance, which works on JPEGs and phone photos. In Lightroom or Camera Raw use Denoise on raw files, or the Luminance and Color sliders in the Detail panel; in Photoshop use Filter → Noise → Reduce Noise; in GIMP use Filters → Enhance → Noise Reduction.

02

Can Lightroom Denoise work on JPEG?

No. Adobe's AI Denoise works on raw files, Linear DNG and Apple ProRAW; Adobe lists JPEG, TIFF and HEIC as unsupported. For JPEGs use the manual sliders, Photoshop's Reduce Noise, or an AI enhancer that accepts JPEGs.

03

What is the difference between luminance and colour noise?

Adobe describes luminance noise as grayscale grain that makes an image look grainy or patchy, and colour noise as coloured artefacts. Most tools have separate controls for each.

04

What causes noise in photos?

Adobe lists high ISO, underexposure and long shutter speeds in dark areas. Light itself is noisy at low levels, and the camera amplifies it.

05

Does denoising make photos blurry?

Classic noise reduction trades noise for detail — GIMP's Noise Reduction strength literally balances the two. AI denoisers rebuild texture instead of just smoothing, which is why they keep more detail.

06

How do I avoid noise when shooting?

Use the lowest ISO the light allows, expose properly (underexposed shots get noisier when brightened), use Long Exposure NR for long shots, and on phones let Night mode or Night Sight do the capture.

Every pixel, rebuilt. Up to 128 MP.

Seven engines in one browser tool — faithful, creative and restoration — up to 8K or 128 MP.

AI engines
7
AI engines
Largest output
128 MP
Largest output
Free credits to start
25
Free credits to start
Straight upscale to
8K
Straight upscale to

Explore the toolkit

More upscale, enhance and restore tools

Every Kenerate page for making images bigger, sharper, cleaner and older photos new again.

Written by the Kenerate AI team

Written by the Kenerate team from Adobe, GIMP, Canon, Nikon, Sony, Apple and Google documentation. Examples are real Kenerate outputs. Last updated 26 September 2026. Corrections: hello@kenerateai.com.

Sources

Ready when you are

Denoise your photo

Phota Enhance — works on JPEGs and phone photos, up to 4K, no watermark.

  • 25 free credits
  • No watermark
  • Credits never expire