
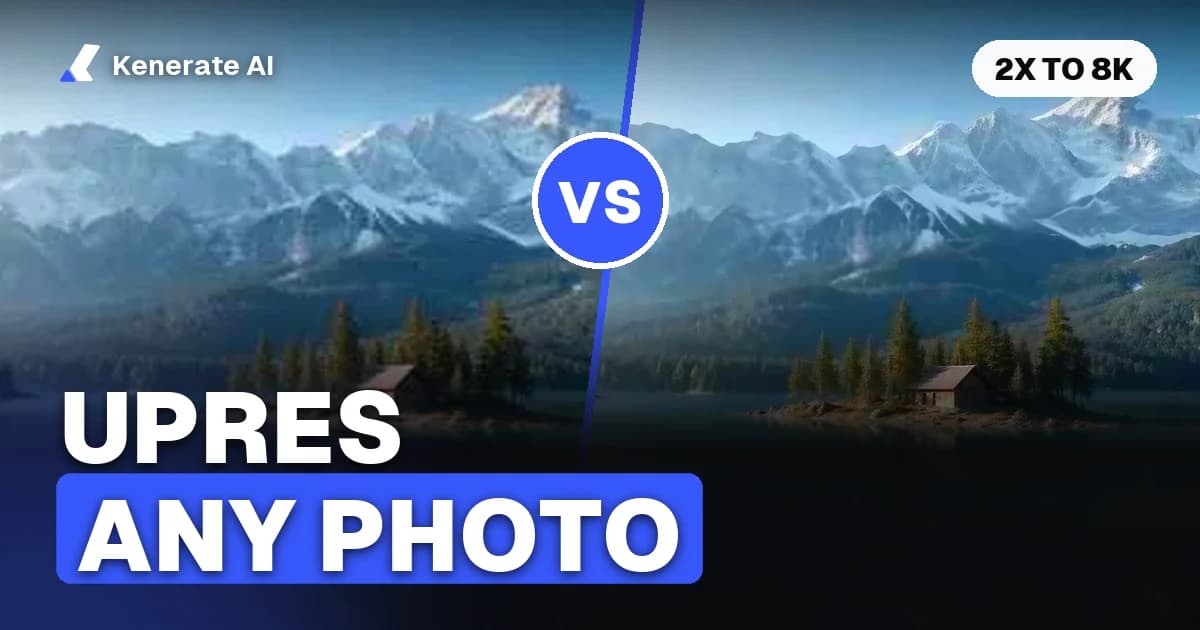
To upres a photo means to increase its pixel dimensions so it can be printed or displayed larger without looking soft or blocky. The fastest way to do it today is an AI super-resolution upscaler: upload the picture, pick a 2x or 4x target (or 2K, 4K, 8K), and download a version with rebuilt edges and texture instead of stretched pixels. Work out the pixel size you actually need first, so you upscale once, to the right size.
Updated 29 October 2026. Credit prices are taken from Kenerate's own upscaler settings as of today.
What does "upres" mean?
"Upres" (also written "up-res" or "uprez") is shorthand for up-resolution: making an image larger in pixels. Photographers and print shops use it when a file is too small for the print size a client wants; designers use it when a web image has to go on a banner or a 4K screen. "Upscale", "upsample", "enlarge" and "super resolution" all describe the same job. The difference is in how the new pixels are made.
A 1,200 × 800 photo has 960,000 pixels. Upres it 2x and it becomes 2,400 × 1,600, or 3.84 million pixels: four times as many. Every one of those new pixels has to come from somewhere. Old software guessed them by averaging neighbours; modern AI predicts what the missing detail probably looked like.
Interpolation vs AI super resolution: what is the difference?
There are two families of upres methods, and they give very different results above about 2x.
Classic interpolation (bicubic, bilinear, nearest neighbour)
This is what you get from Image > Image Size in an editor with resampling turned on. The software looks at the surrounding pixels and blends them to fill the gaps. It is fast, predictable and free, and it never invents anything. The downside is that blending makes edges soft, so a 3x or 4x enlargement looks blurry and noisy. Nearest neighbour keeps hard edges but turns everything into visible squares, which is only useful for pixel art.
AI super resolution
A super-resolution model is a neural network trained on millions of pairs of small and large images. It learns what sharp hair, brick, fabric or text look like at high resolution, then rebuilds that detail in your photo. Real-ESRGAN, published by Wang, Xie, Dong and Shan in 2021, is a well-known open model of this type: it was trained on synthetically degraded images so it can clean up real-world blur, noise and JPEG artefacts while it enlarges (arXiv:2107.10833). Adobe's Super Resolution in Lightroom and Camera Raw works on a similar idea and doubles the width and height, giving four times the pixel count, for example 12 MP to 48 MP (Adobe).
| Method | How new pixels are made | Good for | Weak spot |
|---|---|---|---|
| Nearest neighbour | Copies the closest pixel | Pixel art, screenshots of UI | Blocky steps on photos |
| Bilinear / bicubic | Averages nearby pixels | Small 1.2–1.5x enlargements | Soft edges above 2x |
| Faithful AI upscaler | Predicts detail, keeps the image as it is | Photos, products, AI renders, 2x–8x | Cannot recover detail that was never captured |
| Creative AI upscaler | Predicts and adds fine detail | Artwork, campaign visuals, print | Can change faces or small text |
| AI restoration | Repairs blur, scratches, noise, then enlarges | Old or damaged family photos | Rebuilds features, so check faces |
The short rule: for anything above 1.5x, use AI. For faces, documents and logos, use a faithful engine, not a creative one.
How many pixels do you need? (DPI and print sizes)
The most common mistake is upscaling "as big as possible" and then printing at the wrong size anyway. Work backwards from the output instead.
For print, multiply the print size in inches by the DPI (dots per inch) your lab wants. 300 DPI is the standard for prints you look at closely, such as photos up to A4; larger prints seen from further away can use less, often 150–200 DPI (Photo Review, dotPhoto).
| Print size | Pixels at 300 DPI | Pixels at 200 DPI | Upres a 12 MP (4,000 × 3,000) photo? |
|---|---|---|---|
| 4 × 6 in | 1,800 × 1,200 | 1,200 × 800 | No, already big enough |
| 5 × 7 in | 2,100 × 1,500 | 1,400 × 1,000 | No |
| 8 × 10 in | 3,000 × 2,400 | 2,000 × 1,600 | No |
| 11 × 14 in | 4,200 × 3,300 | 2,800 × 2,200 | Slightly, or print at 280 DPI |
| 16 × 20 in | 6,000 × 4,800 | 4,000 × 3,200 | Yes for 300 DPI (about 2x) |
| 24 × 36 in | 10,800 × 7,200 | 7,200 × 4,800 | Yes, 2x–3x |
Pixel figures are inches × DPI. Check your lab's own spec sheet, because some ask for bleed (an extra 1/8 inch per side).
For screens, think in pixels on the long side:
| Destination | Long side to aim for |
|---|---|
| Full HD screen or slide | 1,920 px |
| 2K / QHD | 2,048–2,560 px |
| 4K UHD screen, YouTube thumbnail source | 3,840–4,096 px |
| 8K display, large-format digital signage | 7,680–8,192 px |
If your photo is 1,000 px wide and the target is 4K, you need roughly a 4x upres. If it is 2,400 px and the target is a 16 × 20 print at 200 DPI, 2x is plenty.
How do you upres a photo with AI? (step by step)
Here is the workflow in Kenerate AI's image upscaler. Any good online upscaler follows similar steps.
- Start from the best original you have. Use the camera file or the largest copy, not a screenshot or a photo re-saved from a chat app. Every JPEG re-save throws away detail the AI then has to guess.
- Decide the target size using the tables above. Write down the long-side pixels or the megapixels you need.
- Upload the image. The tool takes JPG, PNG or WEBP files up to 25 MB.
- Pick an engine for the kind of photo. Use a faithful engine for most photos; restoration for old or damaged pictures; a creative engine only for artwork (see the table below).
- Pick the size. Choose 2K, 4K or 8K, or an exact megapixel target for print.
- Run it and compare at 100% zoom. Look at eyes, hair, text and straight edges. If something looks invented, try a more faithful engine or a lower creativity setting.
- Download in the right format. PNG for print and further editing (no extra compression), JPG or WEBP for the web.
Which Kenerate engine should you pick?
Kenerate runs seven upscale engines in one tool. Credits below are per image, from the app's settings as of 29 October 2026.
| Engine | Style | Output size | Credits per image | Best for |
|---|---|---|---|---|
| Real-ESRGAN (default) | Faithful | 2,048 px | 0.72 | Quick clean-up of small web images and AI renders |
| Kenerate Upscale | Faithful | Exact size, 4–128 MP | 1.5 (4 MP) to 36 (128 MP) | Precise print and e-commerce sizes, very fast |
| Image Upscaler | Faithful | 2K, 4K or 8K | 3 | The simple choice for 4K and 8K photos |
| Ultimate Upscaler | Faithful | 2K, 4K or 8K | 18 | Higher-quality restoration and marketing assets |
| Clarity Pro | Creative (dial) | 2–64 MP | 9 per output megapixel | Artwork and campaign visuals for print |
| Phota Enhance | Restore | 2,048 px | 39 | Old, blurry or damaged photos |
| Recraft Creative | Creative | 4,096 px | 75 | Portraits and products that need richer texture |
For most people asking how to upres a photo, Image Upscaler at 4K is the sensible default: it outputs at least 4,096 px on the long side, keeps your photo's own shape and costs 3 credits. For a print at an exact size, use Kenerate Upscale and choose the megapixel tier that matches the print table. A full walkthrough of 4K output is on the upscale image to 4K page, and the HD photo converter covers turning small phone or social media pictures into HD.
How do you upres a photo without losing quality?
No upscaler can create detail that was never in the file, but you can avoid the usual ways of making it worse.
- Upscale once, to the final size. Running 2x, saving as JPEG and running 2x again stacks compression damage. Pick the final target in one pass.
- Fix blur before you enlarge. If the photo is out of focus or shaken, sharpen or restore it first; the unblur image tool is built for that step. Enlarging a blurry photo just gives you a bigger blurry photo.
- Keep creativity low on faces. Creative upscalers can change age, hair or glasses when the setting is high. Kenerate's own tests on Clarity Pro found that only a strongly negative creativity setting kept the same person, which is why its default is -6.
- Watch small text and logos. AI can turn tiny letters into plausible nonsense. If a sign or label must stay readable, use a faithful engine and check it at 100%.
- Save as PNG for print. It is lossless. Convert to JPG only for the final web copy.
- Do not chase 8K for no reason. An 8K file of a 4 × 6 print adds upload time and file size with no visible gain.
Can you upres a photo in Photoshop, Lightroom or on a phone?
Yes. Each route has a place:
- Photoshop: Image > Image Size, keep the aspect ratio locked, turn on Resample and choose Preserve Details 2.0 for an AI-assisted enlargement. Good for modest enlargements inside an existing edit.
- Lightroom / Camera Raw: right-click the photo, choose Enhance, tick Super Resolution. It always outputs 2x width and height as a new DNG file, and works best on RAW files (Adobe).
- Free desktop tools: GIMP's Scale Image with cubic or NoHalo interpolation is fine up to about 1.5x. Open-source Real-ESRGAN runs locally if you have a capable GPU and are comfortable with the command line.
- Phone: the browser works. An online upscaler such as Kenerate runs on a phone browser, so you can upres a photo without installing an app.
If you want a side-by-side of dedicated upscalers on scale, price and local versus cloud, see our best AI upscalers in 2026 comparison.
When should you not upscale a photo?
Upres is the wrong fix in a few cases:
- The original already meets the target. A 12 MP photo prints an 8 × 10 at 300 DPI as it is. Upscaling only makes the file heavier.
- You need evidence or documents to stay exact. AI-reconstructed detail is a prediction, not a recording. Do not use it for ID photos, legal records, licence plates or anything that must be an accurate copy.
- The photo is a tiny thumbnail. Going from 100 px to 4K is a 40x jump; the result is mostly invention. Find a larger source first, or regenerate the image at a higher size if it was AI-made.
- The problem is noise or banding, not size. Denoise or re-export from the original instead.
Conclusion
To upres a photo well, work out the pixels you need (inches × DPI for print, long-side pixels for screens), start from the best original, and use an AI super-resolution engine rather than plain interpolation once you go above about 1.5x. Use a faithful engine for real photos, restoration for old ones and creative upscaling only where invented detail is welcome. You can try it on your own picture in the AI image upscaler: new accounts get free starter credits, and a 4K upscale with Image Upscaler costs 3 credits.
Sources
- Wang, Xie, Dong and Shan, "Real-ESRGAN: Training Real-World Blind Super-Resolution with Pure Synthetic Data", arXiv, 2021: https://arxiv.org/abs/2107.10833
- Adobe, Super Resolution in Lightroom: https://www.adobe.com/products/photoshop-lightroom/super-resolution.html
- Photo Review, Image size and resolution requirements: https://www.photoreview.com.au/tips/outputting/image-size-and-resolution-requirements/
- dotPhoto, What is the best resolution for my photos, wall art and posters?: https://www.dotphoto.com/article/91319