

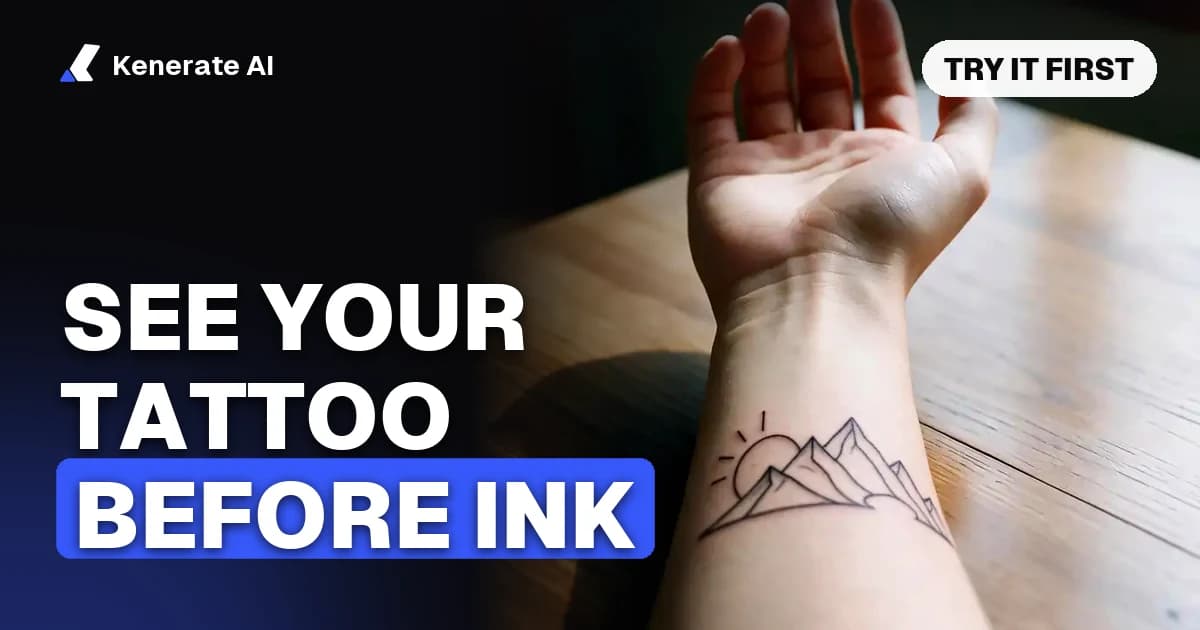
The easiest way to see a tattoo on you before getting it is to photograph the spot and add the tattoo to your photo with AI, which shows the design on your own skin in about a minute. To judge it in real life, follow that with a temporary tattoo or a paper cut-out worn for a few days. Your artist's stencil is the last check before any ink goes in.
No single method answers everything. A photo preview is good for style and size, an AR app is good for seeing the design move, and a temporary tattoo tells you how you feel about it after a week. This guide covers all of them as of 4 November 2026, then walks through an AI try-on step by step.
What are the ways to preview a tattoo before you get it?
There are six practical options. They differ in cost, realism and what they can tell you.
| Method | Best for | Cost | Realism on your skin | Main limit |
|---|---|---|---|---|
| AI photo edit | Style, size, trying many ideas | Free to start on Kenerate | High in a still photo | A still image, and a preview rather than a stencil |
| AR app | Seeing a design move on your body | Free app, with paid extras | Medium | Best with small designs |
| Manual overlay in an editor | Exact placement of a finished design | Free to paid software | Medium | Takes skill, ink looks pasted on |
| Paper cut-out or drawing | Checking true size in a mirror | Almost nothing | Low | Shows size and spot, not the look of ink |
| Temporary tattoo | Living with it for days | Low | High in real life | Limited designs unless you order a custom one |
| Artist's stencil | Final placement | Part of your appointment | Very high | Comes last, when you are already committed |
Use two or three of these together. A common path is AI photo edits to choose the design, a temporary tattoo to test the commitment, and the stencil to confirm the exact spot.
How do you try on a tattoo with AI?
An AI try-on is an instruction edit. You give an image model your photo and a sentence, and it draws the tattoo onto the skin while leaving the rest of the picture alone. Here is how it works on Kenerate.
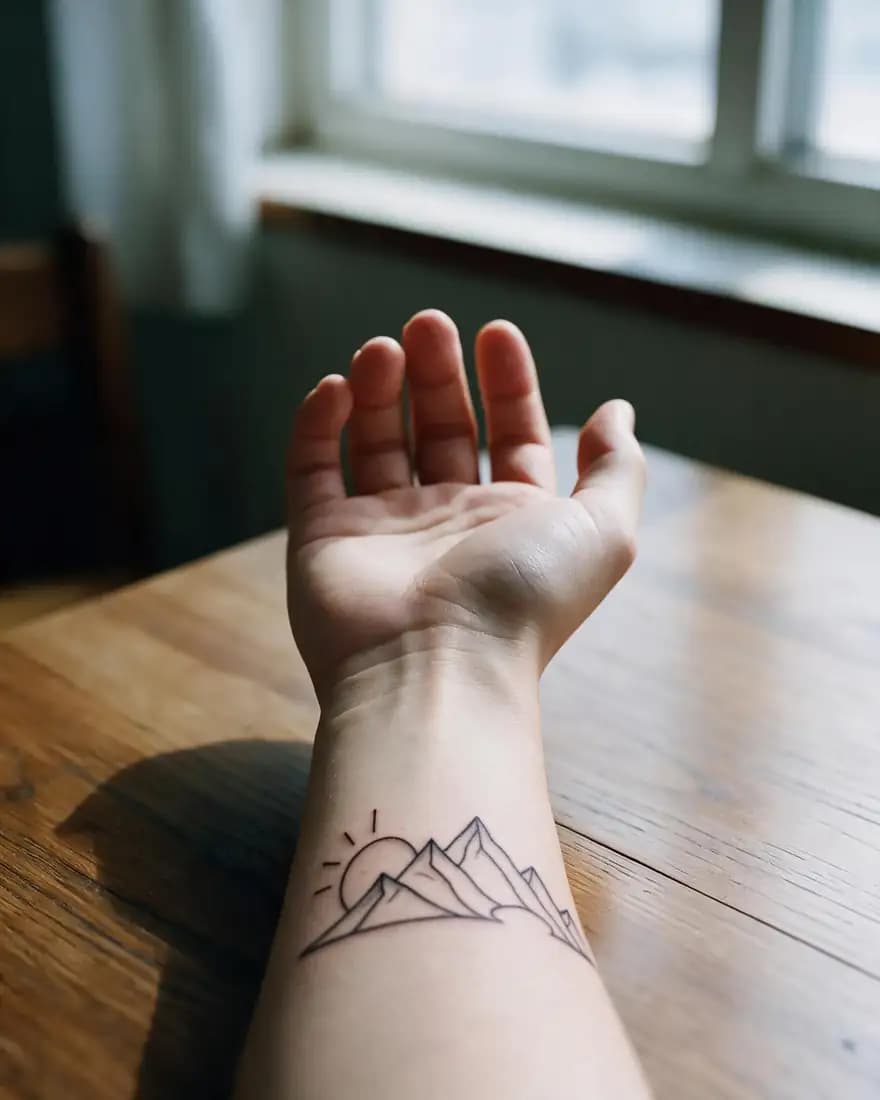
- Take the photo. Use daylight, a sharp focus and a straight-on angle, with the whole area in frame. Remove jewellery and watches near the spot. Avoid heavy filters, which change your skin tone in the preview.
- Open the editor. Go to the add tattoo to photo page and press the button to add your photo. The image studio opens with a tattoo instruction already in the prompt box.
- Add your design, if you have one. Upload a sketch or flash sheet as a second image. No design yet? Make a few in the AI tattoo generator first.
- Write one clear sentence. Name the style, size and spot, and keep the line that tells the model to leave everything else alone. Prompt examples are below.
- Run several versions. Change one thing at a time: first size, then position, then style. Compare them side by side.
- Place it exactly if you need to. Open Edit Studio and use Change Region. Paint the area, describe the tattoo, and only the painted part changes.
- Download your favourites. Results have no watermark, so you can send them straight to your artist.
Which model should you use for a tattoo preview?
All three of these edit a photo you upload. Credit prices come from Kenerate's own pricing code as of 4 November 2026.
| Model | Reference images | Credits per edit | Good for |
|---|---|---|---|
| Qwen Image 3.0 | Up to 3 | 9.9 with one image, 10.8 with photo + design | Default choice, and it works on the free plan |
| Seedream 5.0 Pro | Up to 10 | 13.5 at 1K, 27 at 2K | Detailed previews, higher resolution |
| Nano Banana 2 | Up to 14 | 14 at 1K | Placing a design from a second image |
Start on Qwen Image 3.0 while you explore. Use Seedream 5.0 Pro at 2K for the one or two previews you plan to show your artist.
What prompts work for a tattoo try-on?
A good prompt has four parts: the style, the subject, the exact spot with a size, and a "keep everything else" line. Say "healed" for settled ink, or "fresh" for a just-done look with slight redness.
| Style | Prompt to paste |
|---|---|
| Fine line | Add a small black fine line rose to the inner forearm, about 8 cm tall, as a healed tattoo following the skin's curve. Keep the arm, skin tone, background and light the same. |
| Blackwork | Add a palm-sized blackwork crescent moon with solid black fill to the outer upper arm, as a healed tattoo. Keep everything else the same. |
| American traditional | Add a bold American traditional swallow in red, yellow and green to the outer forearm, with thick black outlines, as a healed tattoo. Keep everything else the same. |
| Japanese | Add a large colourful Japanese koi with waves across the upper back, following the shoulder blades. Keep the skin, background and light the same. |
| Script | Add one small word in thin cursive script behind the right ear, as a healed tattoo. Keep everything else the same. |
| Your own design | Put the tattoo from image 2 on the inner left wrist in image 1 at about 5 cm wide, following the skin's curve. Keep image 1 otherwise unchanged. |
Small lettering is the weakest point of any image model, and very fine lines can come out uneven. If a word looks wrong, make it larger or re-run it. Your artist will redraw the final text anyway.
How do you check tattoo placement and size?
Placement is the question photos answer least well, because a single photo shows one angle in one pose.
- Shoot several angles. Take the same spot relaxed, flexed and from the side. Preview each one, because a design that sits well on a straight arm can shift when you bend it.
- Measure, don't guess. Hold a ruler to the spot and put the real size in the prompt. Models read "8 cm" more reliably when the photo shows the whole limb.
- Print it at true size. Cut the design from paper and tape it to your skin, then look in a mirror from across the room. This is the fastest way to spot a tattoo that is too small to read.
- Think about clothing. Check whether work clothes hide it or cut it in half.
Will your tattoo look the same in ten years?
No, and a preview cannot show you this. Ray Studios explains in its guide to tattoo blurring that immune cells slowly carry pigment away, sun breaks it down, and skin changes stretch the design. It notes that a very fine line can double in width over time. It also says hands, fingers, neck, feet and ribs tend to age worse, while the upper back and thighs hold up better.
To allow for this, leave space between small details and be careful with tiny micro designs. You can also run a preview at a larger size to see whether the design still works with bolder lines.
Are tattoo try-on apps worth using?
They are worth a few minutes, especially for movement. AR apps put a design on your skin through the phone camera, so you can turn your arm and watch it follow. InkHunter is the best known: you draw a simple marker on the spot and pick a design from its gallery or upload your own.
There are limits. Hongkiat's InkHunter review found it was made for small tattoos, not torso-sized pieces, and that designs did not wrap around the sides of a limb. For a sleeve or back piece, a photo edit gives a better picture because the model follows the shape of the body.
Manual overlays are the other option. You place a transparent design over your photo in an image editor and set the layer to blend. This gives exact control, but it needs some skill, and the ink rarely looks as if it sits in the skin.
Should you test a tattoo with a temporary tattoo first?
Yes, if you are unsure about the commitment rather than the design. Seeing a tattoo in your mirror every morning tells you something no photo can, including whether you still like it on day five.
Custom temporary tattoos can be printed from your own artwork. Semi-permanent options such as Inkbox are sold as lasting one to two weeks, though Cool Mom Picks found in its test that the ink looked great for about a week, with no guarantees after that. Treat the longer figure as a best case.
Avoid "black henna". Traditional henna is brown or orange-brown. Black henna usually has PPD added, a hair-dye chemical that is not allowed in cosmetics applied to skin. Cleveland Clinic warns that reported reactions include blisters, weeping lesions and permanent scarring. Ask what is in the ink, walk away if it is sold as black or smells of chemicals, and see a healthcare professional if your skin reacts.
What should you bring to your tattoo artist?
An AI preview is a great way to explain your idea, but it is a reference and not a finished design. Your artist will redraw it so the lines work in skin.
Bring these to your consultation:
- Your two or three best previews, not thirty
- A clear, well-lit photo of the bare spot
- The size you want, in centimetres or inches
- Notes on style and colour, and what you like about each reference
- Your questions, such as how the design will age on that spot
No Regrets lists much the same in its consultation guide: visual references plus notes on size, placement and colour. Respect the artist's work too. If a preview is based on another artist's tattoo, say so, and ask for an original design in that spirit rather than a copy.
On the day, most artists apply a stencil before they start. Check it in a mirror, standing naturally, and speak up if it sits too high, too low or at an angle. This is your final preview, and moving a stencil is a normal part of the process.
Can you preview tattoo removal or a cover-up?
Yes, with the same tools. Edit Studio's Magic Eraser removes an existing tattoo from a photo: paint over it and the model fills in the skin. For a cover-up idea, write something like "cover the tattoo on the forearm with a dark blackwork peony, keep everything else the same". The result shows the idea, but only an artist can say whether the old ink can really be covered.
The AI image editor handles other look changes the same way, and the piercing filter does the same job for a piercing you are considering.
What is the best way to preview a tattoo?
Use a short sequence. Generate a few designs, try them on your own photo in different sizes and spots, and pick your favourite. If you still feel unsure, wear a temporary version or a paper cut-out for a few days. Then take your best previews to a licensed artist and let the stencil make the final call.
Ready to see it on your skin? Add a tattoo to your photo. New accounts get free starter credits, and the results download without a watermark.