

How do you draw a rose? Start with a small spiral for the closed centre, wrap two or three C-shaped petals around it, close the flower with a wide cup and two curled outer petals, then add a curved stem, two saw-toothed leaves and a few thorns. That easy version takes about 10 minutes with a pencil and an eraser. For a realistic rose, block in a cup shape first, build the petals in layers from the centre out, and shade in three tones. Both methods are below, step by step, with the mistakes that make most first roses look like cabbages.
Updated 16 November 2026.
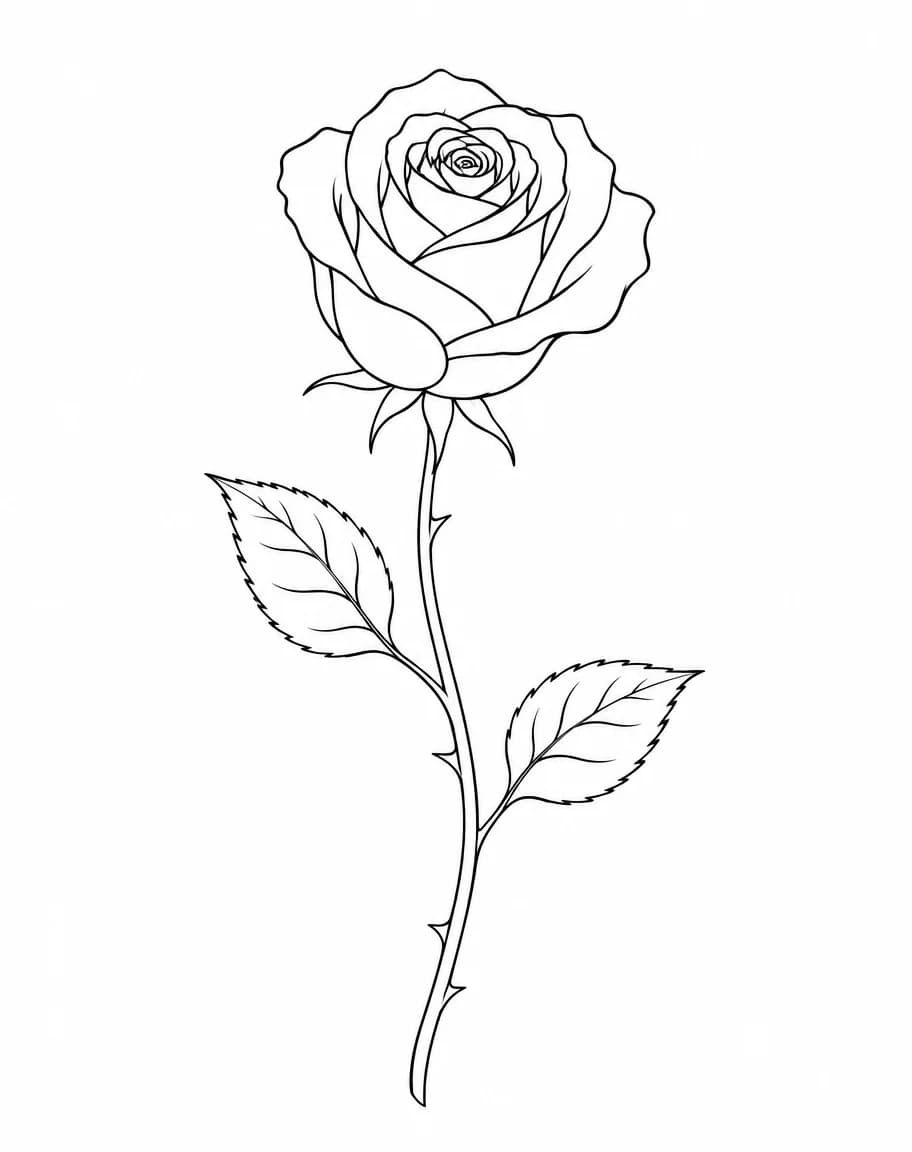
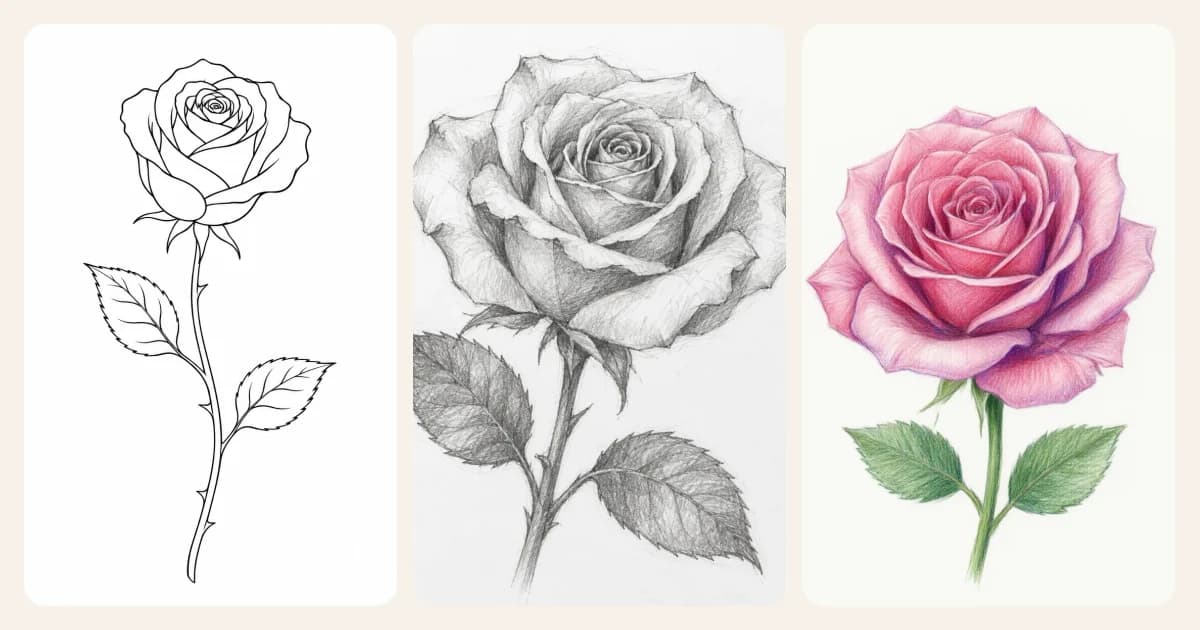
The easy rose you will draw in the first method: spiral, petals, cup, stem. This reference was made with GPT Image 2.5 Sunburst on Kenerate; more styles are on our rose drawing page.
What you need
- A pencil: an HB for sketching, plus a 2B or 4B if you want to shade.
- An eraser. A kneadable one lifts graphite without smudging the paper.
- Plain paper. Printer paper is fine for practice; use heavier drawing paper for shading or color.
- Optional: a black fine-liner (0.3–0.5 mm) to ink the final lines, and colored pencils.
Draw lightly at first. Every line in the first few steps is a guide you will erase or draw over.
How to draw an easy rose, step by step
This is the rose most people mean when they search "rose drawing easy": a clean outline with a spiral centre, the kind you would put on a card or in a sketchbook margin.
- Draw the spiral centre. Near the top of the page, draw a small, slightly flattened spiral, about the size of a coin. This is the tightly closed middle of the flower, so keep it small.
- Wrap two or three petals around it. Draw C-shaped curves that hug the spiral, each one a little larger and opening outward. Start each new petal behind the last one, so they overlap like the layers of an onion.
- Close the outer cup. Draw a wide U shape under the petals, wider than the spiral, so the flower looks like it sits in a cup. Add two big outer petals at the sides with tips that curl outward and come to a soft point.
- Add the sepals and stem. Under the cup, draw three or four small pointed leaves (the sepals) that point down. From there, draw two parallel lines curving gently down the page for the stem. A slight S-curve looks more natural than a straight line.
- Add leaves and thorns. Draw two oval leaves on short stalks, one on each side of the stem and at different heights. Give them saw-tooth edges and a centre vein. Add a few small hooked thorns pointing upward along the stem.
- Ink and erase. Go over the lines you want to keep with a fine-liner or a darker pencil, wait a minute for the ink to dry, and erase the guide lines.
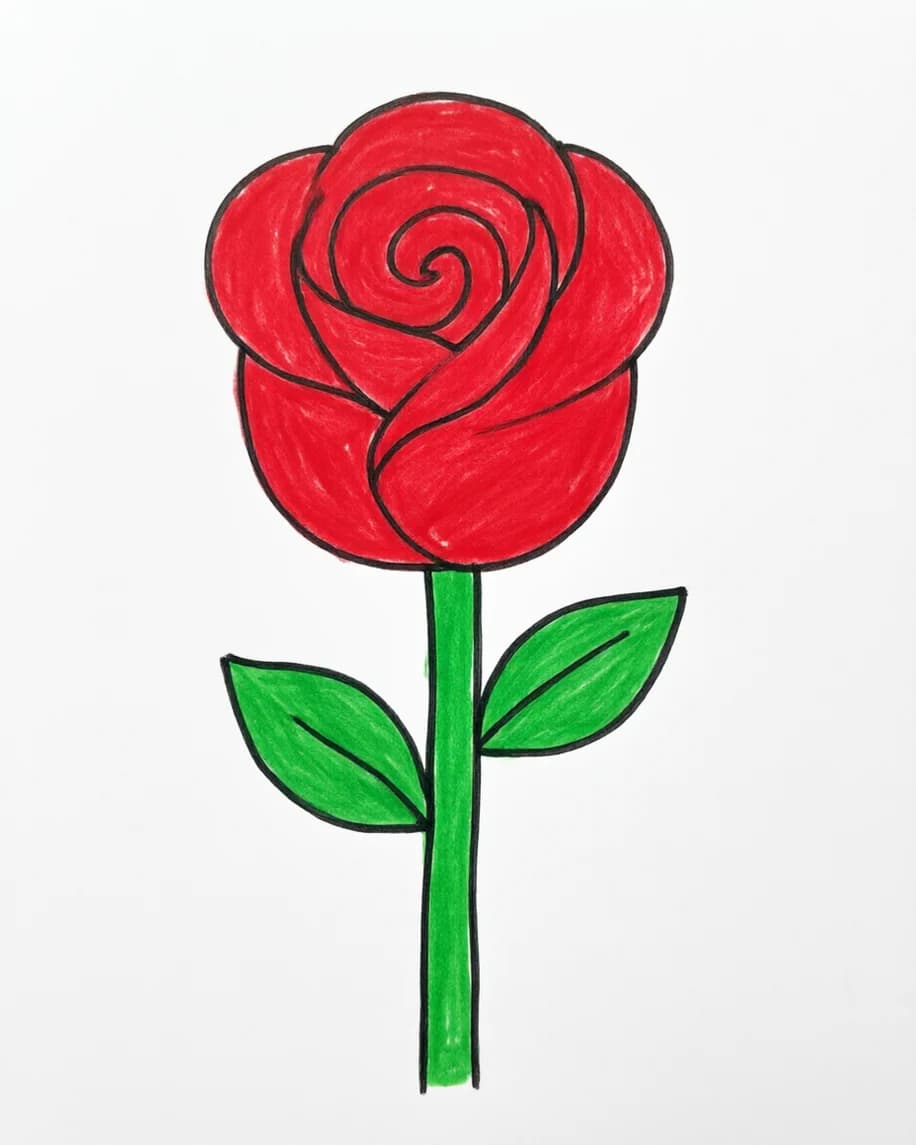
The same structure as a bold cartoon: one swirl, two petals, a cup and two leaves, colored flat. Made with Qwen Image 3.0 on Kenerate.
For an even simpler rose doodle, skip step 3's outer petals and draw the spiral, one U-shaped cup and a stem with a single leaf. It still reads as a rose because the spiral does the work.
How to draw a realistic rose
A realistic rose is the same flower drawn from the outside in: you place the overall shape first, then carve the petals out of it, then let shading do most of the work. Allow 30 to 60 minutes.
- Block in the shape. Lightly draw a circle for the flower head and a flattened oval across its upper third: that oval is the opening of the cup, seen at a slight angle. Draw a line down from the bottom for the stem.
- Place the centre. Inside the oval, slightly off-centre, draw a tight, irregular bud of two or three small curled petals. Real roses are not a perfect spiral, so let the shapes be uneven.
- Build the petals in rings. Work outward in two or three rings. Each petal is a curved shape whose top edge rolls back on itself: draw the edge, then a second line just below it where the petal curls over. Overlap the petals so no two edges line up.
- Open the outer petals. The biggest petals at the bottom and sides fold outward and down. Give a few of them a pointed tip that bends back, and let one or two drop below the circle you started with, so the rose doesn't look trapped in its guide.
- Add the stem, sepals and leaves. Draw the sepals curling down from under the flower, a stem that is slightly thicker near the head, and leaves in groups of three or five on one stalk, each with a serrated edge, a centre vein and side veins.
- Shade in three tones. Erase the guide lines, then shade with a 2B or 4B: darkest in the gaps between petals and deep in the centre, a middle tone on the inner faces of the petals, and leave the rolled-back edges almost white. Shade in the direction each petal curves, not in straight lines.
- Lift the highlights. Press a kneadable eraser on the curled lips of the petals and the top of the leaves to bring back the paper's white. Those bright edges are what make the petals look thin.
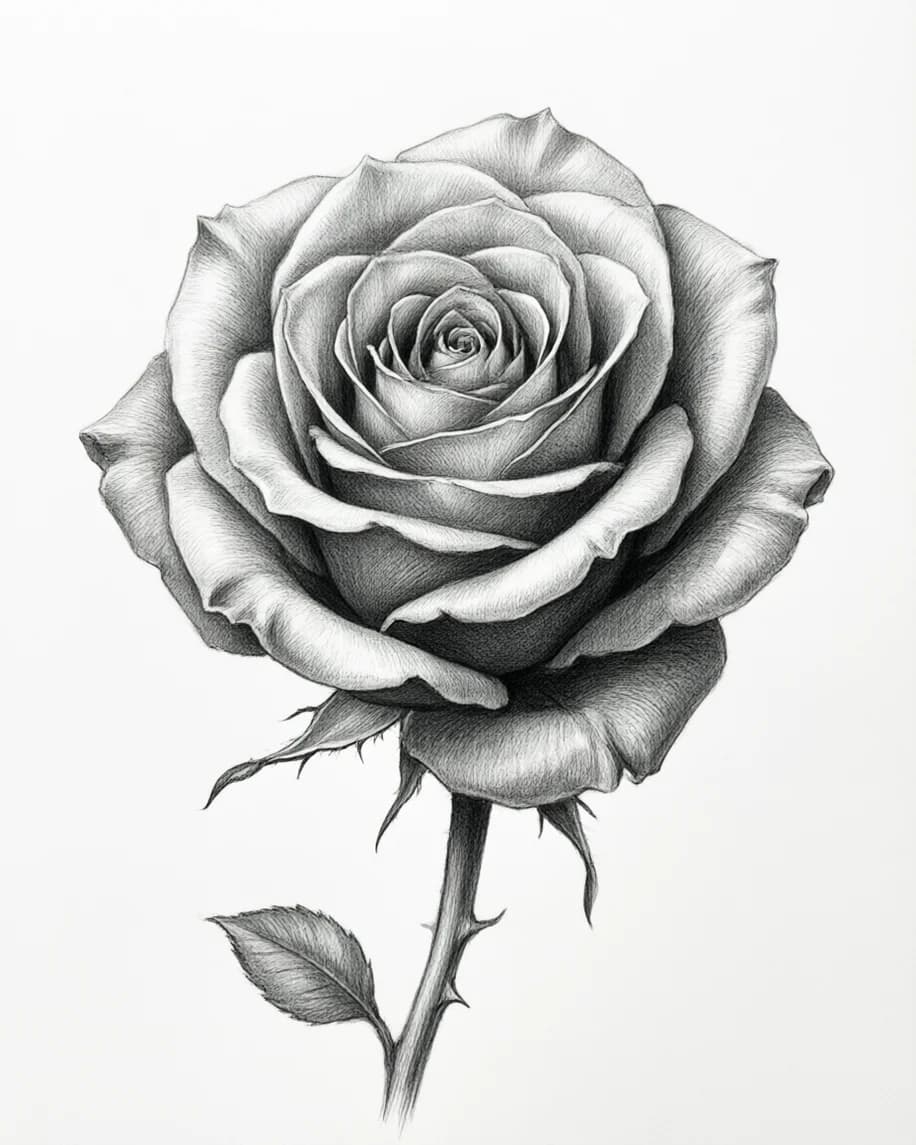
A realistic graphite rose: dark gaps between petals, mid-tones on the inner faces and near-white rolled edges. Made with Qwen Image 3.0 on Kenerate as a shading reference.
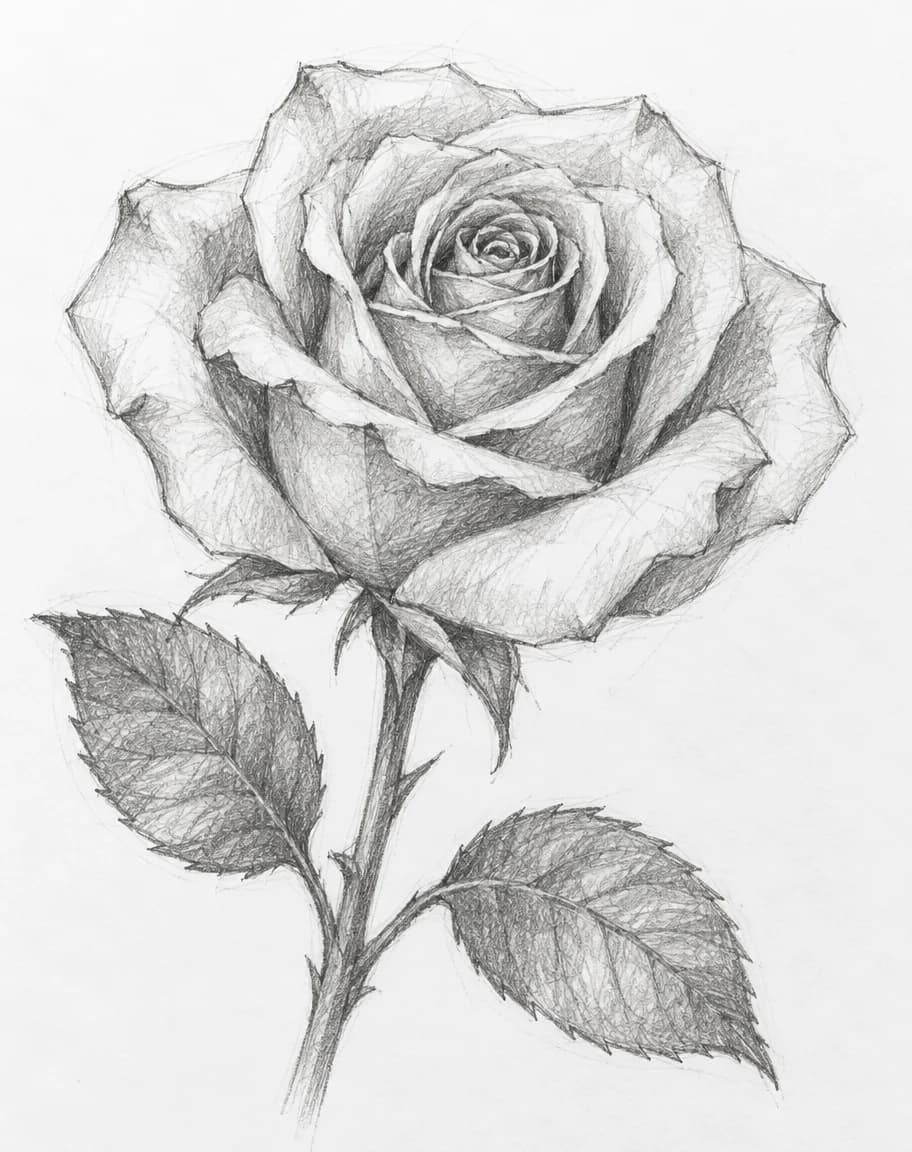
A looser in-between stage: construction lines still visible and hatching only in the folds. Made with GPT Image 2.5 Sunburst on Kenerate.
Common mistakes (and how to fix them)
- The centre is too big. A large spiral turns the rose into a snail or a cinnamon bun. Keep the centre about a fifth of the flower's width.
- Every petal is the same size. Petals grow as they move outward. If they are all the same, the flower looks flat; make each ring visibly bigger than the last.
- Petals are drawn as closed loops. A petal is open at one end, tucked behind its neighbour. Closed loops look like scales or a cabbage. Let each petal's line disappear behind the one in front.
- No curl on the edges. A single line for each petal edge looks stiff. Add a second, short line just under the edge where it rolls back.
- The stem is a ruler-straight tube. Give it a gentle curve, make it slightly thicker near the flower, and add the sepals where it meets the head.
- The leaves are smooth ovals. Rose leaves have saw-tooth edges and a centre vein, and they grow in groups on a short stalk, not straight out of the stem.
- Shading everything evenly. If the whole flower is mid-grey, it loses depth. Keep the darkest darks in the gaps and leave the curled edges light.
- Pressing hard on the first lines. Dark guide lines won't erase. Sketch with light pressure and only press harder on the final lines.
Ways to finish your rose
Once the outline works, the medium changes the mood:
- Ink: go over the lines with a fine-liner and add cross-hatching in the shadows for a botanical-illustration look.
- Colored pencil: layer a light pink first, then a darker pink or red in the petal cups, a touch of purple in the deepest shadows, and two greens for the leaves. Leave a white edge on each curled petal.
- Watercolor: draw a light pencil outline, wash in a pale red, and drop a darker red into the centre while it is still wet; ink the outline afterwards if you want crisp edges.
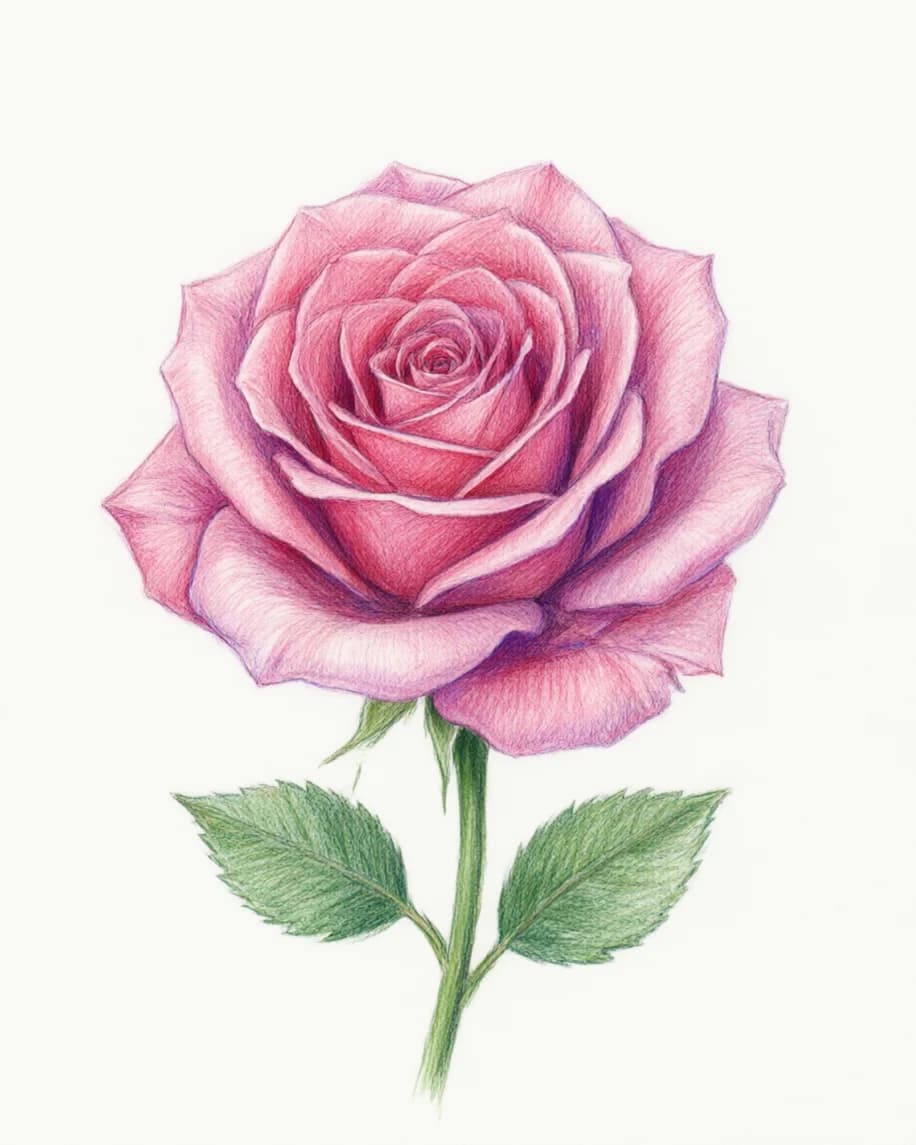
Colored pencil: pink layered over pink, with purple in the deepest folds. Made with Qwen Image 3.0 on Kenerate.
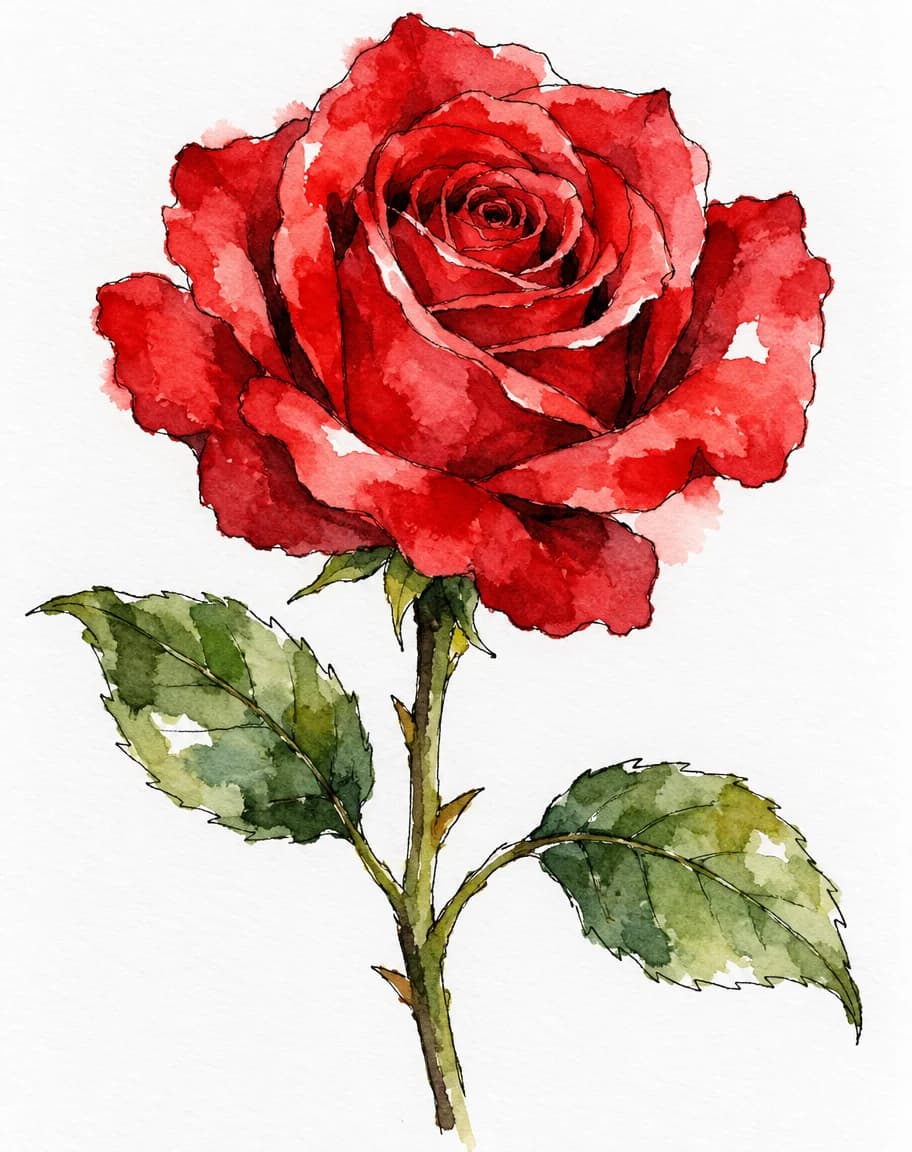
Watercolor and ink: loose washes that bleed past the outline. Made with GPT Image 2.5 Sunburst on Kenerate.
Use AI to get a reference to draw from
Drawing from a reference is easier than drawing from memory, and a real rose isn't always on hand. You can make one in the exact style and angle you want to practise:
- Open the AI drawing generator and describe the rose: "a simple line drawing of a single rose with a spiral centre, a curved stem and two leaves, black lines on white paper". Swap "simple line drawing" for "realistic graphite drawing" or "colored pencil drawing" to get a shading reference.
- Or start from the eight styles on our rose drawing page (line, cartoon, pencil sketch, graphite, ink, colored pencil, watercolor and a cute doodle) and copy the prompt under the one you like.
Qwen Image 3.0 works on Kenerate's free plan at 9 credits an image, and a new account starts with 25 free credits; GPT Image 2.5 Sunburst costs 7.2 credits at 1K. Then put the reference beside your paper and draw it with the steps above. The AI image is a guide, not a substitute: the point is to train your hand.
Draw more flowers and holiday drawings
- Sunflower drawing: a round centre and a ring of petals, a good next step after the rose.
- Tulip drawing: three overlapping petals and a long leaf, the easiest flower of the three.
- How to draw a Christmas tree and how to draw a snowman: the same step-by-step format for the holidays.