

How do you take product photos? Put the product on a plain background next to a window, turn the ceiling lights off, hold your phone steady at the product's height, tap to focus on the product and lower the exposure slightly, then shoot the front, the three-quarter view, the back, a detail and a scale shot. All you need is a phone, a sheet of white card and daylight. AI can then clean the background or restage the shot.
Updated 15 November 2026.
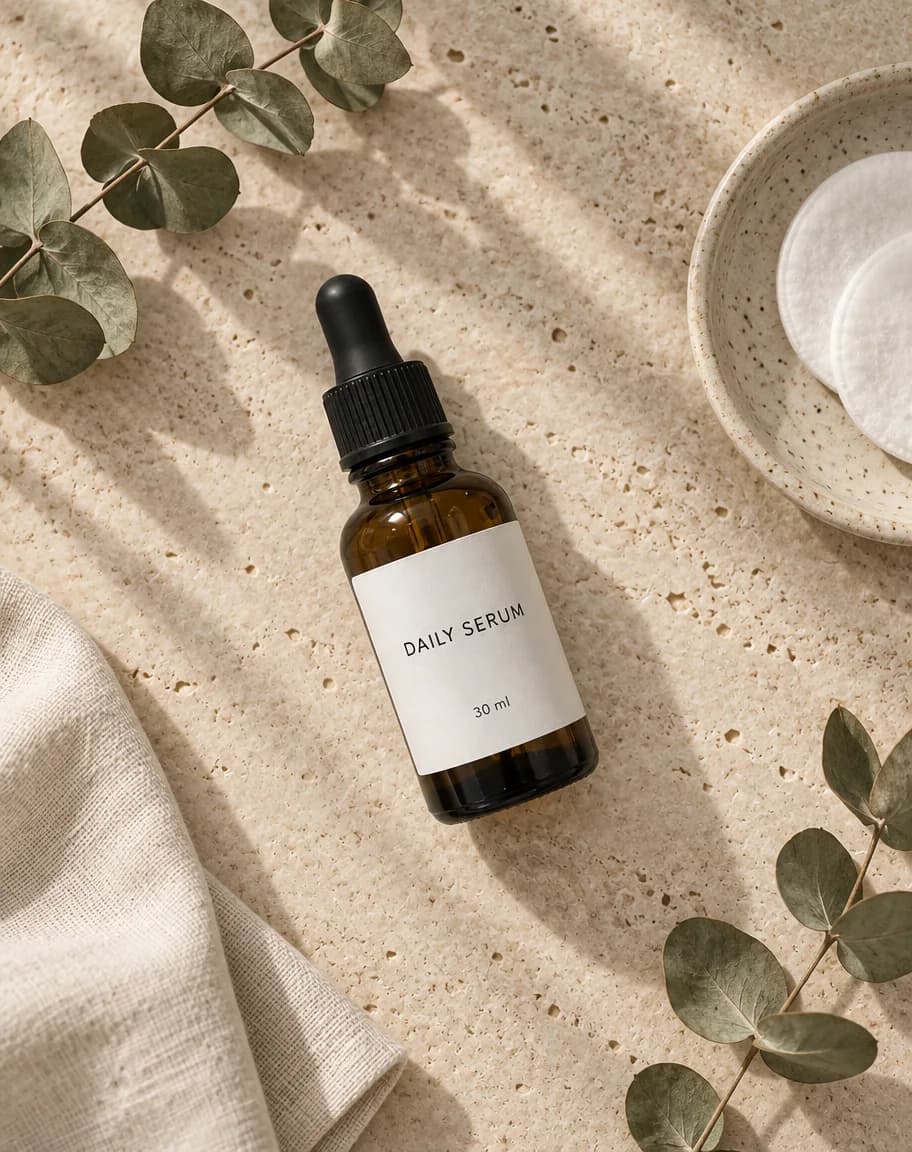
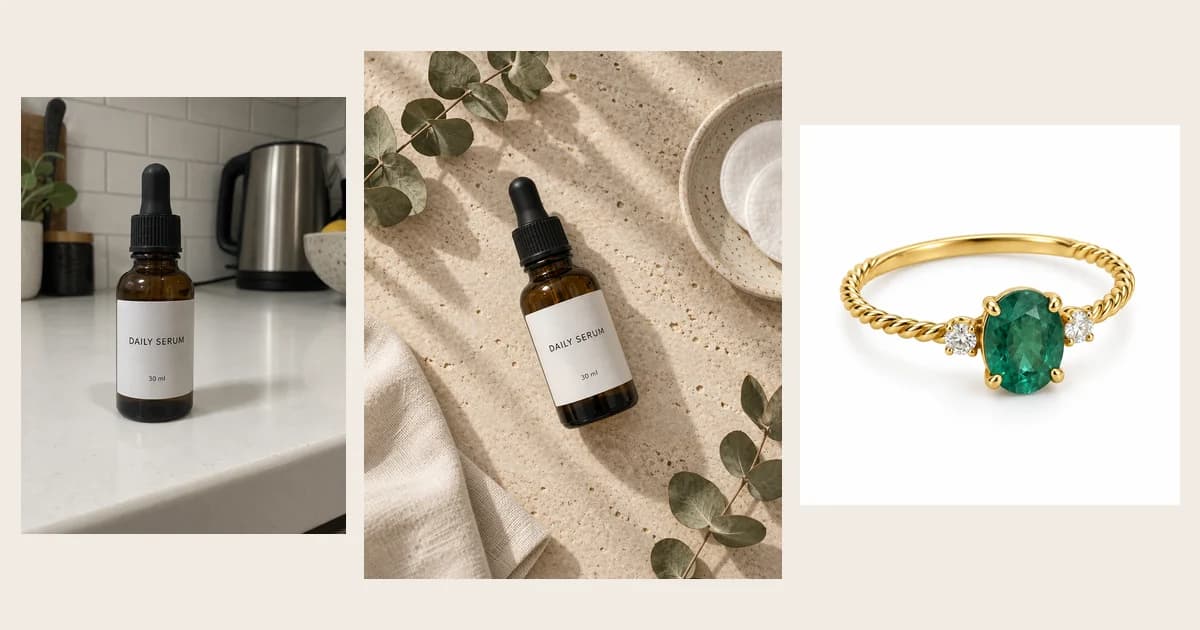
A serum bottle we shot as an unstyled phone snapshot, restaged as a flat lay with GPT Image 2.5 Sunburst on Kenerate. The before and after, the prompt and a second model's result are on the flat lay photo generator page.
What you need
| Minimum | Better | |
|---|---|---|
| Camera | Any recent phone | A phone with a 2× or macro lens |
| Light | A window with daylight | A window plus a white card or foam board to bounce light |
| Background | A sheet of white paper or card | A paper sweep (card curved from the wall down to the table) |
| Support | A stack of books | A small tripod with a phone clamp |
| Extras | Tape, a cloth to wipe the product | Putty to stand round items, a remote shutter or timer |
None of it costs much, and the window matters more than the phone.
Step 1: Set up the light
Light decides most of what makes a product photo look professional.
- Use one window, to the side. Put the table next to a window so the light comes from the left or the right, not from behind the product and not from behind you.
- Turn the ceiling lights off. Mixed light gives orange and blue patches that no edit fully fixes.
- Soften direct sun. Tape baking paper or a thin white curtain over the window if the sun is hitting the table.
- Fill the shadows. Stand a white card on the side away from the window to bounce light back into the shadow side.
- Shoot at the same time of day for a whole batch, so the colour stays the same across your listing.
Step 2: Choose the background
- White for the main image on most marketplaces and for a clean catalogue look. Curve the card from the wall down to the table so there's no horizon line.
- Light grey or a soft colour when the product itself is white or clear glass, so its edges don't disappear.
- Real surfaces (wood, linen, marble, a kitchen counter) for lifestyle shots that show the product in use.
Keep the background plain and wipe the product: dust and fingerprints show up much more on a phone screen than they do in the room.
Step 3: Set up your phone
- Clean the lens. A smudged lens is the most common cause of soft, hazy product photos.
- Use the 1× or 2× lens, not digital zoom. Move closer instead of pinching to zoom. Use the 2× lens for small products so they aren't distorted at the edges.
- Turn on the grid to keep the product straight and centred.
- Tap to focus on the product, then slide the exposure down a little so white backgrounds and shiny surfaces keep detail.
- Turn off the flash and portrait mode. Flash flattens and reflects; portrait mode blurs product edges.
- Steady the phone on books or a tripod and use the timer, so the shot isn't blurred by your tap.
- Shoot at full resolution and in the phone's highest-quality format, and don't apply filters.
Step 4: Shoot the angles a buyer needs
A buyer can't pick the product up, so the photos have to do it for them:
- Front: the main image, straight on, the product filling most of the frame.
- Three-quarter: turned about 45 degrees, which shows depth and two sides at once.
- Back and side: labels, ports, closures, the back of a garment.
- Detail: a close-up of the material, the stitching, the stone, the texture.
- Scale: in a hand, on a person or next to a familiar object, so the size is obvious.
- In use or styled: a lifestyle or flat lay shot that shows where it belongs.
Take several frames of each and keep the sharpest.
Tips by product type
- Clothing: shoot it flat from above, on a hanger against a plain door, or on a person. For the "invisible mannequin" look, see ghost mannequin AI.
- Jewelry: use soft window light only, a matte card, the 2× or macro lens, and lower the exposure so metal doesn't blow out. Tap to focus on the main stone. Our ring examples are on the jewelry photography AI page.
- Glass and shiny products: move the product away from the window a little and use a big white card as the light source, so reflections are soft bands instead of hot spots.
- Small products: fill the frame with the 2× lens instead of cropping later; crops lose resolution.
- Flat products (prints, stationery, cards): shoot straight down with the phone parallel to the table, and use the grid to keep the edges straight.
Step 5: Edit the photos
Keep edits light and honest. The photo must still show the product as it is.
- Crop and straighten so the product sits in the centre with a small margin.
- Fix white balance so a white background reads white, not blue or yellow.
- Brighten the background to pure white for main images, or remove it.
- Don't change the product's colour or shape. Returns follow when the photo and the product don't match.
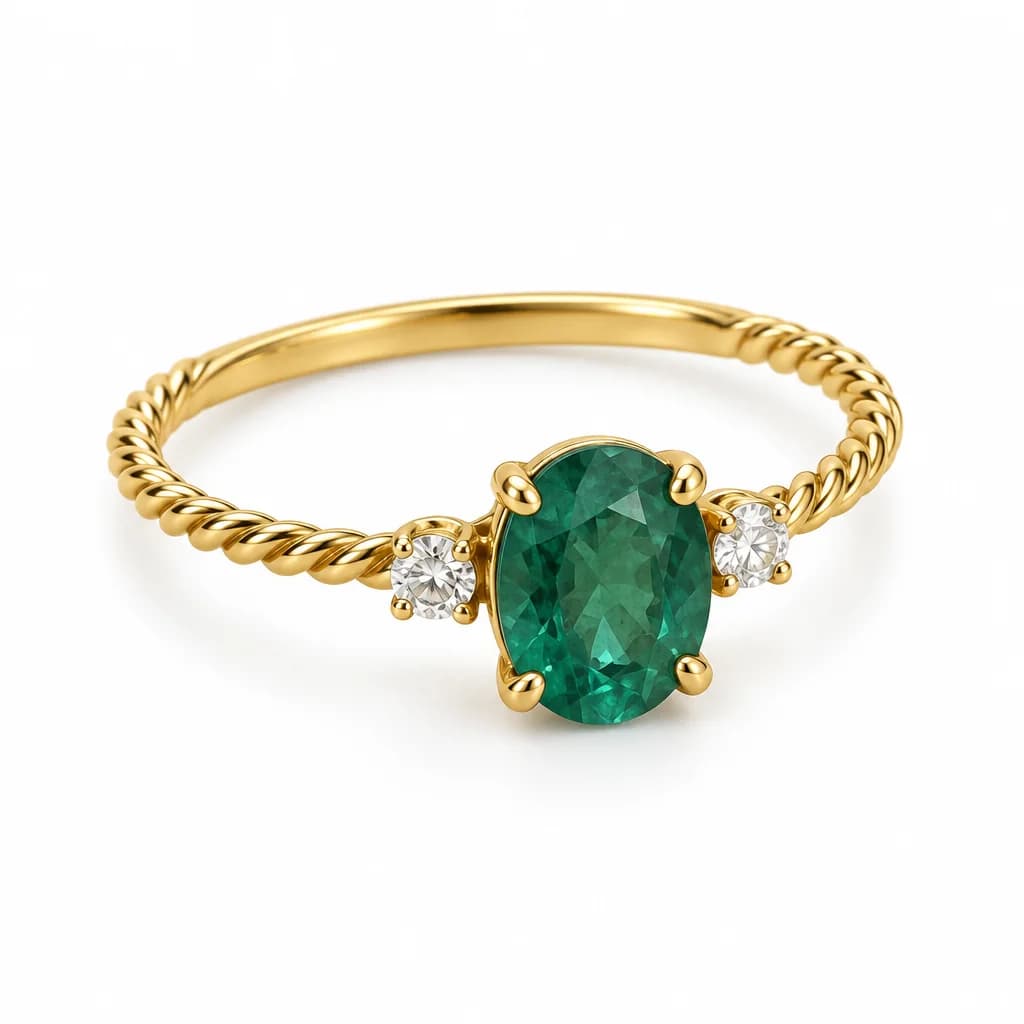
A ring shot on a kitchen table, turned into a white packshot with GPT Image 2.5 Sunburst. The background measured RGB 254, but the stone came out a brighter green than the photo: always compare AI edits with the real product.
How AI helps after you shoot
A phone photo in decent light is the input; AI can turn it into the shots that need a studio:
- White background: remove the table and clutter and put the product on pure white. See white background and Amazon product photography.
- Lifestyle scenes: restage the product in a kitchen, a bathroom or outdoors without a shoot. See AI product photography.
- Flat lays: lay the product out from above with props and soft light. See the flat lay photo generator.
- Clothing: turn a garment worn by a model or on a mannequin into a hollow packshot with ghost mannequin AI.
- Jewelry: clean packshots, ring-box scenes and on-model shots from one phone photo with jewelry photography AI.
What we learned testing these: the model redraws the product rather than cutting it out, so name every detail to keep (material, colour, label words in quotes, stone settings) and check the result at full size. In our tests label text came back right when it was in quotes, while a plain linen shirt picked up a faint pattern on one model and a necklace's stone settings changed. For more on the AI side alone, read our AI product photography guide.
Marketplace photo requirements: Etsy
Each marketplace sets its own rules, so check its help pages before you export. Etsy's image help page says:
- Listing photos should be at least 2000 pixels in width and height, and the first photo at least 635 pixels, or it may show lower in search.
- Files over 1 MB may not finish uploading on a slow connection.
- Supported types are .jpg, .gif, .png, .svg and .heic; animated GIFs and transparent PNGs are not supported.
- The first photo should be landscape or square, with enough border to be cropped to square, portrait and landscape thumbnails.
Amazon and Shopify publish their own requirements in Seller Central and the Shopify Help Center; check them there before exporting, since they differ from Etsy's.
Common mistakes
- Mixed light from a window and a ceiling lamp, giving two colours of shadow.
- Digital zoom, which softens the photo; move closer instead.
- A busy background that pulls attention from the product.
- Only one angle. Buyers want the back, a detail and the scale.
- Over-editing the product's colour, which leads to returns.
- Trusting an AI edit without checking it against the real product.
The short version
Window light from the side, ceiling lights off, a white card behind and opposite, phone steady at the product's height, tap to focus and lower the exposure, then shoot front, three-quarter, back, detail and scale. Edit lightly. Use AI for white backgrounds, lifestyle scenes and flat lays, and check every result against the product in your hand.