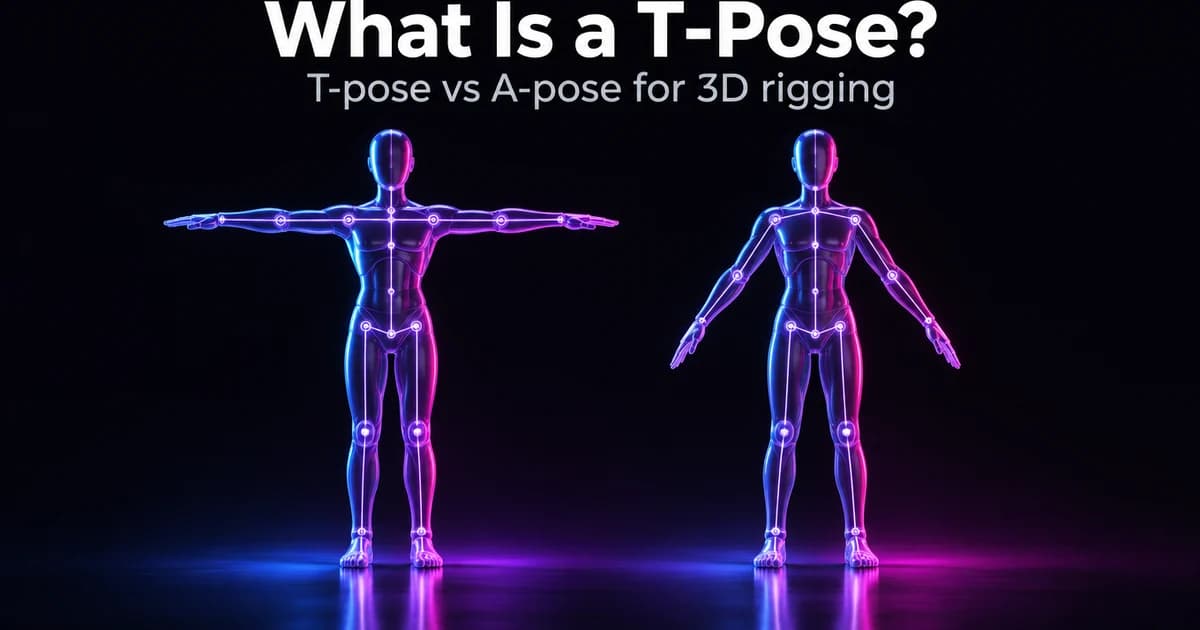
A T-pose is the default standing pose of a 3D character before it's animated: legs straight, arms stretched out sideways at shoulder height, so the body forms a capital "T". Artists model and rig characters in it because the main body parts line up with the axes, which makes the skeleton easy to place and the character easy to animate. Lower the arms to about 45 degrees and you get an A-pose, which many studios now prefer because the shoulders deform more naturally. This guide explains both, when to use each, and why the T-pose became a meme.
Updated 12 November 2026.
What is a T-pose in 3D modelling?
In 3D work, a character mesh is usually built in one neutral pose, then a skeleton (the rig) is fitted inside it and the mesh is "bound" to those bones. That starting pose is called the bind pose or reference pose. The T-pose is the classic bind pose for humanoids.
Wikipedia's article on the pose sums up the reason: in a T-pose the key body parts are "axis-aligned", so the model is easier to rig for animation, physics and other controls. Arms run along one axis, the spine along another, and nothing overlaps.
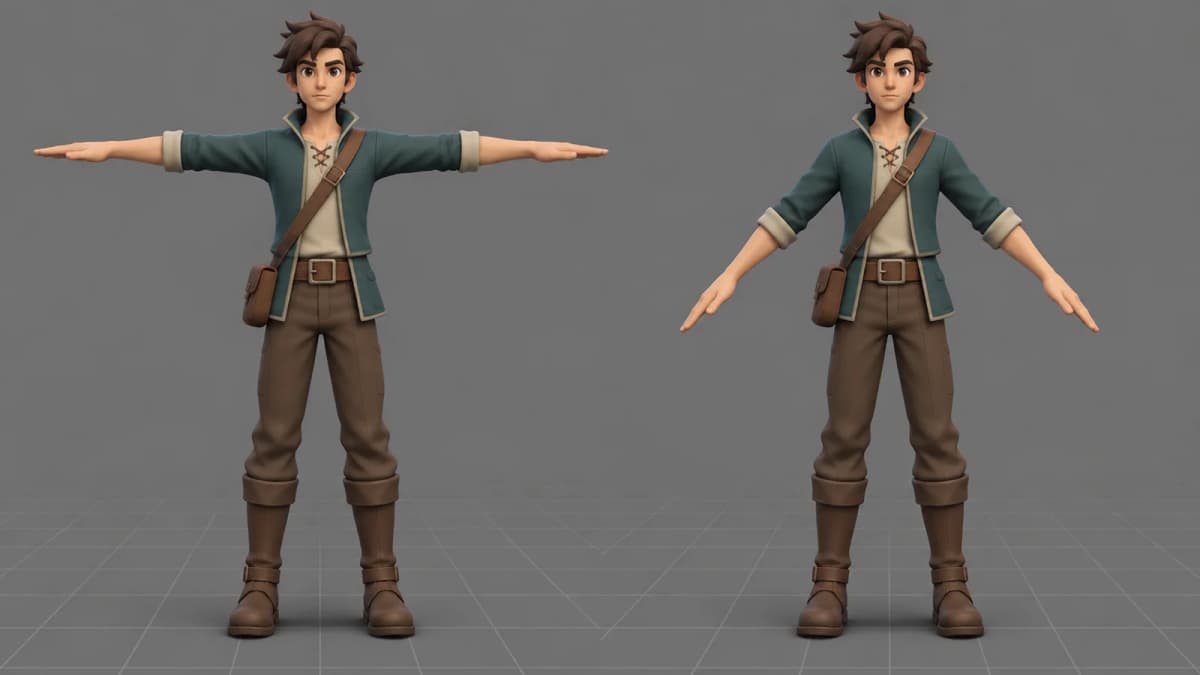
One character, two bind poses — a model sheet made with GPT Image 2.6 on Kenerate.
What is an A-pose?
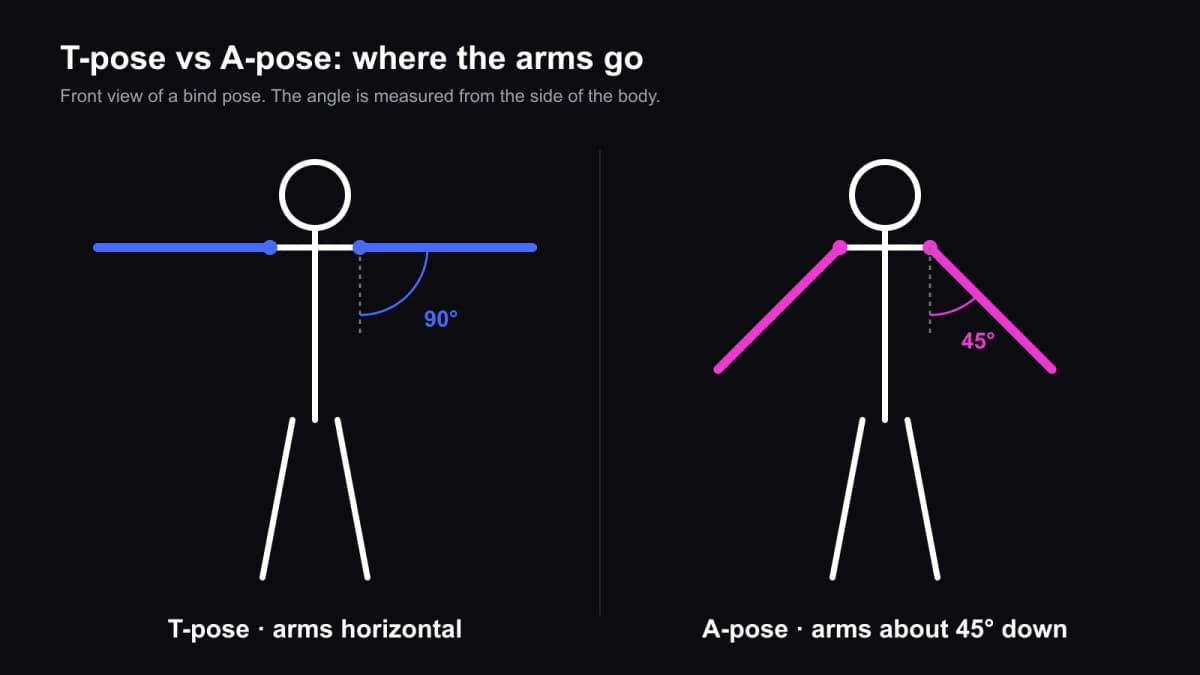
An A-pose is the same neutral stance with the arms angled down from the shoulders, usually somewhere around 45 degrees, so the silhouette looks like a capital "A". Angle the arms upward instead and you get a less common Y-pose.
T-pose vs A-pose: which is better?
Neither is better everywhere; they trade off differently.
| T-pose | A-pose | |
|---|---|---|
| Arm angle | Horizontal, about 90° from the body | Angled down, often about 45° |
| Rigging and skinning | Simple — limbs line up with the axes | Slightly less axis-aligned |
| Shoulder deformation | Mesh is stretched; shoulders can pinch or collapse when arms come down | Closer to a relaxed pose, so shoulders usually deform more cleanly |
| Clothing and armour | Shoulder pads and sleeves sit unnaturally | Clothes hang closer to how they'll look in motion |
| Texturing | Easy access to underarms and sides | Underarms partly hidden |
| Engine support | Unity's Humanoid avatar expects a T-pose | Unreal's IK Retargeter can match it to T-posed rigs |
| Best for | Simple or stylised characters, mocap calibration, quick auto-rigs | Realistic characters, tight clothing, close-up shoulders |
The shoulder point is the main argument for the A-pose. When a T-posed arm drops to the side in animation, the mesh around the shoulder has to rotate through about 90 degrees from where it was modelled, and that's where pinching and collapsing show. Starting halfway there, at about 45 degrees, means less stretching in the poses a character spends most of its time in. Wikipedia notes the A-pose may suit vertex deformation around the shoulders better, depending on the model's geometry.
Does the pose matter in Unity, Unreal and Blender?
Yes, mostly when you retarget animation from one skeleton to another.
- Unity: the manual calls the T-pose "the default pose required by Unity animation" and the recommended pose to model in. If a Humanoid avatar reports "Character not in T-Pose", you can choose Enforce T-Pose from the Pose menu, or rotate the remaining bones by hand.
- Unreal Engine: the IK Retargeter works with either, but Epic's documentation says that if one character is T-posed and the other A-posed, you need to adjust one retarget pose so they match — matching poses makes retargeting more accurate.
- Blender: there's no required pose; what matters is that the rest pose of the armature matches the mesh you bind, and that any animation you import was made for the same rest pose.
So the practical rule is: pick one bind pose for a project and keep every character and animation library on it, or plan to fix retarget poses.
Why is the T-pose used in motion capture?
Some motion capture systems ask the performer to stand in a T-pose in the suit before recording starts. With arms out and legs straight, the software can measure limb lengths and match the performer to the digital skeleton. Check your system's documentation for the calibration pose it expects.
Why is the T-pose a meme?
When a game's animation fails to load, the character often snaps back to its bind pose — arms out, sliding around the world. From 2016 onward, clips of these glitches spread online, and "T-posing" became shorthand for asserting dominance or for something visibly broken. It's a reminder that the T-pose is a technical state, not a performance: players are never meant to see it.
How do you make a T-posed or A-posed 3D character?
If you model by hand, block out the body in your chosen pose from the start, keep a slight bend in the elbows and knees for cleaner deformation, and leave a gap between the arms and the torso and between the legs, so auto-riggers can tell the limbs apart.
If you generate characters with AI, ask for the pose explicitly. On Kenerate's 3D character generator, several engines have a pose setting: Meshy 7.1 and 7 offer As is, A-pose or T-pose plus an Auto-rig switch (a skeleton for animation, +72 credits) and a preset animation (+44 credits); Meshy 6 and Rodin have a T / A-pose switch for characters you plan to rig. Start from a clear front view of the character:
AI Prompt RecipeFlux.1 Pro16:9“Full-body 3D game character, a young adventurer in a teal jacket, brown trousers and boots, standing in an A-pose with arms about 45 degrees down, legs slightly apart, neutral expression, front view, plain grey background, clean silhouette, no props.”
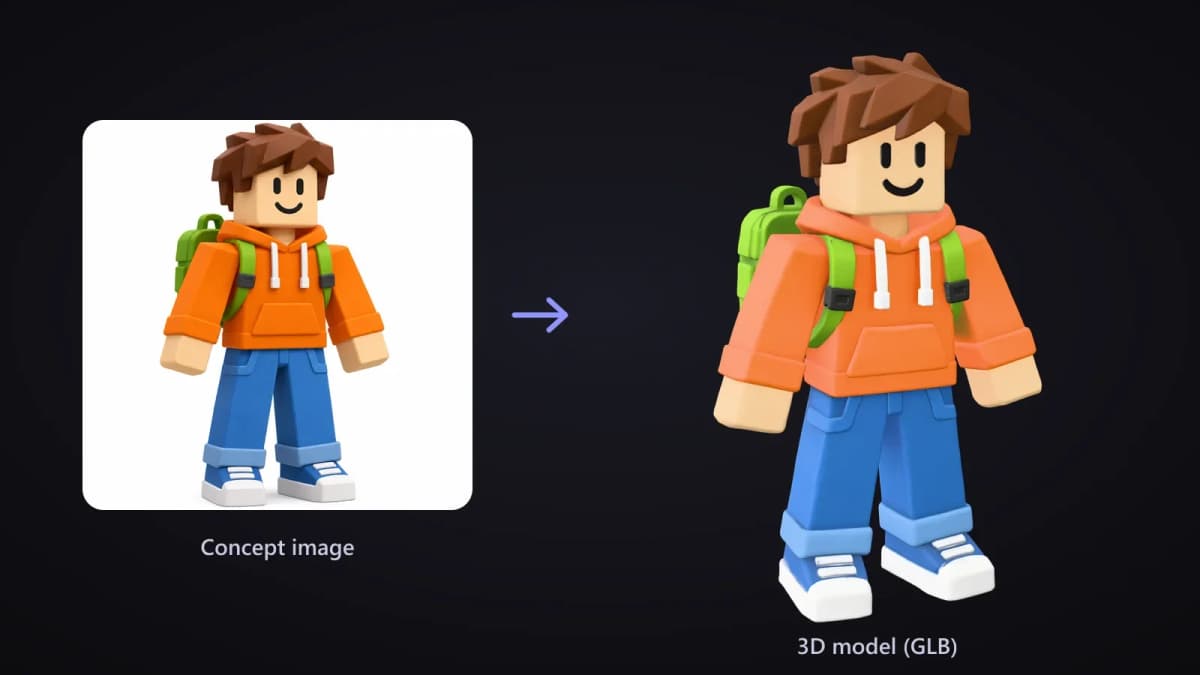
From a concept image to a GLB on Kenerate. For a model you'll rig, generate the concept in a T- or A-pose first.
A character turnaround — front, side and back views in the same pose — gives image-to-3D engines more to work with; our character turnaround page covers that step, and the 3D model generator for Blender and Roblox 3D model generator pages cover export to those tools. 3D generation needs a one-time credit pack, from $15.
Generate a 3D character on Kenerate
The short version
A T-pose is a character's arms-out bind pose, used because it lines everything up for rigging; an A-pose drops the arms to about 45 degrees for cleaner shoulders and clothing. Unity's Humanoid setup expects a T-pose, Unreal can retarget between both if you match poses, and Blender only cares that rest pose and mesh agree. Choose one for your project and stick to it.