

Free slider · 0–200% · full size · no watermark
Image brightener — brighten a dark photo online
Too dark? Upload the photo, drag the Brightness slider and watch it change live. The slider uses no credits and saves at full size with no watermark. Very dark and grainy? We show below when a slider stops helping and what to use instead.

- 0–200% slider
- Live preview
- Full-size PNG
- No watermark
Updated by the Kenerate AI team
Made with Kenerate


On this page
Quick answer
How do you brighten an image online?
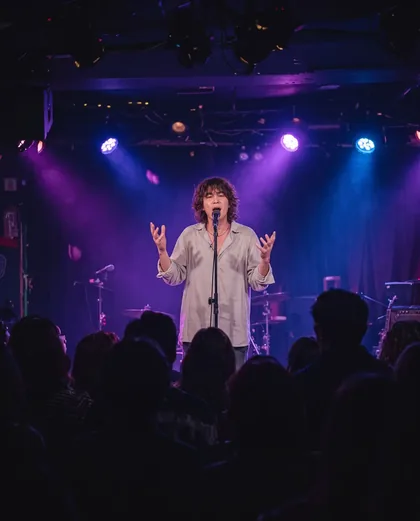
To brighten an image online, open it in Kenerate's Edit Studio, choose Image Adjustments and drag Brightness above 100%, then press Apply. It runs in your browser, uses no credits and saves a full-size PNG with no watermark; you only need a free account to load your own photo. It suits a photo that is a bit dark. On a very dark one it lifts the grain too: our concert shot went from black shadows to grey at 170%. Phota Enhance gave the cleaner result there.
Key facts
- Brightness range
- 0–200% (100% = unchanged)
- Cost of the slider
- No credits, runs in your browser
- Also on the panel
- Contrast · Saturation · Hue · Warmth · Blur · Black & white
- Output
- PNG at the photo's full size
- Account
- Free sign-in to load your own photo
- Watermark
- None
- Very dark, grainy photos
- Phota Enhance
Gallery
Before and after, on two dark photos
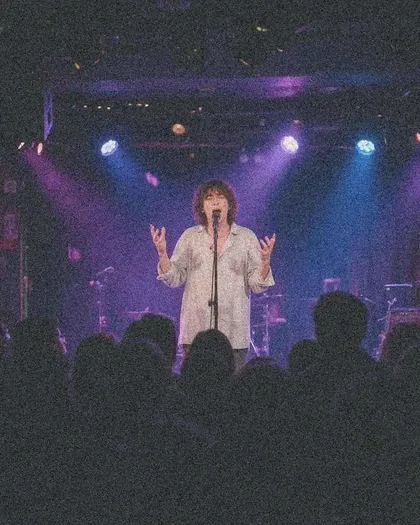
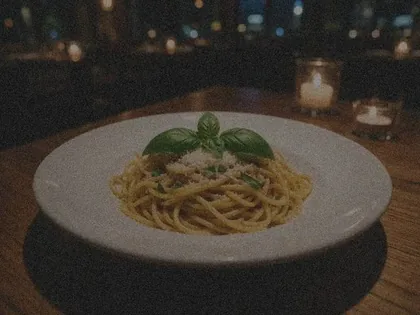
Two dark, grainy test photos, brightened by the numbers shown and enhanced with Phota Enhance. Nothing else was changed.
Same prompt
One dark photo, three results
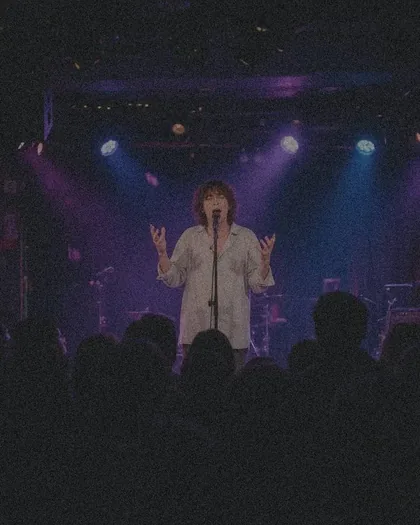
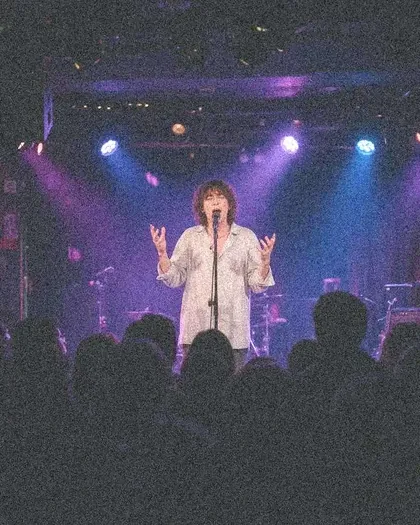
A very dark concert shot. The slider makes the picture brighter, and it makes the grain and the black crowd brighter too. Phota Enhance removed the grain and kept the blacks, but it did not make the photo brighter overall.
PromptBrightness 170%, Brightness 200%, then Phota Enhance on the original.
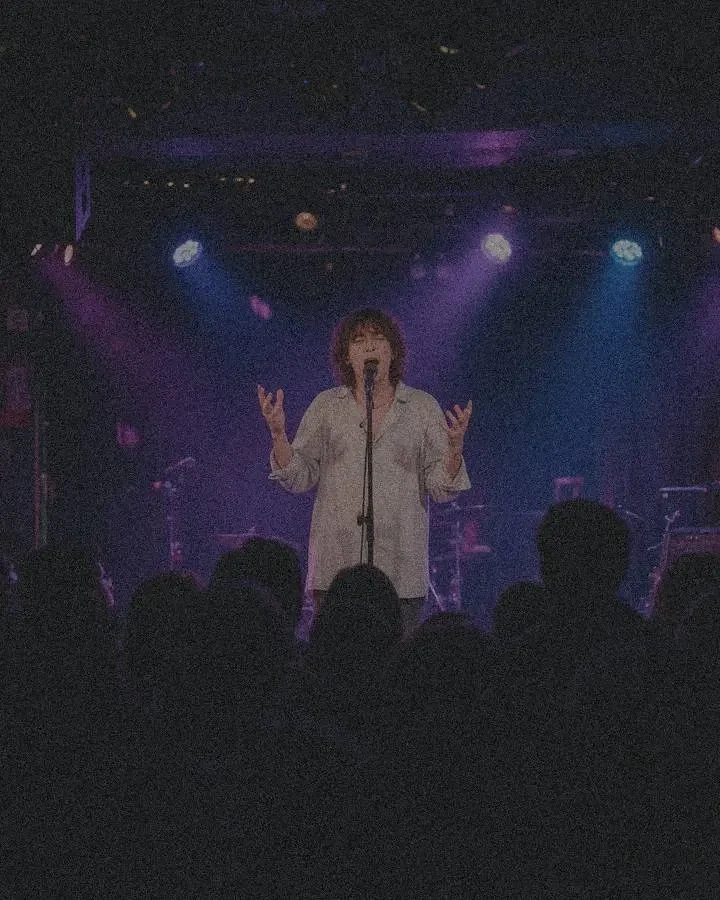 OriginalDark and grainy
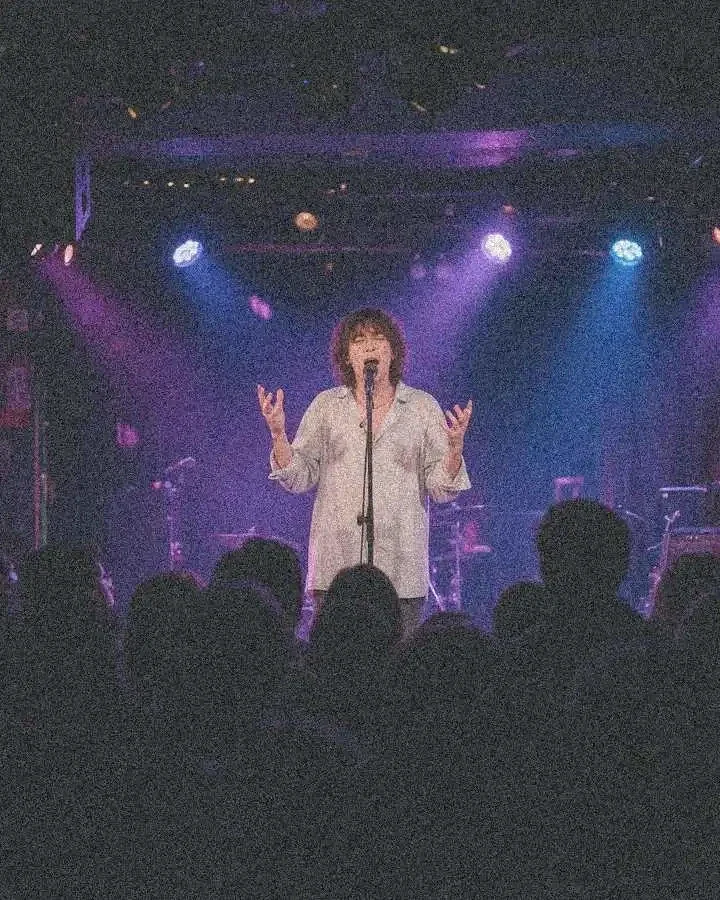 Brightness 170%Brighter, blacks go grey
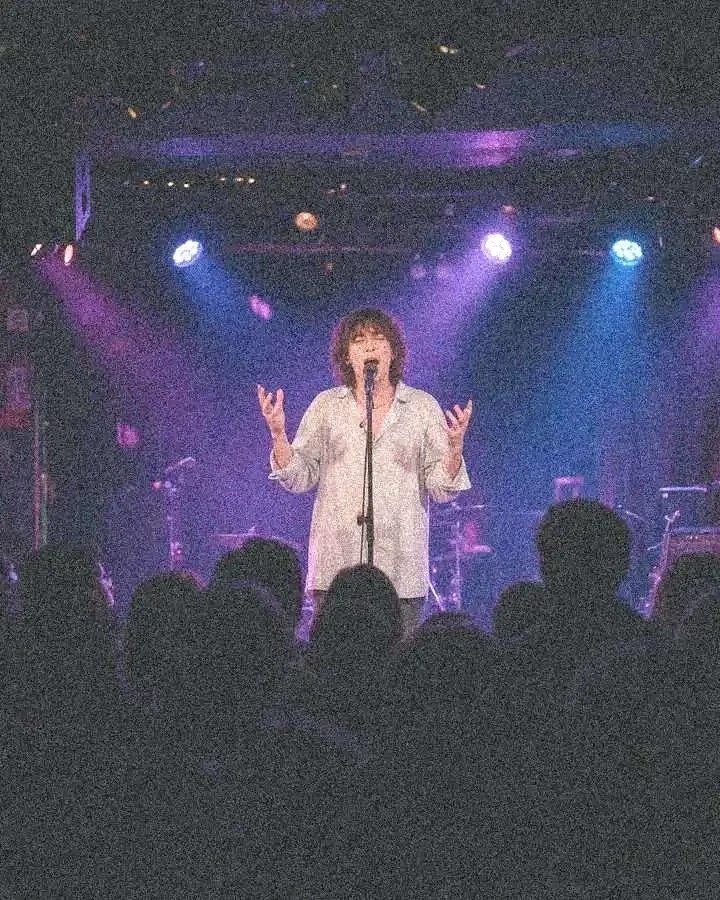 Brightness 200%Washed out, more grain
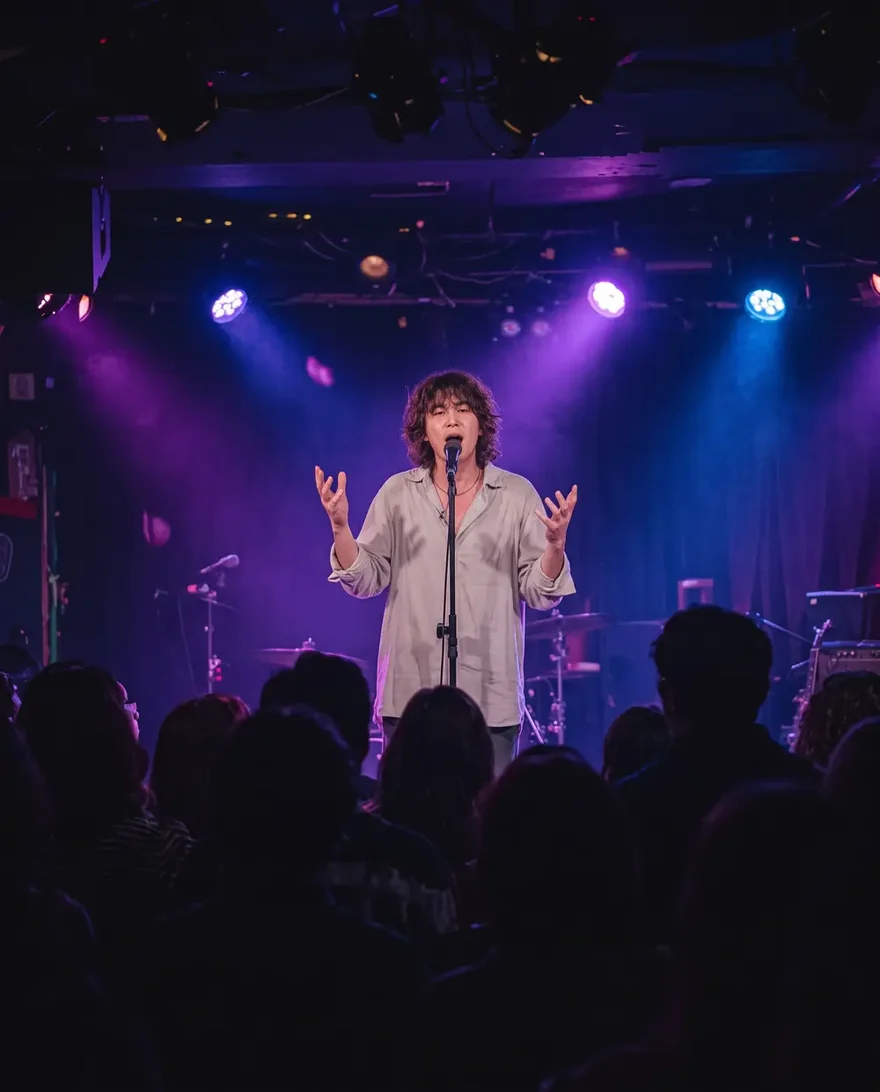 Phota EnhanceClean, not brighter
How to
How to use the image brightener
- Time needed
- Steps
- 4 steps
Step 1
Open Edit Studio
Go to /app/edit and add your photo. A free account is needed to load your own image.
Step 2
Open Image Adjustments
This is the panel with the Free badge. The photo shows a live preview as you move a slider.
Step 3
Drag Brightness above 100%
Stop when the subject reads clearly, then adjust Contrast or Saturation if the photo looks flat.
Step 4
Apply and download
Apply saves a new version without losing the original. Download it as a full-size PNG with no watermark.
See it in the app

Open Edit Studio and upload an image, or pick one from your history.


Watch the tour · 2:01
AI Edit, Magic Eraser, Change Region, light, style, expand, camera angle & chat edits
Chapters
Tips
Brighten a photo without ruining it
What the slider does well, and where to stop.
Go up in small steps and stop when the main subject reads clearly. The shadows don't all need to be bright.
Blacks turned grey? Raise Contrast a little to bring back some depth.
Watch the brightest parts of the photo. Past a point they turn flat white, and that detail can't come back.
Check skin against the original. Brightness keeps the colour balance until the brightest channel, usually red on skin, reaches its limit, and then faces look pale or flat.
Colours look washed out after brightening? Add a little Saturation or Warmth.
If the photo is grainy, brightening will show it more. Try Phota Enhance on the original.
Models
When the slider isn't enough
What each model is good at. Open any one straight in the generator.
Kenerate AI
Phota Enhance
- Output
- 2048 px
Open Phota EnhanceBest for
Dark, grainy photos: removes the grain
- Free plan
Alibaba
Qwen Image 3.0
- Reference images
- Up to 3
- Output
- 1K · 2K
Open Qwen Image 3.0Best for
Relight default: new light from a prompt
ByteDance
Seedream 5.0 Pro
- Reference images
- Up to 10
- Output
- Up to 2K
Open Seedream 5.0 ProBest for
Relight when the light's direction matters
FAQ
Image Brightener questions
8 questions
How do I brighten an image online?
Open Kenerate's Edit Studio, add the photo and open Image Adjustments. Drag Brightness above 100% and watch the live preview, then press Apply and download. The slider runs in your browser and uses no credits.
Link to this answerIs this image brightener free?
Yes. The Brightness slider uses no credits and adds no watermark. You need a free account to load your own photo. AI tools such as Phota Enhance and Relight use credits, and new accounts get starter credits.
Link to this answerHow do I make a picture brighter without losing quality?
Brighten in small steps and stop before the lightest parts turn flat white. The slider keeps your photo's full size and saves a PNG, so resolution doesn't drop. It can't add detail, though: any grain in the dark areas gets brighter along with the picture.
Link to this answerWhy did my photo go grey and grainy when I brightened it?
A brightness slider multiplies every pixel by the same amount, including the noise and the near-black shadows. At 170% our concert photo's darkest tones rose from about 12 to 21 out of 255, so the black crowd turned a grainy grey. Add some Contrast, or use Phota Enhance on the original.
Link to this answerWhat is the difference between brighten, relight and enhance?
Brighten lifts every pixel evenly and adds no new detail. Relight redraws the photo under new light, so it can change the direction, colour or time of day. Enhance repairs quality problems such as grain and blur. Use the slider for slightly dark photos, Relight for bad light and Enhance for dark, grainy ones.
Link to this answerCan AI brighten a very dark photo?
It can clean one up. Phota Enhance removed the grain from both our test photos: the restaurant shot came out brighter, while the concert shot stayed about as dark, with clean blacks. It rebuilds detail, so compare small things with the original. We haven't tested Relight on a very dark photo for this page.
Link to this answerHow do I brighten a face without changing the rest of the photo?
The Brightness slider changes the whole picture. To lift just a face, use Relight with a prompt such as “soft light from the front on her face, keep everything else exactly the same”. See Relight Photo AI for what that tool did in our tests.
Link to this answerWhat file do I get?
A PNG at the same pixel size as your photo. Need a JPEG or WebP instead? Convert in the same studio before you download.
Link to this answerIn depth
Image Brightener, explained
What works, what to avoid, and how to pick a model.
On this page
Brighten, relight or enhance: which one do you need?
All three can make a dark photo look better, but they do different jobs:
- A bit too dark, otherwise fine: the Brightness slider. It's instant and uses no credits.
- Dark and grainy, like a night shot: Phota Enhance in the AI image enhancer. Grain is the real problem, and a slider makes it worse.
- Light from the wrong place, like a face in shadow or a flat grey day: Relight. It redraws the light instead of lifting everything.
- Dark and tiny or blurred: an enhancer or upscaler, because brightness can't add detail that isn't there.
What the Brightness slider does to a photo
The slider applies the browser's brightness() filter. It multiplies each colour value by the percentage: 100% changes nothing, 200% doubles every value, and 0% is black. Values can't go past the maximum, so anything pushed over it becomes flat white.
Two things follow. Colour balance stays the same until a channel reaches that limit, which is why moderate brightening looks natural. And noise is multiplied like everything else, so grain that was hidden in the shadows becomes easy to see.
What we measured
We ran the same sum as the slider on two dark test photos and measured them on the 0–255 brightness scale. These are local calculations, not screenshots from the studio:
- Dim restaurant at 160%: average brightness rose from 57 to 92. The plate and basil are much clearer, and the grain is easier to see.
- Dark concert at 170%: average brightness rose from 39 to 66, with no clipped pixels. The black crowd turned grey.
- Dark concert at 200%: average brightness reached 78, and 0.6% of pixels clipped. It looks washed out and heavily grainy.
- Phota Enhance on the restaurant photo: average brightness 80, with the grain gone and the shadows still deep.
- Phota Enhance on the concert photo: average brightness 32, slightly darker than the original, but clean with strong colour. It's the best looking of the set, though not the brightest.
Keeping skin tones natural
Skin is usually the first thing to look wrong, because its red channel is the highest and reaches the limit first. Faces then lose their shading and look pale or flat.
Keep the increase moderate and compare with the original as you go. If the face is much darker than the rest of the picture, the slider is the wrong tool. Relight can add light to the face alone, though it redraws the image, so check that the person still looks the same.